Your step-by-step DIY guide to replacing a snow blower drive belt
Steven E / Monday January 27, 2025
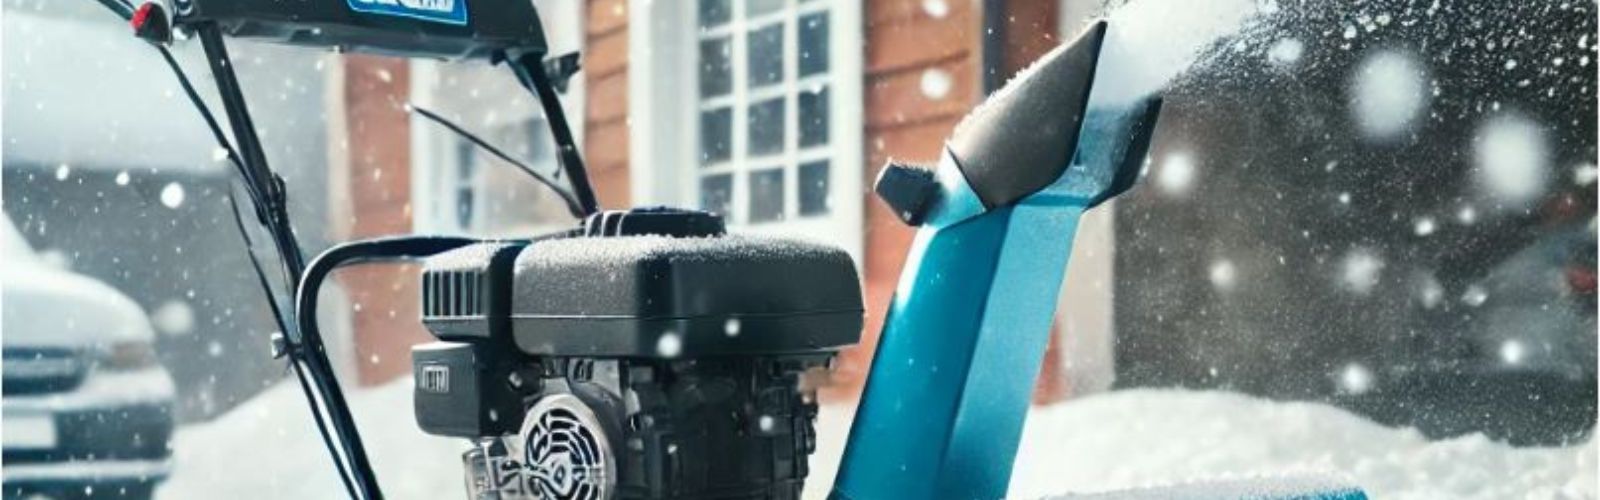
Replacing a snow blower drive belt might sound like a tricky task, but with the right tools and instructions, it’s easier than you think. This step-by-step guide will walk you through everything you need to know to get your snow blower back in action like a Pro.
Please note: The guidance provided in this article is general and may not fully apply to your specific appliance model. While we aim to offer valuable advice for various DIY appliance repairs, variations in models and configurations may result in differences in troubleshooting procedures, error codes, or part replacement requirements. We recommend consulting the technical sheet or user manual for your appliance model for precise and accurate assistance.
How drive belts work in snow blowers
The drive belt transfers power from the engine to both the wheels or tracks (for movement) and the auger/impeller system (for snow clearing). This ensures the snow blower’s moving parts operate efficiently and effectively, even in challenging conditions.
In two-stage and three-stage models, the engine drives a pulley system that’s connected by belts. One belt may power the wheels or tracks for movement, while another drives the auger and impeller to clear snow.

Types of snow blowers that use drive belts
Two-stage snow blowers
- These models feature an auger for collecting snow and an impeller for throwing it out through the chute.
- Drive belts are responsible for running both the auger/impeller system and the self-propelling wheels or tracks.
Three-stage snow blowers
- These advanced models add an accelerator to the two-stage design, which speeds up the snow-clearing process.
- Drive belts are used to power the additional accelerator, along with the impeller and wheels or tracks.
Some single-stage models with self-propulsion
- While less common, certain single-stage snow blowers with self-propelling features may use a drive belt to move the unit forward.
Signs of drive belt wear
Regularly inspect your belts for wear and replace them as needed to prevent unexpected failures during heavy snow-clearing tasks. Checking for these signs of wear can help you avoid unexpected breakdowns:
- The auger, impeller, or wheels may slow down or stop working as efficiently.
- Squealing, grinding, or other strange sounds during operation often indicate a worn or slipping belt.
- A loose or stretched belt may cause the wheels or auger to respond sluggishly or not at all.
Read more: Snowblower chute won’t turn: A troubleshooting guide
Safety precautions
When working on any appliance, remember to keep safety first. Here are some tips to keep in mind:
- If working indoors, make sure there is adequate ventilation to prevent the buildup of exhaust fumes. Carbon monoxide poisoning can be a serious risk.
- Wear insulated work gloves to protect your hands from sharp metal parts, pinching hazards and debris.
- Never attempt to service or repair while it is running or when the engine is still warm. Wait for all moving parts to come to a complete stop.
- Exercise extreme caution when working near blades, augers, or any other moving parts. Keep your hands, fingers, and clothing clear of these areas at all times.
- If the appliance has recently been used, give it plenty of time for any hot parts to cool down before working on it.
- Empty the gas tank before beginning any work. Refill using fresh fuel.
- When working with wires, avoid touching any exposed wires or terminals. If you need to touch a wire, use a non-conductive tool or wear insulating gloves to prevent electrical shock.
- Take your time and don’t rush while working to prevent accidents and personal injuries.
- Work in a well-lit area so you can clearly see and access the interior parts.
- Clear your workspace of clutter and other obstacles. Keep children and pets away from the work area.
- Be gentle when handling or removing parts. Excessive force might damage the appliance or cause injury.
- Wear safety glasses when working with chemicals, dust or cleaning large debris to prevent injury.
- When not in use, store the machine in a safe and dry location.
Read more: Ultimate Guide to Choosing the Best Snowblower
Step-by-step guide for replacing a snow blower drive belt
Replacing a snow blower drive belt is a straightforward DIY repair if you follow the right steps. This guide covers both single-stage and dual-stage snow blowers, highlighting key differences.
- Remove the start key or disconnect the spark plug wire to prevent accidental starts.
- If working on a dual-stage snow blower, ensure the gas tank is nearly empty.
- Gather your tools: Wrenches, screwdrivers, replacement drive belt(s), and your snow blower’s manual.
Single-stage snow blower
Access the belt compartment:
- Locate the side access cover where the auger drive belt is housed.
- Use a screwdriver or wrench to unthread the screws or bolts securing the cover.
- Remove the cover to expose the belt.
Remove the old belt:
- Push the idler arm down to release tension on the belt.
- Slide the old belt off the drive pulley and under the idler pulley.
- On some models, you may need to remove the auger pulley to fully remove the belt. If so, secure the auger to prevent it from rotating.
- Unthread the nuts holding the auger pulley in place, then detach the pulley and remove the belt.
Install the new belt:
- Align the new belt onto the auger pulley (if removed) and then loop it over the drive pulley and under the idler pulley.
- Ensure the belt is properly seated on all pulleys and under the brake.
Reassemble:
- Reattach the auger pulley and tighten its nuts if it was removed.
- Reposition the belt access cover and secure it with screws or bolts.
Dual-stage snow blower
Access the belt compartment:
- Locate the access cover at the front of the engine, directly above the auger drive belts.
- Unthread the bolts securing the cover and remove it.
Remove the old belt(s):
- Depending on your model, you may need to remove a belt guide before detaching the belts.
- Push the idler arm or depress the drive lever to release tension.
- Slide the belt(s) off the drive pulley and idler pulley.
- For complete removal, tip the snow blower forward onto its auger housing and unthread the mounting bolts on the frame cover.
- If necessary, separate the blower housing from the frame by removing the housing mounting bolts and detaching the deflector cable.
Install the new belt(s):
- Align the new belt on the auger pulley and feed it through the housing.
- Rejoin the two halves of the snow blower if they were separated.
- Secure the belt onto the drive pulley and idler pulley.
Reassemble the snow blower:
- Replace any removed components, such as the belt guide or retainers.
- Reattach the belt cover and secure it with bolts.
- Realign and secure the blower housing to the frame if it was detached.
- Reattach the deflector cable to the chute.
Final steps
- Reconnect the spark plug wire or insert the start key.
- Refill the fuel tank if it was emptied.
- Start the engine and ensure the auger and drive system operate smoothly.
Pro tip: Always use a replacement belt that matches your snow blower’s model. Enter your model number into appliancepartspros.com to get the correct belt.
Read more: Snow blower won’t shift: A troubleshooting guide
You’re all set for winter
Thank you for reading! Need replacement parts? Grab your model number and visit AppliancePartsPros.com. With over two million parts available, most orders arrive in just two business days. For help finding the right part or placing an order, call our team at 1 (877) 477-7278.
While you wait for your part, explore our DIY blog and browse thousands of video tutorials on our YouTube channel.
Follow us on Facebook, Twitter, and Instagram for repair guides and updates!
With nearly a decade of experience in providing top-notch customer service regarding appliance parts and repair, Steven enjoys sharing practical advice, troubleshooting tips, and interesting information to help readers stay informed.