Installing an electric oven is a task that might appear daunting, especially if you’re doing it for the first time. However, with the right tools, knowledge, and meticulous care, it can be accomplished safely. In this guide, we’ll discuss in detail the steps required to install an electric oven.
Preliminary Steps: Gather Necessary Tools and Equipment
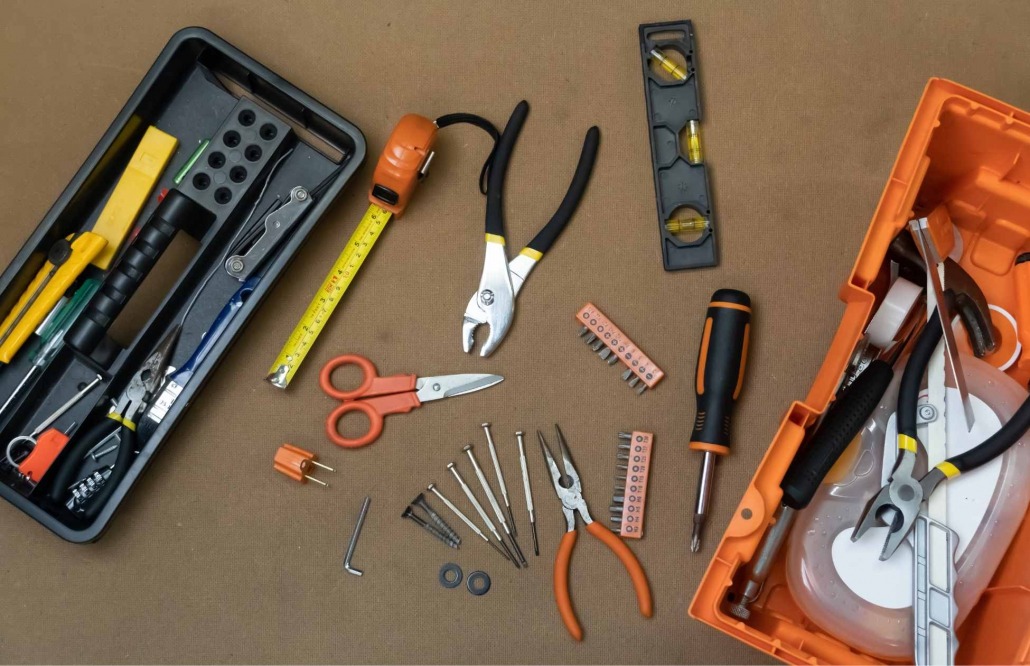
Before embarking on the installation journey, it’s essential to assemble the tools and equipment you will need. Proper preparation helps in ensuring an efficient and safe installation process. The tools and equipment you may require are:
Screwdrivers: A set of both flathead and Phillips head screwdrivers.
Pliers: These are useful for gripping and manipulating wires.
Wire strippers: Necessary for stripping insulation from electrical wires.
Electrical tape: For insulating wire connections.
Level: To make sure the oven is perfectly horizontal.
Drill: Useful if you need to make holes for mounting screws.
Electrical wire: Make sure it is of the appropriate gauge for the oven.
Ensure that all tools are in good condition and that you’re familiar with their usage.
Step 1: Turn off the Power
Safety must be your foremost concern when working with electrical appliances. The first step is to turn off the power supply to the area where you will be installing the electric oven. Locate your home’s electrical service panel and identify the circuit breaker that controls the electricity supply to the kitchen or the area where you will install the oven. Switch it off to ensure there’s no electrical current flowing through the wires that you’ll be working with. For additional safety, you can use a voltage tester to confirm that the power is indeed off.
Step 2: Measure the Space
Before even purchasing your electric oven, it’s crucial to measure the space where you want to install it. Use a tape measure to record the dimensions of the space – height, width, and depth. This is vital to ensure that the oven you buy fits perfectly in the space. It’s advisable to take these measurements with you when shopping for the oven.
Besides the dimensions, assess the area for proper ventilation. Electric ovens generate a lot of heat, and inadequate ventilation could lead to overheating or even fire hazards. Ensure ample space around the oven for air circulation and make sure not to obstruct any vents.
Step 3: Remove the Old Oven
If you’re replacing an old oven, you’ll need to remove it first. Start by making sure that it’s unplugged or disconnected from any power source. Next, open the oven door and locate the screws or bolts that hold the oven in place. Using your screwdriver, gently remove these screws. You may need to use pliers if they are very tight.
Carefully pull the oven out of its space. It’s a good idea to have someone help you as ovens can be quite heavy.
Once the old oven is removed, inspect the electrical wiring that was connected to it. Check for any signs of wear, fraying, or damage. It’s critical that the wiring is in excellent condition as faulty wiring can be a safety hazard.
Step 4: Install the Electric Oven
Now that the space is ready and the wiring is verified to be in good condition, it’s time to install your new electric oven.
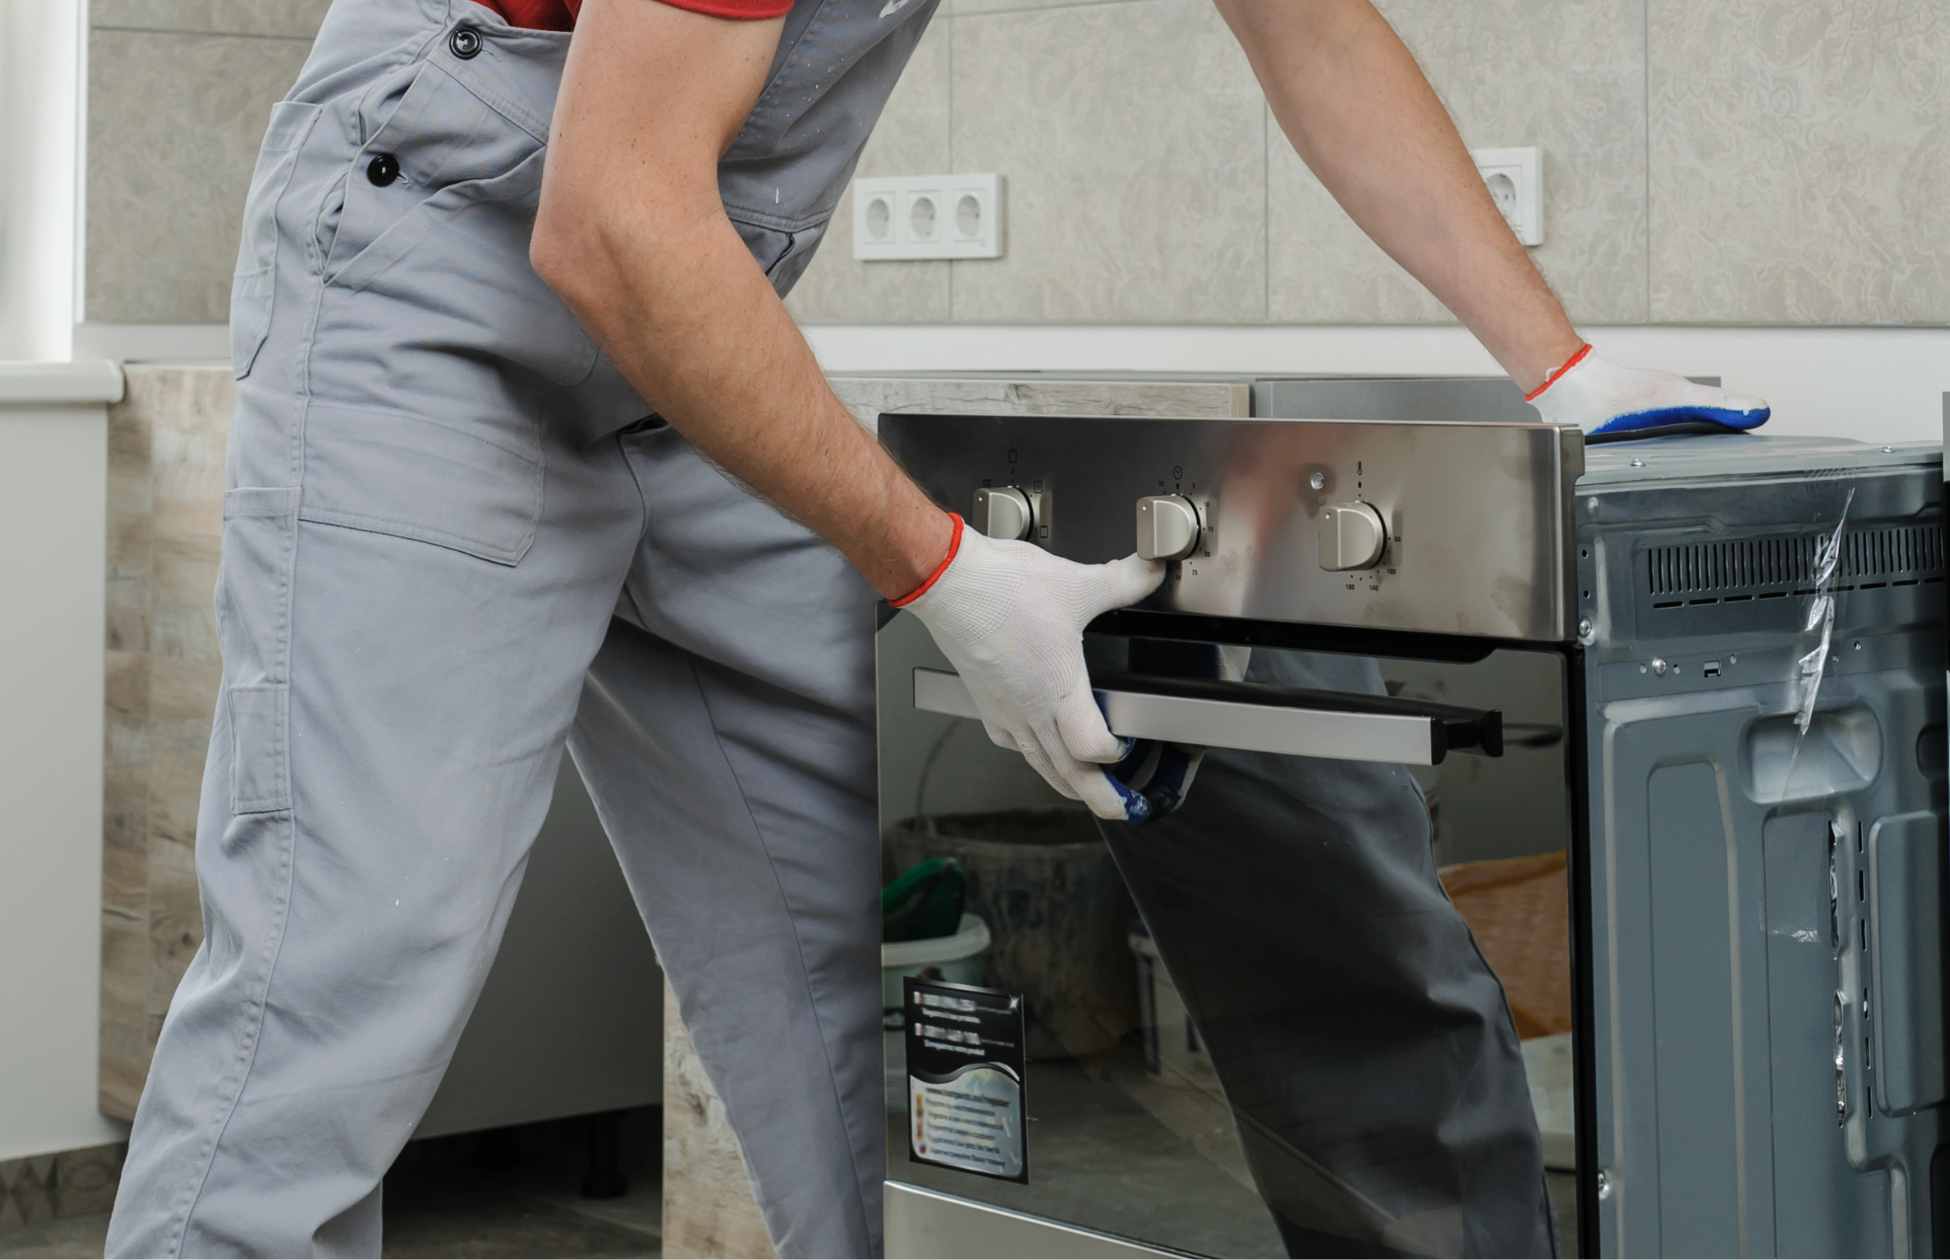
First, carefully slide the oven into the wall opening. As you do this, make sure not to pinch or damage any electrical wiring.
Once the oven is in place, use a level to make sure it’s perfectly horizontal. This is important for baking as uneven heating can affect the outcome of your dishes.
With the oven leveled, you can now secure it in place. Use the screws or bolts provided by the manufacturer and tighten them with your screwdriver. Don’t over-tighten as this could damage the oven or the cabinetry.
Next, connect the electrical wiring according to the manufacturer’s instructions. This usually involves matching wires by color and using wire nuts to secure them together. Make sure to tightly wrap each connection with electrical tape for added safety.
Step 5: Test the Oven
Now that the oven is installed and wired, it’s time to test it. Turn the power back on at the circuit breaker.
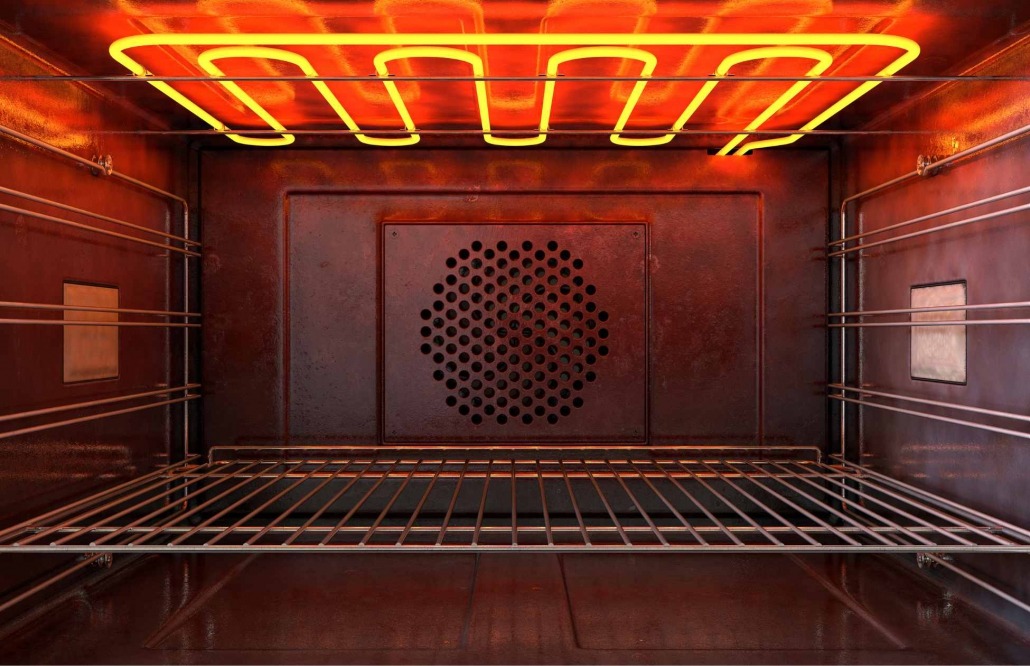
Set the oven to a specific temperature and let it heat up for about 10-15 minutes. Use an oven thermometer to verify that it reaches the set temperature. Also, listen for any unusual noises and observe for any odd smells.
Conclusion
Installing an electric oven can be an intricate task, but with thorough preparation and a meticulous approach, it can be safely accomplished. The steps outlined in this guide are meant to assist you in installing your electric oven securely and effectively. However, if at any point you feel unsure or encounter issues beyond your knowledge, do not hesitate to seek professional help. Prioritizing safety and ensuring that you do the job correctly is always better.
Hi! I’m Matt H., and I’m thrilled to be your guide through the world of appliance repair with over 25 years of invaluable experience in the industry.
From the early days of my career, I have been deeply passionate about appliances and their inner workings. Over the years, I’ve seen it all � from vintage models to the latest cutting-edge technology � and I’ve dedicated myself to mastering the art of repair. With a toolbox in one hand and a wealth of knowledge in the other, I’ve tackled every challenge that has come my way, learning and growing with each repair.
Join me as we dive into the intricacies of appliance repair. From step-by-step repair guides to explanations of common problems and their solutions, I’ll be here to simplify the repair process and empower you with the knowledge you need to keep your appliances running smoothly.
Feel free to explore our blog, ask questions, and leave comments � this platform is a space for learning, sharing, and growing together. Let’s work together to ensure that your appliances continue to serve you for years to come.
Thank you for joining me on this journey, and I look forward to being your go-to resource for all things related to appliance repair!
Cleaning your appliances isn’t just about appearances. With a regular wash schedule, your appliances will run more efficiently and last a lot longer than they might have otherwise. It can potentially solve some problems, too – a lot of appliance troubles start with clogs or build up that you can eliminate with a deep cleaning. Pull on those rubber gloves and grab a sponge. In this article, we’re setting you up with six tips to keep your appliances in top shape over time through cleaning.