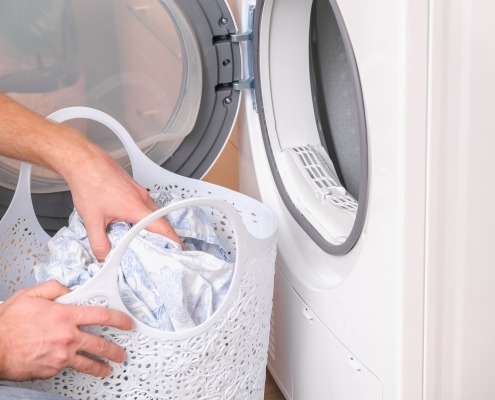
6 tips for troubleshooting a dryer that won’t spin
Steven E / Thursday March 27, 2025
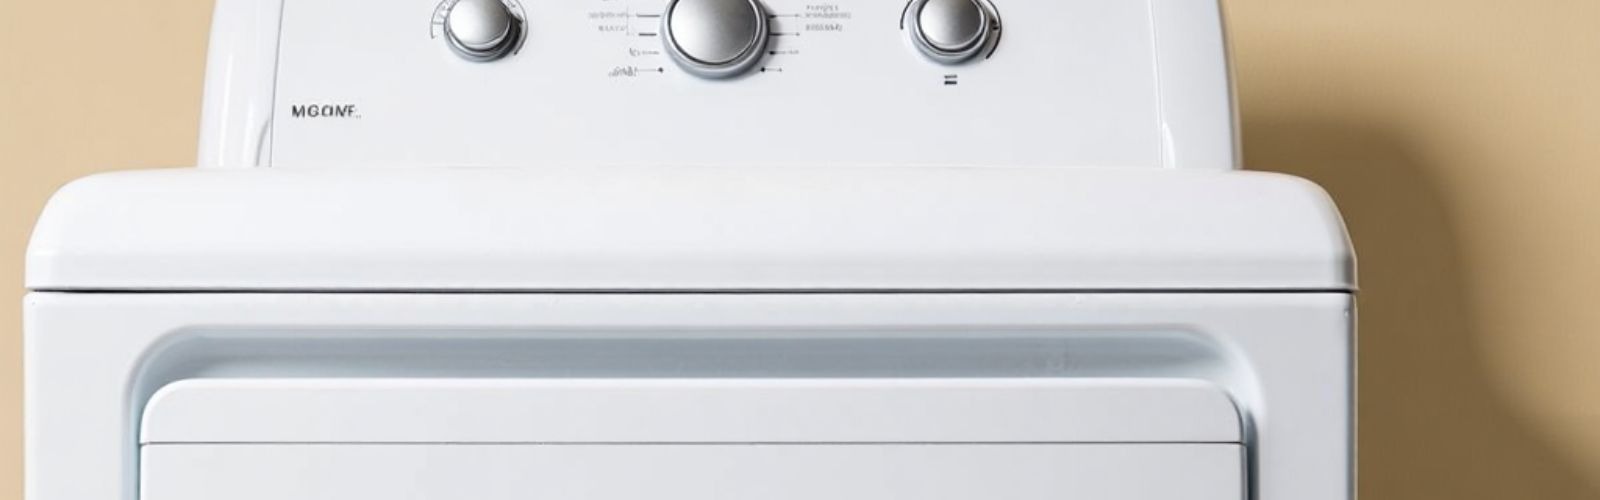
The convenience of a well-functioning dryer is something we often take for granted until it suddenly stops working. A dryer that refuses to spin can disrupt our daily routines and leave us with piles of damp laundry. Fortunately, many common issues that cause a dryer to stop spinning can be diagnosed and resolved without the need for professional help.
The information in this article may not apply exactly to your specific appliance model. For the most accurate guidance, it’s best to check your manufacturer’s documentation or reach out to us if you have any questions.
1. Check the power and test the thermal fuse
The thermal fuse is a safety device that can blow if the dryer overheats. When it trips, it interrupts power to the motor and can result in the dryer not spinning as well as spinning without heat. Checking the power source and testing the thermal fuse helps you rule out common problems that might prevent your dryer from spinning before diving deeper into the dryer.
- Make sure the dryer is receiving the necessary power. Check that the dryer is plugged in correctly and that the outlet is functional.
- Make sure the circuit breaker for the dryer is not tripped or blown.
- If there is correct voltage to the dryer, test the thermal fuse. Here’s how to test the thermal fuse with a multimeter:
- Disconnect the dryer from the power source.
- Locate the thermal fuse, which is typically found on the dryer’s blower housing or exhaust duct. You may need to remove the back panel to access it.
- Gently remove the wires connected to the thermal fuse terminals.
- Set your multimeter to the “ohms” (Ω) setting.
- Touch the multimeter’s probes to each of the thermal fuse’s terminals. If the reading on your multimeter shows infinite resistance (OL) or significantly high resistance, the thermal fuse is likely blown and needs to be replaced.
- If the thermal fuse is faulty, you’ll need to replace it with a new one of the same specifications.
2. Inspect the drive belt
The drive belt helps your dryer’s drum to rotate. Correct installation and tension are vital for the belt to function correctly and the drum to rotate as needed. If the belt is damaged or broken, your dryer won’t spin. Here’s how to examine and fix drive belt issues:

- Make sure the dryer is disconnected from the power source.
- Open the dryer’s cabinet or front panel, depending on your dryer’s make and model. Consult your dryer’s manual or online resources for specific instructions on disassembly.
- Locate the drive belt, which is a long, looped belt that wraps around the dryer’s drum, motor pulley, and idler pulley.
- Check the drive belt for signs of wear like fraying or any other visible damage. If you notice any of these issues, it’s likely the cause of your dryer not spinning.
- With the dryer still unplugged, manually rotate the drum by hand. The drive belt should feel taut and secure. If it appears loose, misaligned or stretched out, or if it slips easily, it may need tightening or replacement. If the drive belt tension seems correct, but the dryer still doesn’t spin, proceed to the next step.
3. Test the switches
Dryers have several switches that can vary depending on the model and manufacturer. A malfunctioning start switch or door switch can prevent the dryer from spinning.
The start switch completes an electrical circuit that begins the drying cycle when pressed. It sends a signal to the motor, instructing it to start rotating the drum. If the start switch fails to function correctly, it can prevent the entire drying process from kicking off.
The door switch is a safety feature designed to ensure the dryer operates only when the door is securely closed. It serves a dual purpose of preventing the drum from spinning while the door is open and shutting off the dryer if the door is opened during a cycle. This keeps you safe from accidentally touching moving parts and also prevents hot air from escaping.
Testing the start switch
- Unplug the dryer from the power source.
- Locate the start switch, which is typically found on the control panel or dashboard of the dryer.
- Carefully remove the wires connected to the start switch terminals.
- Set your multimeter to the “ohms” (Ω) setting.
- Touch the multimeter’s probes to the terminals of the start switch.
- Press the switch to see if there is a change in continuity (a closed circuit). If there’s no change in continuity when the switch is pressed, the start switch may be faulty and need replacement.
Testing the door switch
- Unplug the dryer from the power source.
- Locate the door switch, which is typically positioned around the dryer’s door frame.
- Gently remove the wires connected to the door switch terminals.
- Set your multimeter to the “ohms” (Ω) setting.
- With the dryer door open, test the door switch by touching the multimeter’s probes to its terminals. It should have continuity.
- Close the dryer door and test for continuity again. The circuit should remain closed. If it doesn’t, or if the door switch fails to provide continuity in either position, it may be faulty and need to be replaced.
4. Inspect the drum rollers
The drum rollers support the dryer’s drum as it rotates. The rollers should allow the drum to move freely and help the dryer spin efficiently. Over time, these rollers can become worn or damaged, leading to issues with drum rotation such as misalignment or unwanted friction. This may happen after a period of the dryer noisily running and spinning. Here’s how to inspect and address drum roller problems:
- Make sure the dryer is disconnected from the power source.
- Access the drum rollers by opening the dryer’s cabinet or front panel as needed. Refer to your dryer’s manual or online resources for specific instructions on disassembly.
- Find the drum rollers, which are usually positioned at the rear of the drum or on the dryer’s interior cabinet.
- Inspect the drum rollers for signs of wear, flat spots, or any other signs of damage.
- Try to rotate the rollers by hand. They should move smoothly without any grinding or resistance. If they feel rough or don’t rotate freely, it’s an indication that they may need to be replaced.
- Once you have replacement drum rollers that match your dryer’s make and model, have your dryer’s manual or online resources nearby for step-by-step instructions on how to remove the old rollers and install the new ones.
5. Test the motor and capacitor
The dryer’s motor is the heart of its operation, driving the drum’s rotation. If the motor isn’t functioning correctly, your dryer won’t spin.
Here’s how to test the motor’s operation:
- Disconnect the dryer from the power source.
- Access the motor, which may require removing panels or covers, depending on your dryer’s design.
- Locate the wires connected to the motor. There will usually be multiple wires.
- Set your multimeter to the “ohms” (Ω) setting.
- Test the motor’s windings by touching the multimeter’s probes to the corresponding motor terminals. Refer to your dryer’s wiring diagram for guidance on which terminals to test.
- If the multimeter displays a reading within the specified range (as indicated in your dryer’s manual), the motor windings are intact. However, if the reading is outside the specified range or displays an open circuit (OL), it indicates a problem with the motor windings. The motor may need to be replaced.
6. Check the control board
The control board, also known as the main control or electronic control module, is found on modern dryers and is responsible for managing various functions. If it malfunctions, it can disrupt communication between various components, potentially leading to a dryer that won’t spin. How to inspect and potentially address issues related to the control board:
- Unplug the dryer from the power source.
- Depending on your dryer’s make and model, you may need to remove panels or covers to access the control board. Consult your dryer’s manual or online resources for specific instructions.
- Examine the control board for any signs of visible damage, such as burnt or discolored areas, loose wires, or damaged components.
- Make sure all wire connections are securely attached to the control board and take note of how they are connected.
- Set your multimeter to the appropriate voltage or resistance setting, depending on your dryer’s specifications.
- Carefully remove any wires connected to the control board.
- Use the multimeter to test the control board’s various components and connectors for voltage or continuity by following the wiring diagram in your dryer’s manual.
- If you detect irregularities or inconsistencies in voltage or continuity readings on the control board, it may indicate it’s faulty and needs replacement.
- Refer to the manufacturer’s instructions for the dryer or its manual for step-by-step guidance on replacing the control board.
More information
Thanks for reading! We hope this guide has been helpful and informative enough for you to troubleshoot and fix a dryer that’s not spinning.
If you have any other appliance repair needs or projects, don’t hesitate to contact our team at 1-877-477-7278 and on AppliancePartsPros.com. There, you can find replacement parts with your model number, chat with a pro, and find more guides on our DIY blog.
Be sure to subscribe to us on YouTube and follow us on Facebook!
Check out more here:
WATCH: Electric Dryer Not Spinning – TOP 5 Reasons & Fixes
Troubleshooting Tips for a Dryer Drum That Does Not Turn
 https://www.appliancepartspros.com/b/wp-content/uploads/2023/03/shutterstock_2163697101-scaled.jpg
1707
2560
APP Expert
https://www.appliancepartspros.com/b/wp-content/uploads/2020/11/app-logo-std.png
APP Expert2023-03-11 11:07:002026-01-23 12:37:36Why Is My Dryer Overheating? Understanding The Common Causes And Solutions
https://www.appliancepartspros.com/b/wp-content/uploads/2023/03/shutterstock_2163697101-scaled.jpg
1707
2560
APP Expert
https://www.appliancepartspros.com/b/wp-content/uploads/2020/11/app-logo-std.png
APP Expert2023-03-11 11:07:002026-01-23 12:37:36Why Is My Dryer Overheating? Understanding The Common Causes And Solutions https://www.appliancepartspros.com/b/wp-content/uploads/2023/03/227_gas-dryers-vs-electric-dryers-which-is-better-for_top.png
640
1536
Steven E
https://www.appliancepartspros.com/b/wp-content/uploads/2020/11/app-logo-std.png
Steven E2023-03-10 06:00:002026-01-23 13:00:58Gas Dryers vs Electric Dryers: Which is Better For You?
https://www.appliancepartspros.com/b/wp-content/uploads/2023/03/227_gas-dryers-vs-electric-dryers-which-is-better-for_top.png
640
1536
Steven E
https://www.appliancepartspros.com/b/wp-content/uploads/2020/11/app-logo-std.png
Steven E2023-03-10 06:00:002026-01-23 13:00:58Gas Dryers vs Electric Dryers: Which is Better For You? https://www.appliancepartspros.com/b/wp-content/uploads/2023/02/ChatGPT-Image-Jan-26-2026-12_32_23-PM.png
1024
1536
APP Expert
https://www.appliancepartspros.com/b/wp-content/uploads/2020/11/app-logo-std.png
APP Expert2023-02-27 13:52:162026-01-26 09:42:00Dryer Drum Belt Replacement: A Step-by-Step Guide to Fixing Your Dryer
https://www.appliancepartspros.com/b/wp-content/uploads/2023/02/ChatGPT-Image-Jan-26-2026-12_32_23-PM.png
1024
1536
APP Expert
https://www.appliancepartspros.com/b/wp-content/uploads/2020/11/app-logo-std.png
APP Expert2023-02-27 13:52:162026-01-26 09:42:00Dryer Drum Belt Replacement: A Step-by-Step Guide to Fixing Your DryerWith nearly a decade of experience in providing top-notch customer service regarding appliance parts and repair, Steven enjoys sharing practical advice, troubleshooting tips, and interesting information to help readers stay informed.