Annual Appliance Maintenance Checklist to Prevent CO Leaks
Steven E / Monday July 14, 2025
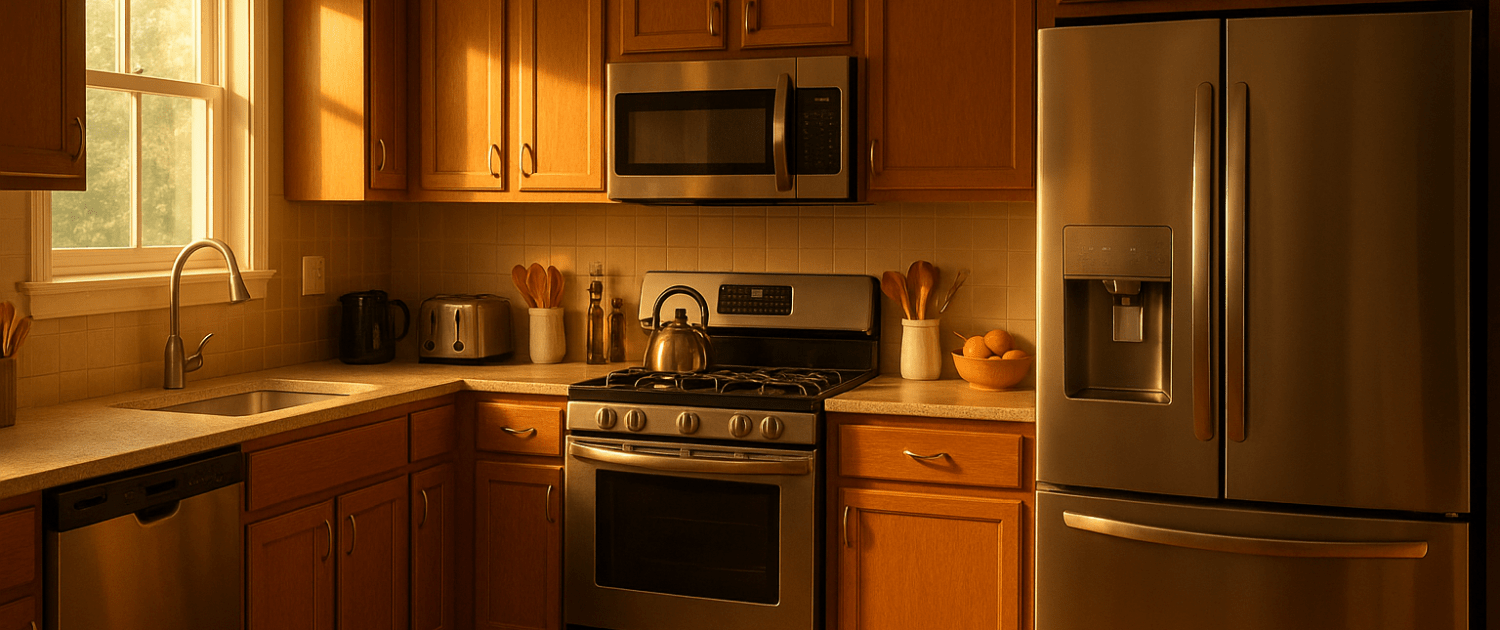
Carbon monoxide is odorless, invisible, and dangerous—but luckily, it’s preventable with just a little care. Keeping your gas and fuel-burning appliances properly maintained is one of the easiest ways to avoid CO leaks and keep your home safe. Here’s your annual appliance maintenance checklist to prevent carbon monoxide leaks and give you peace of mind all year long.
Why Annual Maintenance Matters
Even the most reliable gas appliance wears out over time. Dust, lint, corrosion, and loose fittings can interfere with combustion or block exhaust paths, leading to incomplete fuel burn and more CO. A few preventative steps go a long way:
- Keeps CO levels low and your air safe
- Improves energy efficiency and lowers utility bills
- Reduces wear on critical parts, saving you money in the long run
- Helps you catch and fix small issues before they become big problems
Tools You’ll Want on Hand
Before you get started, gather these basics:
- Flashlight
- Screwdrivers
- Vacuum with a hose attachment
- Soft brush
- Microfiber cloth
- Replacement air filters
- Small mirror (for inspecting hard-to-see areas)
- CO detector batteries or a new detector if needed
Checklist: What to Inspect and Maintain
Here’s your step-by-step checklist of appliances and parts to check each year.

Furnace
The furnace is the largest gas-burning appliance in most homes, and one of the most common sources of CO leaks if neglected.
Inspect and clean:
- Burner assembly. Look for dust, rust, and debris. Clean with a soft brush and vacuum.
- Heat exchanger. Shine a light into the chamber to check for cracks, holes, or rust spots. Replace if damaged.
- Flame sensor or thermocouple. Remove and clean gently or replace if worn.
- Vent pipe. Look for corrosion, loose connections, and obstructions. Ensure it’s securely attached and clear all the way to the outside.
- Blower compartment. Vacuum out dust and lint.
Replace:
- Air filter. Install a new one for better airflow and combustion.
Check flame:
- Burner flame should be steady and blue. Yellow or flickering flames indicate poor combustion.
Gas Water Heater
Your water heater runs almost constantly, so a little care goes a long way.
Inspect and clean:
- Burner and pilot light assembly. Vacuum or brush off dust and debris.
- Vent hood and pipe. Make sure the draft hood is properly aligned and that the vent is free of obstructions.
- Flame. Pilot and main burner flames should be blue and steady.
Replace if needed:
- Thermocouple if pilot won’t stay lit.
- Gasket if you notice rust or moisture around access panels.
Gas Cooktop or Range
Cooking appliances may seem harmless, but improper flame adjustment can lead to excess CO.
Inspect and clean:
- Burner heads and caps. Remove and scrub off grease and clogs.
- Orifices. Use a pin or brush to clear debris without enlarging the holes.
- Flame color. Flames should be blue with minimal yellow tips. Adjust air shutters if needed.
- Oven venting. Make sure the vent is clear and not blocked.
Gas Dryer
Dryers produce a small amount of CO that’s normally vented outside, if the vent stays clear.
Inspect and clean:
- Lint trap. Clean after every load.
- Exhaust duct. Remove lint buildup in flexible or rigid ducts all the way to the outside.
- Exterior vent hood. Make sure the flap moves freely and isn’t blocked by leaves or nests.
- Flame and burner. Remove the access panel and inspect for dust and yellow flames.
Gas Fireplace or Logs
Fireplaces and decorative gas logs are cozy, but ventless models especially need close monitoring.
Inspect and clean:
- Burner and pilot light. Brush away soot and dust.
- Logs. Arrange properly to allow air to circulate and burn evenly.
- Vent pipe or chimney. If vented, make sure it’s clear and free of obstructions.
- Flame. Should burn blue with small yellow tips. Excessive yellow or sooty flames mean poor combustion.
CO Detectors
Even with good maintenance, CO detectors are your last line of defense.
What to Check and Do
- Test the Alarm: Press the test button to confirm it sounds.
- Replace Batteries: Install fresh batteries at least once a year.
- Check the Expiration Date: Most detectors need replacing every 5–7 years.
Additional Tips to Stay Ahead
- Keep the area around all gas appliances clear and free of clutter.
- Watch for condensation, soot, or scorch marks around vents, signs of poor venting.
- Listen for unusual sounds when appliances run, like banging or roaring flames.
- Always ensure proper airflow in your home, don’t block return vents or grills.
Where To Find Us
If you need any replacement parts for your appliances, you can enter your model number at AppliancePartsPros.com to locate and order them quickly. Most orders arrive in just two business days, and we have tons of great information in our repair help section and YouTube videos to help you troubleshoot.
Stay connected with the latest DIY tips, tutorial videos, and repair guides by following us on Facebook, Instagram, and Twitter. We love hearing about your repair stories and successes. If you need more help or want personalized guidance, feel free to reach out. We’re ready to help you take on your next project with confidence!
The information in this article may not apply to your specific appliance model. We recommend consulting your manufacturer’s documentation or contact us with any questions.
 https://www.appliancepartspros.com/b/wp-content/uploads/2024/12/APP-blog-square-7-1.jpg
1080
1080
Steven E
https://www.appliancepartspros.com/b/wp-content/uploads/2020/11/app-logo-std.png
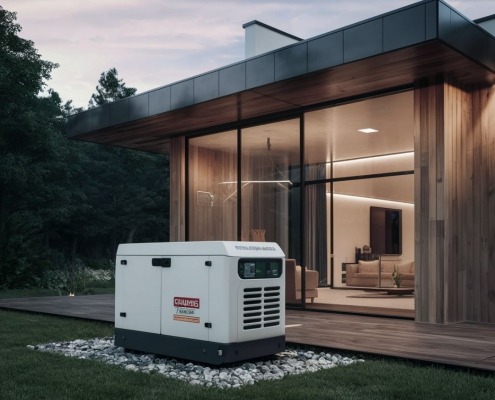
Steven E2025-01-31 12:48:002025-01-31 12:48:09How to clean & maintain a generator carburetor
https://www.appliancepartspros.com/b/wp-content/uploads/2024/12/APP-blog-square-7-1.jpg
1080
1080
Steven E
https://www.appliancepartspros.com/b/wp-content/uploads/2020/11/app-logo-std.png
Steven E2025-01-31 12:48:002025-01-31 12:48:09How to clean & maintain a generator carburetor https://www.appliancepartspros.com/b/wp-content/uploads/2024/12/APP-blog-square-33.jpg
1080
1080
Steven E
https://www.appliancepartspros.com/b/wp-content/uploads/2020/11/app-logo-std.png
Steven E2025-01-31 12:20:192025-01-31 12:20:285 common appliance painting myths debunked
https://www.appliancepartspros.com/b/wp-content/uploads/2024/12/APP-blog-square-33.jpg
1080
1080
Steven E
https://www.appliancepartspros.com/b/wp-content/uploads/2020/11/app-logo-std.png
Steven E2025-01-31 12:20:192025-01-31 12:20:285 common appliance painting myths debunked https://www.appliancepartspros.com/b/wp-content/uploads/2025/01/APP-blog-square-46.jpg
1080
1080
Steven E
https://www.appliancepartspros.com/b/wp-content/uploads/2020/11/app-logo-std.png
Steven E2025-01-24 12:14:132025-01-24 12:14:24How to paint metal appliances without peeling or chipping
https://www.appliancepartspros.com/b/wp-content/uploads/2025/01/APP-blog-square-46.jpg
1080
1080
Steven E
https://www.appliancepartspros.com/b/wp-content/uploads/2020/11/app-logo-std.png
Steven E2025-01-24 12:14:132025-01-24 12:14:24How to paint metal appliances without peeling or chippingWith nearly a decade of experience in providing top-notch customer service regarding appliance parts and repair, Steven enjoys sharing practical advice, troubleshooting tips, and interesting information to help readers stay informed.