Bathroom Exhaust Fan Light Burned Out? Here’s How to Fix It
Steven E / Tuesday June 24, 2025
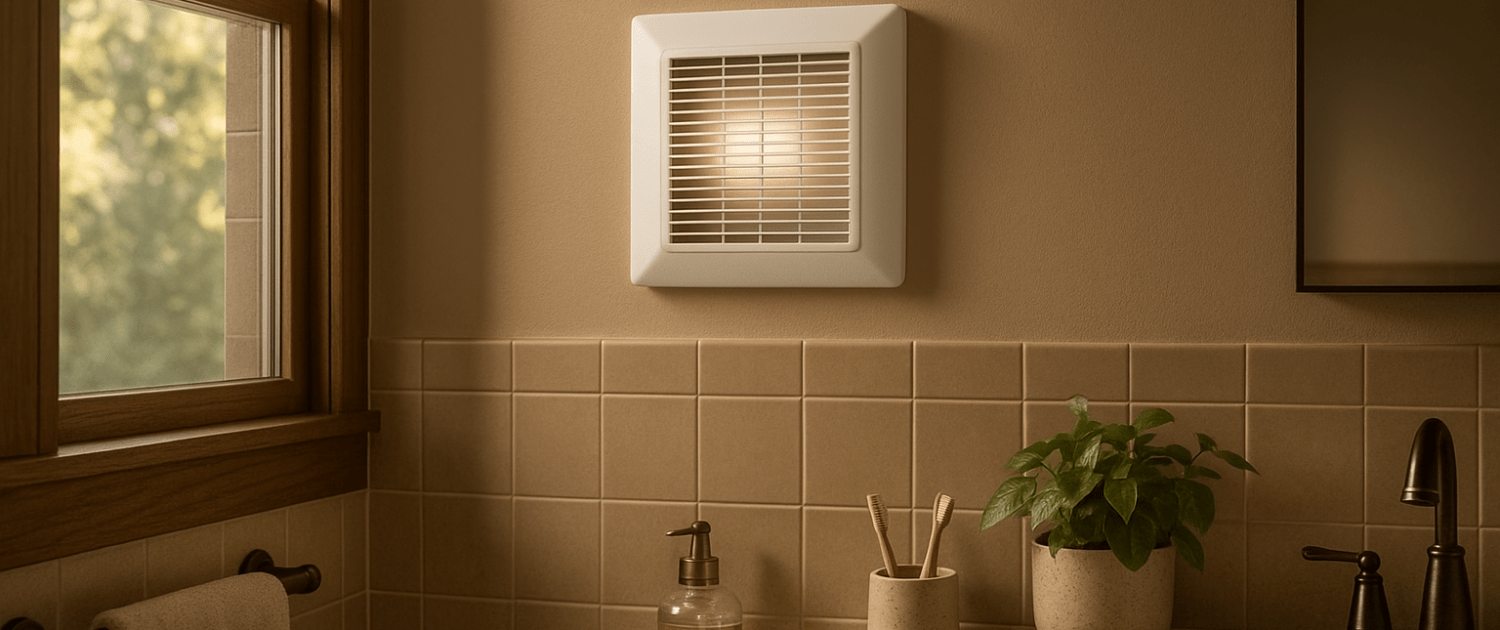
If your bathroom fan light is flickering, buzzing, dimmer than a nightlight, or just plain outdated, it might be time for an upgrade. Thankfully, replacing a bathroom fan light fixture is one of the most approachable home improvement projects out there, even for beginners.
Whether you’re upgrading to a sleeker model, replacing a burnt-out light assembly, or just trying to modernize your space, this guide will walk you through how to do it safely, efficiently, and without pulling your hair out.
Let’s brighten things up!
Why Replace the Bathroom Fan Light Fixture?
Bathroom fan/light combos work double duty: they help ventilate moisture from your shower while providing illumination in a room that often has little to no natural light. But over time, these fixtures can go bad due to:

- Old or faulty wiring
- Burnt-out sockets
- Yellowed or cracked covers
- Low-efficiency bulbs or outdated technology
- Buzzing ballasts or flickering lights
Replacing the fixture not only restores proper lighting but can improve energy efficiency and eliminate electrical annoyances.
What You’ll Need
Before you dive in, gather the following tools and supplies:
- Screwdriver (Phillips and flathead)
- Voltage tester or multimeter
- Wire strippers
- Needle-nose pliers (optional)
- Step stool or ladder
- Safety goggles and gloves
- New bathroom fan light fixture or replacement light assembly (make sure it’s compatible with your fan model)
- Wire nuts
- Electrical tape
- LED-compatible bulbs (if needed)
- Replacement cover (if old one is yellowed or cracked)
Pro tip: If you’re not replacing the whole fan unit, just the light fixture or lighting kit, make sure you know the make and model of your existing fan. You can usually find it on a sticker inside the housing behind the grille.
Steps For Replacing a Bathroom Fan Light Fixture
1. Turn Off the Power
Head to your circuit breaker panel and shut off the power to the bathroom. Don’t just flip the wall switch, turn off the breaker. Then use a voltage tester on the fixture wires to confirm the power is off before doing anything else.
Safety first! Never assume wires are dead until you’ve tested them.
2. Remove the Old Fan Cover
Most bathroom fan covers are spring-loaded. Gently pull down on the cover until it drops a few inches. Inside, you’ll see two metal spring clips, pinch them together and pull them free to fully detach the cover.
Set the cover aside, you may reuse it if you’re only swapping the light assembly.
3. Remove the Light Assembly
Depending on your fan model, the light fixture may be held in place with screws, clips, or a twist-lock mechanism.
- Unscrew or unclip the light housing carefully.
- Disconnect the wiring, usually two or three wires: black (hot), white (neutral), and possibly a ground (green or bare copper).
- If the wires are connected with wire nuts, untwist them. If they’re crimped or taped, carefully snip them with wire cutters.
Once disconnected, remove the light assembly from the fan housing.
4. Inspect the Wiring and Fan Housing
Now that the light is out, take a look inside the housing:
- Check for signs of moisture, corrosion, or burnt wires.
- Clean out dust and debris with a dry cloth or vacuum hose, this helps prolong the life of the fan and light.
- If you see frayed wires or burn marks, it may be time to call an electrician or replace the entire fan unit.
If everything looks good, you’re ready to install the new light fixture.
5. Install the New Light Fixture
If you’re installing a brand-new fixture, follow the instructions that came with it, but here’s the general process:
- Match the wires, Black (hot) to black, white (neutral) to white and green or bare (ground) to the grounding screw or wire.
- Twist the wire ends together, secure them with wire nuts, and wrap each connection with electrical tape for added security.
- Tuck the wires neatly back into the housing to prevent pinching or interference.
- Secure the light assembly using the provided screws or clips. Make sure it’s snug but not overly tight.
6. Install the Bulbs and Test the Fixture
Insert the appropriate bulb(s), ideally LED bulbs to reduce heat and energy use. If the fixture came with built-in LEDs, you’re good to go.
Now, turn the power back on at the breaker and test the light switch. If nothing happens, turn the breaker back off and double-check your wiring connections.
7. Reattach or Replace the Cover
Once the light is functioning properly, reattach the grille cover:
- Reinsert the spring clips into the slots inside the fan housing.
- Gently push the cover back into place until it’s flush with the ceiling.
If your old cover is discolored or cracked, now’s the perfect time to replace it with a fresh one.
Optional Upgrade Ideas
While you’re already working on the fixture, consider these simple upgrades to modernize your bathroom setup:
Switch to LED
LED lights not only last longer, but they also generate less heat and use significantly less power than incandescent or CFL bulbs.
Add a Smart Switch or Timer
Replace the wall switch with a timer or smart switch to automatically turn off the fan and light after a set time. Great for energy savings and ventilation.
Install a Brighter Fixture
If your bathroom has poor lighting, go with a higher-lumen fixture or one with dual bulb sockets for better visibility.
🌬 Upgrade the Whole Fan Unit
If your fan is over 15–20 years old and noisy, this might be a good time to replace the whole assembly with a quiet, energy-efficient model that includes LED lighting and humidity sensing.
Troubleshooting Tips
- Light flickers? Make sure the bulb is rated for enclosed fixtures. Also check for loose wire connections or a bad switch.
- No power? Double-check the breaker and your wire connections. A multimeter can help trace where the power is lost.
- Bulbs burning out quickly? This could be due to high fixture heat, bad sockets, or incorrect bulb wattage. Stick with LED for longevity and safety.
Final Thoughts
Swapping out a bathroom fan light fixture is a small project that makes a big difference. Whether you’re fixing a broken light, upgrading to LEDs, or just wanting a brighter bathroom, this DIY task is quick, affordable, and super satisfying.
With the right tools, a little patience, and safety at the forefront, you’ll be flipping that switch and enjoying your new light in under an hour.
Now go bask in the glow of your handiwork, and enjoy a bathroom that’s brighter, quieter, and a whole lot more modern.
Where To Find Us
If you need any replacement parts for your appliances, you can enter your model number at AppliancePartsPros.com to locate and order them quickly. Most orders arrive in just two business days, and we have tons of great information in our repair help section and YouTube videos to help you troubleshoot.
Stay connected with the latest DIY tips, tutorial videos, and repair guides by following us on Facebook, Instagram, and Twitter. We love hearing about your repair stories and successes. If you need more help or want personalized guidance, feel free to reach out. We’re ready to help you take on your next project with confidence!
The information in this article may not apply to your specific appliance model. We recommend consulting your manufacturer’s documentation or contact us with any questions.
 https://www.appliancepartspros.com/b/wp-content/uploads/2025/06/20250624_1617_Foggy-Bathroom-Vent-Focal_simple_compose_01jyhscc6ceg9vgy68vpx8de8q.png
1024
1536
Steven E
https://www.appliancepartspros.com/b/wp-content/uploads/2020/11/app-logo-std.png
Steven E2025-06-30 07:31:212025-06-30 07:31:30What to Do When Your Bathroom Fan Isn’t Removing Moisture
https://www.appliancepartspros.com/b/wp-content/uploads/2025/06/20250624_1617_Foggy-Bathroom-Vent-Focal_simple_compose_01jyhscc6ceg9vgy68vpx8de8q.png
1024
1536
Steven E
https://www.appliancepartspros.com/b/wp-content/uploads/2020/11/app-logo-std.png
Steven E2025-06-30 07:31:212025-06-30 07:31:30What to Do When Your Bathroom Fan Isn’t Removing Moisture https://www.appliancepartspros.com/b/wp-content/uploads/2025/06/20250626_1102_Bathroom-Vent-with-Drips_simple_compose_01jypc337cfat9y1xk058vdzvf.png
1024
1536
Steven E
https://www.appliancepartspros.com/b/wp-content/uploads/2020/11/app-logo-std.png
Steven E2025-06-30 07:30:052025-06-30 07:30:14What Causes Bathroom Exhaust Fan Leaks and How to Stop Them
https://www.appliancepartspros.com/b/wp-content/uploads/2025/06/20250626_1102_Bathroom-Vent-with-Drips_simple_compose_01jypc337cfat9y1xk058vdzvf.png
1024
1536
Steven E
https://www.appliancepartspros.com/b/wp-content/uploads/2020/11/app-logo-std.png
Steven E2025-06-30 07:30:052025-06-30 07:30:14What Causes Bathroom Exhaust Fan Leaks and How to Stop Them https://www.appliancepartspros.com/b/wp-content/uploads/2025/06/20250624_1617_Foggy-Bathroom-Vent_simple_compose_01jyhsbtwhet09bymf66encpkp.png
1024
1536
Steven E
https://www.appliancepartspros.com/b/wp-content/uploads/2020/11/app-logo-std.png
Steven E2025-06-30 07:20:122025-06-30 07:20:21Bathroom Fan Odors? Here’s What They Mean and How to Fix It
https://www.appliancepartspros.com/b/wp-content/uploads/2025/06/20250624_1617_Foggy-Bathroom-Vent_simple_compose_01jyhsbtwhet09bymf66encpkp.png
1024
1536
Steven E
https://www.appliancepartspros.com/b/wp-content/uploads/2020/11/app-logo-std.png
Steven E2025-06-30 07:20:122025-06-30 07:20:21Bathroom Fan Odors? Here’s What They Mean and How to Fix ItWith nearly a decade of experience in providing top-notch customer service regarding appliance parts and repair, Steven enjoys sharing practical advice, troubleshooting tips, and interesting information to help readers stay informed.