Bathroom Fan Runs Louder on Cold Days: What’s Happening?
Steven E / Wednesday July 2, 2025
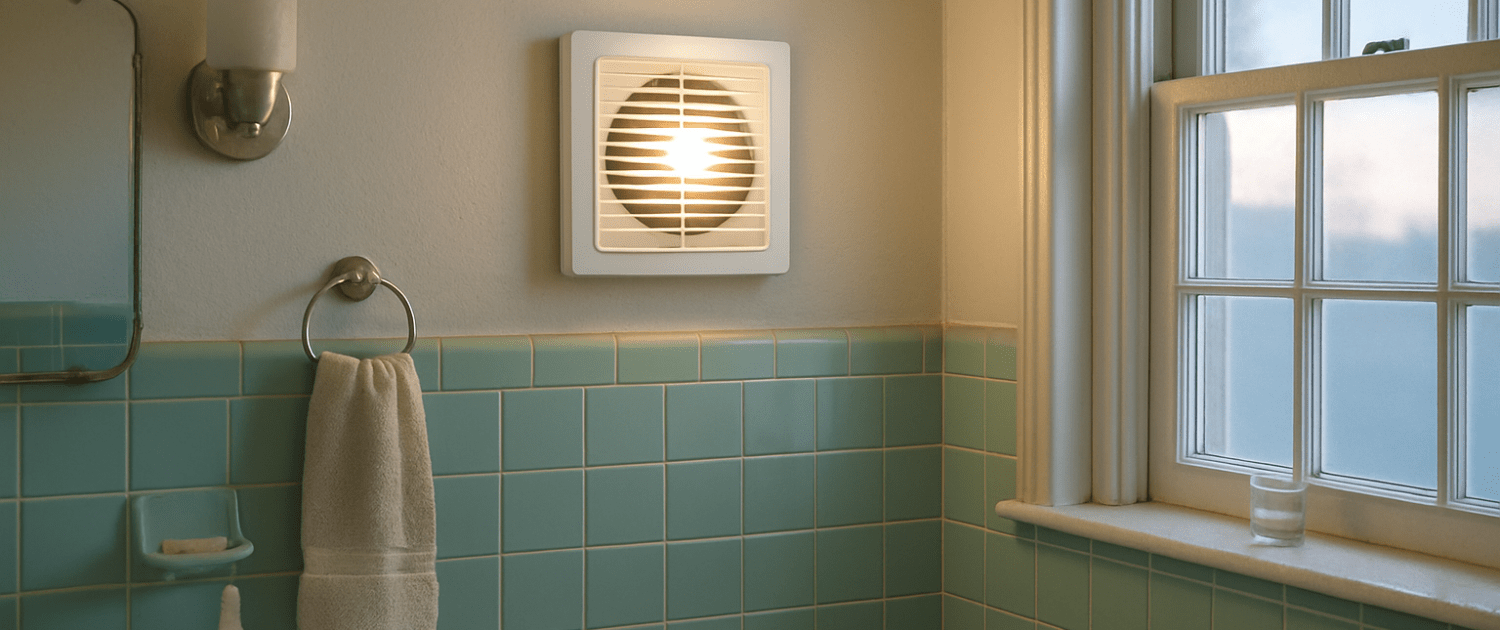
If your bathroom exhaust fan hums quietly most of the year but suddenly sounds like a jet engine when winter rolls around, you’re not imagining things. A fan that runs louder on cold days may seem like an odd seasonal quirk, but there are several logical reasons behind it.
We’ll break down why your bathroom fan gets noisier in cold weather so you can restore peace and quiet in your bathroom, no matter the temperature outside.
The information in this article may not apply to your specific appliance model. We recommend consulting your manufacturer’s documentation or contact us with any questions.
Why Is Your Bathroom Fan Louder When It’s Cold?
Before diving into specific problems and fixes, it helps to understand the general causes behind a fan that gets louder in the winter.

- Contracting or expanding materials in the fan or ductwork
- Airflow resistance from cold, dense outside air
- Stiff lubrication or motor grease due to low temperatures
- Loose or rattling duct parts expanding or shifting
- Blocked or frozen vent flaps causing noise turbulence
Cold air changes the way materials behave and how air flows through your venting system. Let’s explore how that translates into extra noise and what you can do to fix it.
Step 1: Identify the Type of Noise
Start by figuring out what kind of sound you’re hearing. Different noises suggest different issues.
- Buzzing or humming: Often related to the motor working harder than usual.
- Rattling or banging: Ductwork may be contracting or vibrating.
- Whistling or airflow sounds: High-pressure differences or blocked vent flaps.
- Grinding or squealing: The motor may be struggling or need lubrication.
Step 2: Check the Exterior Vent
One of the most common causes of noise on cold days is a problem with the exterior vent hood.
What to Look For:
- Frozen or stuck damper flap: If the flap doesn’t open easily, airflow backs up, creating turbulence and noise.
- Blocked vent: Snow, ice, or debris can partially block the vent, causing pressure to build and noise to increase.
- Cold air drafting in: A missing or loose damper lets cold air blow into the duct and causes flapping or rumbling sounds.
Fixes:
- Inspect the vent cap outside your home (usually on a wall or soffit).
- Clear away snow, ice, or leaves.
- Open and close the damper flap manually to ensure it moves freely.
- Add or replace a backdraft damper inside the duct if needed.
Step 3: Inspect the Ductwork
Your bathroom fan is connected to the exterior vent by a flexible or rigid duct, which expands and contracts with temperature changes.
- Metal ducting contracts, pulling on screws, joints, or the fan housing.
- Plastic flex ducts stiffen, causing crinkling or rattling as air moves through.
- Insufficient insulation lets cold air flood the duct, increasing turbulence and condensation.
Inspection:
- Remove the fan grille and peer into the ductwork.
- Look for signs of vibration, loose clamps, or kinks in flexible ducting.
- Gently move the duct to check for excess play or movement that could vibrate against framing or drywall.
Fixes:
- Add foam padding or brackets to isolate the duct from contact points.
- Re-clamp or secure any loose sections.
- Consider upgrading to insulated ducting to reduce temperature-driven expansion and noise.
Step 4: Test the Fan Motor and Impeller
In colder temperatures, the fan motor and moving parts may behave differently.
- Lubricant in bearings thickens in the cold, causing resistance and louder operation.
- Fan blades or impeller shift slightly in position due to contracting materials, rubbing on the housing or making extra noise.
- If the motor is aging, cold weather can push it past its comfort zone, revealing worn-out components.
Testing:
- Turn off the breaker to the bathroom fan.
- Remove the fan grille and gently spin the fan blades by hand.
- Listen and feel for resistance, rubbing, or wobbles.
- If your fan motor has a lubrication port, apply a small amount of electric motor oil (never use household lubricants like WD-40).
Step 5: Tighten Mounting Screws and Fasteners
Temperature swings can loosen fasteners or mounting brackets inside the fan housing or duct system, leading to vibrations that grow more noticeable in colder, denser air.
- Remove the fan grille.
- Use a screwdriver to tighten screws around the fan housing, motor plate, and duct connections.
- Feel for movement in the housing; if it shifts at all, re-secure it to the ceiling joists.
If your fan was installed using retrofit clips or hanger bars, make sure they haven’t slipped over time. Adding a few screws to anchor the housing more firmly can eliminate rattling or buzzing.
Step 6: Upgrade to a Quieter Fan
If your fan is older, poorly insulated, or undersized, it might just be showing its age. Cold air can exaggerate any imperfections in older units.
Newer bathroom fans are quieter, more efficient, and many are designed to minimize vibration and noise regardless of ambient temperature. Some even include integrated insulation and sealed dampers to prevent cold drafts and condensation.
Installation is often a straightforward project, especially if your new fan fits the same size opening.
Bonus Tips for Winter Quiet
Even if your fan is in good shape, these small improvements can help make it whisper-quiet in the colder months:
- Seal air leaks around the fan housing with caulk or foam to reduce vibration and draft.
- Add rubber grommets or sound-dampening tape to mounting brackets or duct joints.
- Run the fan for shorter periods in winter if it causes discomfort from pulling cold air into the room.
- Install a timer switch or humidity sensor to automate and limit fan run time.
Where To Find Us
If you need any replacement parts for your appliances, you can enter your model number at AppliancePartsPros.com to locate and order them quickly. Most orders arrive in just two business days, and we have tons of great information in our repair help section and YouTube videos to help you troubleshoot.
Stay connected with the latest DIY tips, tutorial videos, and repair guides by following us on Facebook, Instagram, and Twitter. We love hearing about your repair stories and successes. If you need more help or want personalized guidance, feel free to reach out. We’re ready to help you take on your next project with confidence!
 https://www.appliancepartspros.com/b/wp-content/uploads/2025/06/20250624_1617_Foggy-Bathroom-Vent-Focal_simple_compose_01jyhscc6ceg9vgy68vpx8de8q.png
1024
1536
Steven E
https://www.appliancepartspros.com/b/wp-content/uploads/2020/11/app-logo-std.png
Steven E2025-06-30 07:31:212025-06-30 07:31:30What to Do When Your Bathroom Fan Isn’t Removing Moisture
https://www.appliancepartspros.com/b/wp-content/uploads/2025/06/20250624_1617_Foggy-Bathroom-Vent-Focal_simple_compose_01jyhscc6ceg9vgy68vpx8de8q.png
1024
1536
Steven E
https://www.appliancepartspros.com/b/wp-content/uploads/2020/11/app-logo-std.png
Steven E2025-06-30 07:31:212025-06-30 07:31:30What to Do When Your Bathroom Fan Isn’t Removing Moisture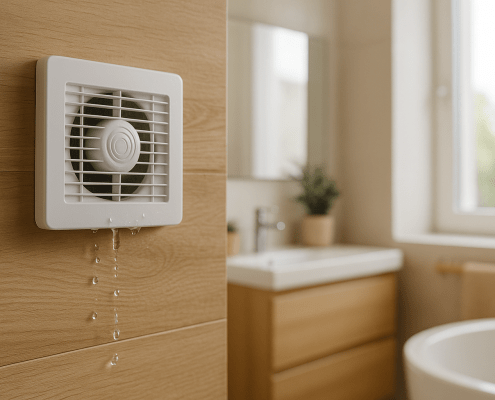 https://www.appliancepartspros.com/b/wp-content/uploads/2025/06/20250626_1102_Bathroom-Vent-with-Drips_simple_compose_01jypc337cfat9y1xk058vdzvf.png
1024
1536
Steven E
https://www.appliancepartspros.com/b/wp-content/uploads/2020/11/app-logo-std.png
Steven E2025-06-30 07:30:052025-06-30 07:30:14What Causes Bathroom Exhaust Fan Leaks and How to Stop Them
https://www.appliancepartspros.com/b/wp-content/uploads/2025/06/20250626_1102_Bathroom-Vent-with-Drips_simple_compose_01jypc337cfat9y1xk058vdzvf.png
1024
1536
Steven E
https://www.appliancepartspros.com/b/wp-content/uploads/2020/11/app-logo-std.png
Steven E2025-06-30 07:30:052025-06-30 07:30:14What Causes Bathroom Exhaust Fan Leaks and How to Stop Them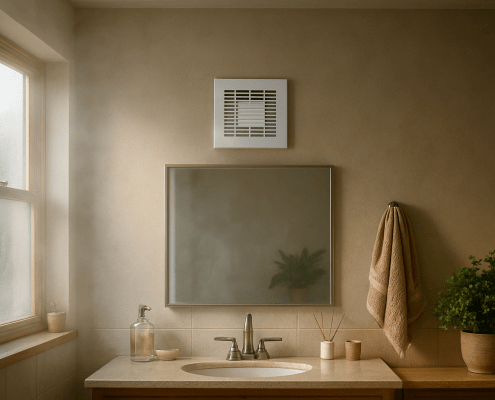 https://www.appliancepartspros.com/b/wp-content/uploads/2025/06/20250624_1617_Foggy-Bathroom-Vent_simple_compose_01jyhsbtwhet09bymf66encpkp.png
1024
1536
Steven E
https://www.appliancepartspros.com/b/wp-content/uploads/2020/11/app-logo-std.png
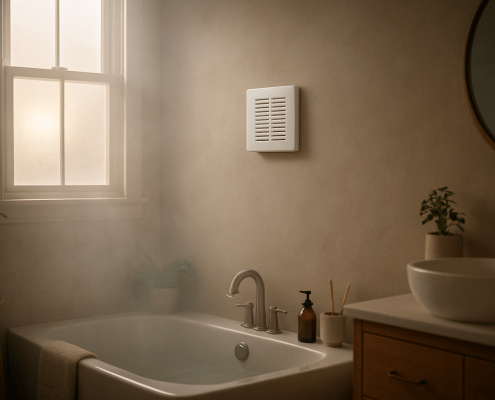
Steven E2025-06-30 07:20:122025-06-30 07:20:21Bathroom Fan Odors? Here’s What They Mean and How to Fix It
https://www.appliancepartspros.com/b/wp-content/uploads/2025/06/20250624_1617_Foggy-Bathroom-Vent_simple_compose_01jyhsbtwhet09bymf66encpkp.png
1024
1536
Steven E
https://www.appliancepartspros.com/b/wp-content/uploads/2020/11/app-logo-std.png
Steven E2025-06-30 07:20:122025-06-30 07:20:21Bathroom Fan Odors? Here’s What They Mean and How to Fix ItWith nearly a decade of experience in providing top-notch customer service regarding appliance parts and repair, Steven enjoys sharing practical advice, troubleshooting tips, and interesting information to help readers stay informed.