Bosch F44 Oven Error: Quick DIY Troubleshooting
Steven E / Tuesday May 13, 2025
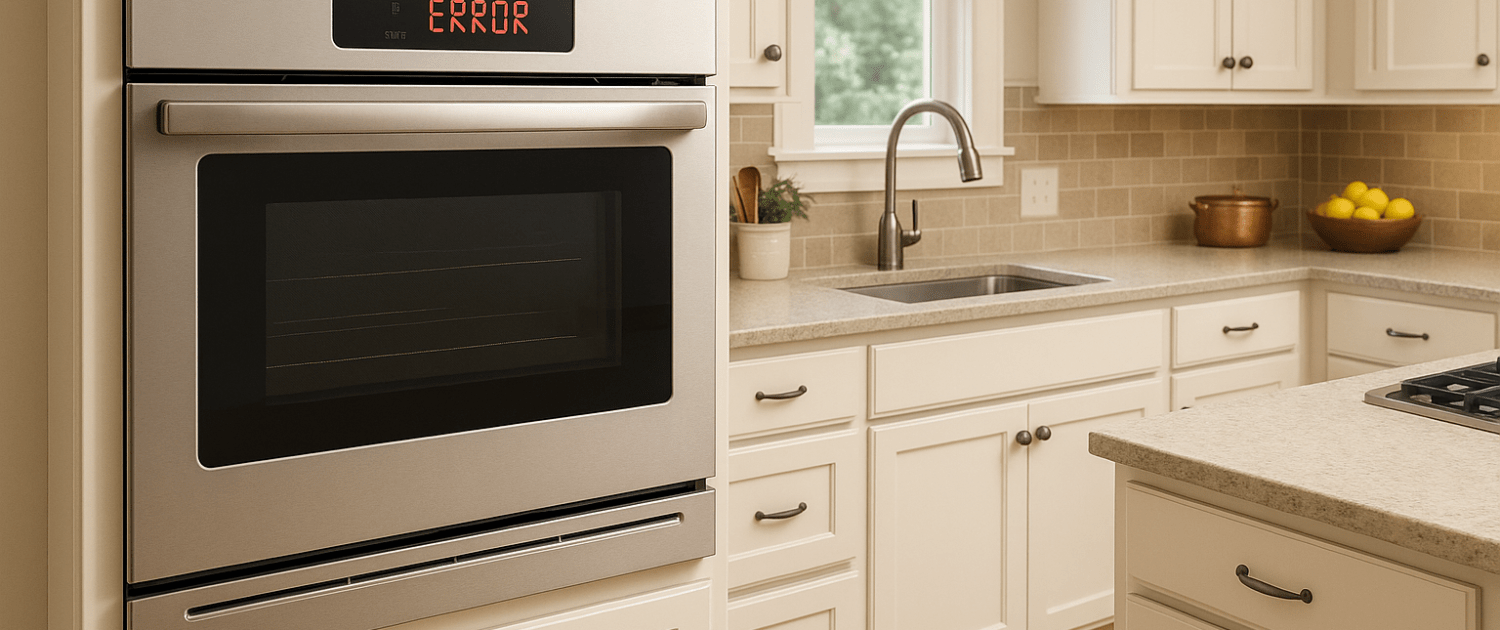
Seeing an F44 error pop up on your Bosch oven? It’s more common than you might think, and you don’t need to be an appliance expert to handle it. We’ll break down exactly what the F44 code means, what might be causing it, and the easiest ways to troubleshoot and fix the problem so you can get back to cooking without the headache.
If you find out that you need any replacement parts for your appliance while you’re troubleshooting, you can enter your model number at AppliancePartsPros.com to order them. Most orders arrive in just two business days, and we have thousands of free guides to show you how to install your new parts.
The information in this article may not apply to your specific appliance model. We recommend consulting your manufacturer’s documentation or contact us with any questions.
Understanding the F44 fault
The F44 code is triggered when the electronic control board cannot get the lower oven door latch to unlock.

Inside your Bosch double wall oven, there are two separate oven cavities – the upper and lower ovens. Each oven cavity has its latch mechanism controlled by the central electronic control system.
The latch mechanism uses an electric motor and switch assembly to lock and unlock the oven door. When you start a self-cleaning cycle, the latch motor rotates to lock the door so it cannot be opened during the high-heat cleaning process. After self-cleaning completes, the control board sends a signal to reverse the motor and unlock the door latch.
If the control board is unable to get the latch motor to rotate and unlock the door, it will display the F44 fault code and the lower oven will become unusable.
Safety precautions
When working on any appliance, remember to keep safety first. Here are some tips to keep in mind:
- Always power off and unplug your appliance or switch off the circuit breaker before attempting any maintenance or replacement work. This keeps you safe by preventing any risk of injury from electric shock.
- Wear insulated work gloves to protect your hands from sharp metal parts, pinching hazards and debris.
- Take your time and don’t rush while working to prevent accidents and personal injuries.
- Work in a well-lit area so you can clearly see and access the interior parts.
- Clear your workspace of clutter and other obstacles. Keep children and pets away from the work area.
- Never work on internal parts with bare wet hands. Make sure the work area is completely dry.
- Check your user manual to see if there are specific installation or safety instructions for your part or appliance.
- Be gentle when handling or removing parts. Excessive force might damage the appliance or cause injury.
- Wear safety glasses when working with chemicals, dust or cleaning large debris to prevent injury.
- If the appliance has recently been used, give it plenty of time for any heating parts to cool down before working on it.
- Take pictures or make a note of wiring terminals or other connections before disconnecting to prevent any problems with reassembly.
- When working with wires, avoid touching any exposed wires or terminals. If you need to touch a wire, use a non-conductive tool or wear insulating gloves to prevent electrical shock.
Troubleshooting steps
Troubleshooting the F44 fault involves methodically checking the latch mechanism components and their connections to isolate the point of failure.
Step 1: Check latch switch connections
The first troubleshooting step is to carefully check the wiring connections between the latch switch assembly and the Power Board.
There are typically two latch switches that the control board uses to determine if the oven door is in the locked or unlocked state.
Locate the door latch switch harness that runs from the switches mounted near the oven door lock rods. Follow the harness to where it plugs into connector P24 on the main Power Board.
- Carefully inspect the latch switch harness plug. Make sure it is fully seated in P24 with all pins and wires making solid contact. Wiggle it gently to confirm it is locked in place.
- Examine each wire coming from the harness for damage, such as cuts, abrasions, or burn marks. Electrical shorts can form in damaged sections of wire insulation.
- Use a magnifying glass to closely check each pin inside P24 for dirt, corrosion, or deformation. Clean any grime or oxidation with an electrical contact cleaner. Straighten any bent pins carefully with needle-nose pliers.
- Refer to the oven wiring schematic and verify that every wire in the harness is connected to the proper pin on P24. If wires were accidentally connected incorrectly during a previous repair, it could disable latch signals to the board.
- Remove and reseat the wiring harness into P24, then inspect again for a clean, snug connection. The weight of the harness can loosen it over time.
- Check any inline connectors between the switches and P24 for loose wires, damaged pins, or poor fit. Separating connectors and plugging them back in can scrape off corrosion.
Take your time with this step to ensure the pristine condition of all wiring and connections involved with the latch switch signals. Faulty wiring is the most likely cause of status errors that lead to the F44 failure.
Step 2: Verify proper latch switch operation
After confirming the integrity of the latch switch wiring, the next step is to test the operation of the switches themselves.
There will typically be both a fully “locked” and fully “unlocked” latch switch near the oven door lock rods.
- Actuate the lock/unlock mechanism manually using an insulated tool to toggle the switch levers and check for an audible “click” when contacts open or close.
- Use a multimeter to check for continuity through the contacts when closed, and an open circuit when opened. Adjust or replace switches that fail these tests.
- With the oven door open, toggle each switch separately while watching for corresponding status changes on the oven display. The display should indicate “door open” when unlocked, and “door locked” when the locked switch lever is triggered.
- If display statuses do not change, there is likely a wiring or connection problem. However, if statuses update correctly, the switches are providing proper feedback.
Proper operation of both latch switches is crucial for the control board to identify when the lock motor needs to reverse and unlock the oven door. Defective switches must be repaired or replaced if found faulty during testing.
Step 3: Inspect wiring and connections to latch motor
Assuming the latch switch circuits and operation check out, next look at the latch motor connections.
The latch motor is mounted near the door lock rods. Locate the motor harness wires and follow them back to Power Board connector P10.
- As with the latch switch harness, carefully inspect the motor harness plug for full insertion into P10, bent pins, grime, or corrosion.
- Check each wire for damage and verify routing to the correct pin on P10 per the oven wiring diagram.
- Ensure wires have adequate strain relief and are not being pulled tight or rubbed on the oven chassis, as this can lead to ground shorts.
- Disconnect the harness plug and use a multimeter to test each motor wire for continuity. There should be no open circuits.
- Check for continuity between the wires and oven ground. There should be no shorts to the ground caused by pinched/damaged insulation.
- Remove and firmly reseat the harness into P10 for a clean connection.
Step 4: Replace the power board
If all latch-related components, circuits, and wiring verify electrically and mechanically sound, the issue likely points to a failure on the Power Board itself.
The Power Board regulates all the latch control functions and feedback monitoring. Faulty latch operation is a common symptom of control board problems.
Obtain an exact replacement power board for your oven model number. Follow the oven disassembly procedure to safely access and remove the power board.
- Carefully inspect the board for any damaged components or traces. Look for burn or impact marks indicating a possible short circuit or power surge.
- Install the new board, taking care not to bend pins on the connector or damage the wiring. Securely plug in all detachable connections.
- Test oven operation through several lock/unlock cycles to see if the new power board resolves the issue.
In many cases, replacing the power board will take care of an F44 no-unlock fault. However, if the problem persists, take a closer look at the latch motor itself and the wiring harness.
Additional information
Thank you for reading! We hope this guide helped you get your oven working again.
If you have any other appliance repair needs or projects, don’t hesitate to explore our other troubleshooting guides and videos.
If you need replacement parts or some extra help with ordering them, grab your model number and head over to AppliancePartsPros.com, where you can chat with a pro, read our DIY blog and more.
Don’t forget to subscribe to us on YouTube and follow us on Facebook, Twitter and Instagram!
 https://www.appliancepartspros.com/b/wp-content/uploads/2025/05/20250508_1059_Cozy-Laundry-Room_simple_compose_01jtr6dakned5vcc5basb8r6gm.png
1024
1536
Steven E
https://www.appliancepartspros.com/b/wp-content/uploads/2020/11/app-logo-std.png
Steven E2025-05-08 08:24:442025-05-08 08:24:51How to Troubleshoot and Fix Maytag F02 Dryer Error Code
https://www.appliancepartspros.com/b/wp-content/uploads/2025/05/20250508_1059_Cozy-Laundry-Room_simple_compose_01jtr6dakned5vcc5basb8r6gm.png
1024
1536
Steven E
https://www.appliancepartspros.com/b/wp-content/uploads/2020/11/app-logo-std.png
Steven E2025-05-08 08:24:442025-05-08 08:24:51How to Troubleshoot and Fix Maytag F02 Dryer Error Code https://www.appliancepartspros.com/b/wp-content/uploads/2025/05/20250508_1054_Dishwasher-Error-Alert_simple_compose_01jtr63f5gfyaa2nhe06vk7nfy.png
1024
1536
Steven E
https://www.appliancepartspros.com/b/wp-content/uploads/2020/11/app-logo-std.png
Steven E2025-05-08 07:55:362025-05-08 07:55:44How to Fix Whirlpool Dishwasher Error Code F6E1
https://www.appliancepartspros.com/b/wp-content/uploads/2025/05/20250508_1054_Dishwasher-Error-Alert_simple_compose_01jtr63f5gfyaa2nhe06vk7nfy.png
1024
1536
Steven E
https://www.appliancepartspros.com/b/wp-content/uploads/2020/11/app-logo-std.png
Steven E2025-05-08 07:55:362025-05-08 07:55:44How to Fix Whirlpool Dishwasher Error Code F6E1 https://www.appliancepartspros.com/b/wp-content/uploads/2025/05/20250428_0940_Spring-Kitchen-Scene_simple_compose_01jsy9yjn8ere9ak5hex0fseg2.png
1024
1536
Steven E
https://www.appliancepartspros.com/b/wp-content/uploads/2020/11/app-logo-std.png
Steven E2025-05-08 07:42:482025-05-08 07:42:57How to Troubleshoot Error Code F4E3 on a Whirlpool Dishwasher
https://www.appliancepartspros.com/b/wp-content/uploads/2025/05/20250428_0940_Spring-Kitchen-Scene_simple_compose_01jsy9yjn8ere9ak5hex0fseg2.png
1024
1536
Steven E
https://www.appliancepartspros.com/b/wp-content/uploads/2020/11/app-logo-std.png
Steven E2025-05-08 07:42:482025-05-08 07:42:57How to Troubleshoot Error Code F4E3 on a Whirlpool DishwasherWith nearly a decade of experience in providing top-notch customer service regarding appliance parts and repair, Steven enjoys sharing practical advice, troubleshooting tips, and interesting information to help readers stay informed.