Easy Fixes for Refrigerator Water Dispenser Problems
Steven E / Tuesday April 29, 2025
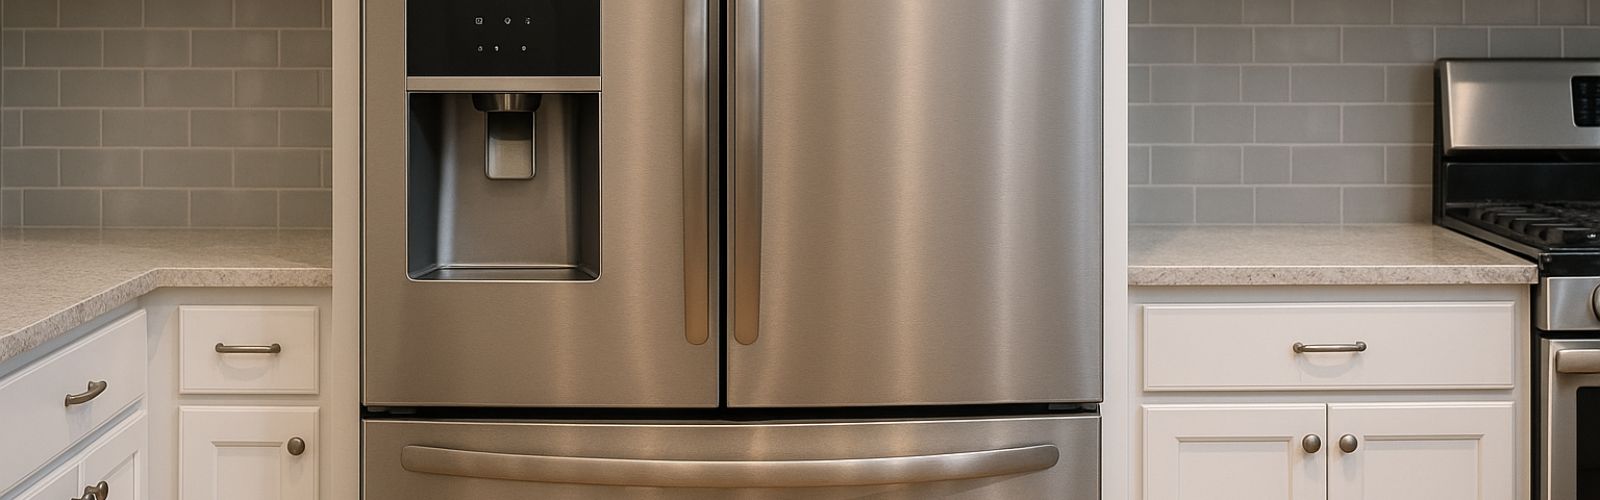
If your refrigerator’s water dispenser has suddenly stopped dispensing or is acting up, don’t panic. Many common problems have straightforward do-it-yourself troubleshooting and repair solutions. By taking some time to diagnose potential causes, you may be able to get your dispenser back in working order without needing to call in a repair technician.
The information in this article may not apply to your specific appliance model. We recommend consulting your manufacturer’s documentation or contact us with any questions.
Precautions
- Always power off and unplug your appliance or switch off the circuit breaker before attempting any maintenance or replacement work. This keeps you safe by preventing any risk of injury from electric shock.
- Turn off the water supply at the outlet before beginning repairs to any appliance parts that hold water. Have towels ready for any residual water in the system when removing parts.
- Wear insulated work gloves to protect your hands from sharp metal parts, pinching hazards and debris.
- Don’t test wiring with a multimeter for live voltage if you’re unfamiliar with how to prevent short circuiting when testing.
- When working with wires, avoid touching any exposed wires or terminals. If you need to touch a wire, use a non-conductive tool or wear insulating gloves to prevent electrical shock.
- Take your time and don’t rush while working to prevent accidents and personal injuries.
- Work in a well-lit area so you can clearly see and access the interior parts.
- Clear your workspace of clutter and other obstacles. Keep children and pets away from the work area.
- Never work on internal parts with bare wet hands. Make sure the work area is completely dry.
- Check your user manual to see if there are specific installation or safety instructions for your part or appliance.
- Be gentle when handling or removing parts. Excessive force might damage the appliance or cause injury.
- Wear safety glasses when working with chemicals, dust or cleaning large debris to prevent injury.
- If the appliance has recently been used, give it plenty of time for any heating parts to cool down before working on it.
Basic checks
Water tube in door is frozen
The freezing of the water tube typically occurs when the freezer temperature is set too low. This can cause the water in the line to freeze before it reaches the dispenser. Another contributing factor could be frequent or prolonged door openings, which allow warm, moist air to enter and freeze within the tube.
- Look for any visible ice or frost buildup around the water dispenser area or inside the door where the ice dispenses.
- Disconnect the water line where it connects to the door from the cabinet and check for water flow there.
To thaw the tube, use the following methods:

- se a hairdryer on the low or medium heat setting to apply warm air to the area where the water tube is frozen. Start at the bottom of the door and work your way up. Be careful not to overheat any specific area or use high heat, as it may damage the plastic liner.
- Turn off the freezer and leave the door open for a while, allowing the tube to thaw naturally. This method is slower but safer.
Door not fully closing
If your refrigerator’s water dispenser is not working and you notice that the door is not fully closing, there could be a connection between the two issues. A refrigerator door that is not closing properly may affect the operation of the water dispenser. Here are some troubleshooting steps for this problem:
- Check for any objects or items inside the refrigerator that may be preventing the door from closing fully. Remove any items blocking the door’s path and make sure that shelves or bins are properly positioned.
- Clean the gaskets using a mild detergent and warm water. Wipe them down thoroughly. This will help the door seal properly.
- Examine the door gaskets and the edges of the refrigerator and freezer doors for any signs of damage, wear, or misalignment.
- Inspect the hinges on the refrigerator door for any signs of damage or wear. Loose or damaged hinges can prevent the door from closing fully. If any hinge parts are damaged, they should be replaced. Avoid slamming the door and overloading the door bins.
Dispenser control is locked
Many modern refrigerators come with a control lock feature for childproofing and to prevent accidental dispensing. To troubleshoot this issue, follow these steps:
- Look for a control lock icon or indicator on the refrigerator’s control panel or display. This icon usually looks like a small lock or a key symbol. If you see this icon illuminated or displayed, it indicates that the dispenser control is locked.
- In most cases, you can unlock the control by pressing and holding a specific button or combination of buttons on the control panel. Common buttons used for control lock include “Lock,” “Lock/Unlock,” or “Water Lock.” Press and hold the designated button(s) for a few seconds until the control lock icon disappears or the control panel responds.
- After unlocking the dispenser control, check if the water dispenser is now working.
Low water pressure
Low water pressure can prevent proper water flow to the dispenser. Follow these steps to troubleshoot low water pressure:
- Check if other faucets or water sources in your home are experiencing low water pressure. If multiple water outlets are affected, the issue may be with the main water supply or plumbing system in your house.
- Trace the water supply line from the shut-off valve to the refrigerator, looking for any kinks, bends, or obstructions. Check for any blockages or debris in the line that may be preventing water flow.
- Check that the water supply valve connected to your refrigerator is fully open. This valve is typically located near the wall behind the refrigerator or under the sink. Turn the valve counterclockwise to make sure it is fully open.
- Over time, mineral deposits or debris may accumulate in the water dispenser nozzle or housing. Use a small brush or toothbrush to clean the nozzle gently.
Troubleshooting parts
Dispenser actuator
The dispenser actuator is the paddle or lever that’s pushed to activate the water flow from the dispenser. Here are some troubleshooting steps to address this problem:
- Inspect the dispenser actuator for any visible signs of damage or misalignment. Look for cracks, breakage, or wear that may be affecting it. If you notice any issues, the actuator or mounting bracket for it may need to be replaced.
- Use a soft cloth or a cotton swab dipped in a mild detergent solution to gently clean the actuator. Make sure the actuator moves freely without any obstructions.
Dispenser switch
The dispenser switch is responsible for activating the water flow when you press the dispenser lever. Here are some troubleshooting steps to address this issue:
Locate the dispenser switch, which is usually located behind the dispenser lever or within the control panel. Visually inspect the switch for any signs of damage, such as broken or loose parts.
Test the continuity of the dispenser switch.
- Set the multimeter to the continuity or resistance mode.
- touch the meter probes to the switch terminals while pressing the dispenser lever.
If there is no continuity or the resistance reading is significantly high, it indicates a faulty switch that needs to be replaced.
Water filter
The water filter provides clean and filtered water for the dispenser. Here are some troubleshooting steps to address issues with it:
- If your refrigerator has an indicator or reminder light that alerts you to the status of the water filter that is on or shows that the filter needs to be replaced, it’s possible that a clogged filter is causing the dispenser issue. The filter should be changed every 6 months to a year, depending on usage.
- Make sure to use a filter recommended by the refrigerator manufacturer and align it correctly during installation. After installing the new filter, run water through the dispenser for a few minutes to flush out any air or residual particles.
- After replacing or installing a new filter, it’s common to experience a temporary drop in water flow or air bubbles in the dispenser. To remove any trapped air from the system, dispense water for a few minutes until a steady flow is restored.
Water inlet valve
The water inlet valve controls the flow of water into the refrigerator, including the dispenser. Here are some troubleshooting steps to check the valve:
- Locate the water inlet valve, typically found at the back of the refrigerator near the bottom. Visually inspect the valve for any signs of damage, such as cracks or leaks.
- Sediment or mineral deposits can accumulate in the water inlet valve, obstructing proper water flow. Turn off the water supply to the refrigerator and disconnect the water line from the valve. Use a small brush or toothbrush to gently clean the valve, removing any debris or buildup.
Door switch
The door switch is a safety mechanism that detects when the refrigerator door is open or closed. When the door is closed, the switch activates the dispenser, allowing water to flow. Here are some troubleshooting steps to check this part:
- The water dispenser may not work if the door is slightly ajar or not properly closed. Give the door a firm push to make sure it is securely shut and then test the water dispenser.
- Locate the door switch, which is usually found near the top or side of the refrigerator door frame. Visually inspect the switch for any signs of damage. Make sure it aligns with the door when closed.
Use a multimeter to test the continuity of the door switch.
- Set the multimeter to the continuity or resistance mode and touch the meter probes to the switch terminals.
- Press and release the switch to simulate the door opening and closing.
- If there is no continuity or the resistance reading is significantly high when the switch is pressed, it indicates a faulty switch that needs to be replaced.
Additional information
Thank you for reading! We hope this guide helped you get your water dispenser working again.
If you have any other appliance repair needs or projects, don’t hesitate to explore our other troubleshooting guides and videos.
If you need replacement parts or some extra help with ordering them, grab your model number and head over to AppliancePartsPros.com, where you can chat with a pro, read our DIY blog and more.
Be sure to subscribe to us on YouTube and follow us on Facebook, Twitter and Instagram!
 https://www.appliancepartspros.com/b/wp-content/uploads/2024/11/APP-blog-square-2024-11-25T124742.686.jpg
1080
1080
Steven E
https://www.appliancepartspros.com/b/wp-content/uploads/2020/11/app-logo-std.png
Steven E2025-03-17 06:52:352025-03-17 06:52:46Common causes for GE refrigerators making loud noises
https://www.appliancepartspros.com/b/wp-content/uploads/2024/11/APP-blog-square-2024-11-25T124742.686.jpg
1080
1080
Steven E
https://www.appliancepartspros.com/b/wp-content/uploads/2020/11/app-logo-std.png
Steven E2025-03-17 06:52:352025-03-17 06:52:46Common causes for GE refrigerators making loud noises https://www.appliancepartspros.com/b/wp-content/uploads/2024/11/APP-blog-square-2024-11-01T100828.093.jpg
1080
1080
Steven E
https://www.appliancepartspros.com/b/wp-content/uploads/2020/11/app-logo-std.png
Steven E2025-03-17 06:27:192025-03-17 06:27:30How to fix inconsistent cooling in LG refrigerators
https://www.appliancepartspros.com/b/wp-content/uploads/2024/11/APP-blog-square-2024-11-01T100828.093.jpg
1080
1080
Steven E
https://www.appliancepartspros.com/b/wp-content/uploads/2020/11/app-logo-std.png
Steven E2025-03-17 06:27:192025-03-17 06:27:30How to fix inconsistent cooling in LG refrigerators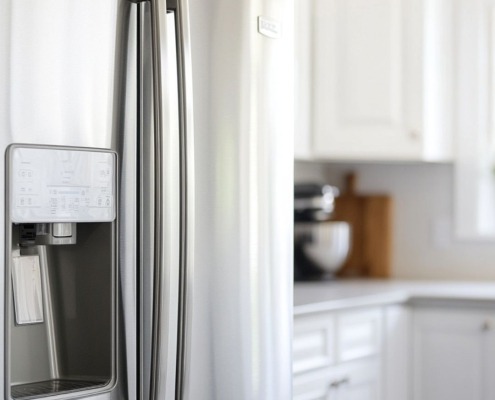 https://www.appliancepartspros.com/b/wp-content/uploads/2024/10/APP-blog-square-2024-10-31T103126.778.jpg
1080
1080
Steven E
https://www.appliancepartspros.com/b/wp-content/uploads/2020/11/app-logo-std.png
Steven E2025-03-12 10:40:292025-03-12 10:40:38How to identify inconsistent cooling problems in LG refrigerators
https://www.appliancepartspros.com/b/wp-content/uploads/2024/10/APP-blog-square-2024-10-31T103126.778.jpg
1080
1080
Steven E
https://www.appliancepartspros.com/b/wp-content/uploads/2020/11/app-logo-std.png
Steven E2025-03-12 10:40:292025-03-12 10:40:38How to identify inconsistent cooling problems in LG refrigeratorsWith nearly a decade of experience in providing top-notch customer service regarding appliance parts and repair, Steven enjoys sharing practical advice, troubleshooting tips, and interesting information to help readers stay informed.