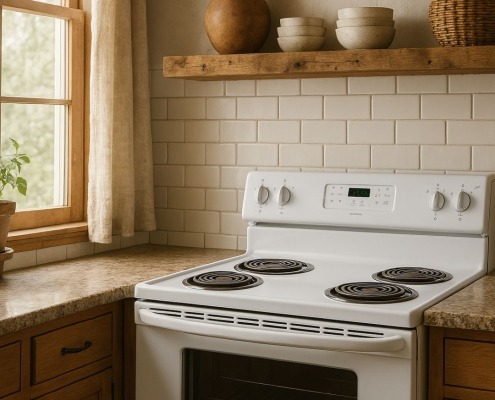
Electric Range Little to No Heat When Baking: Top 5 Reasons and Fixes (With Video!)
Steven E / Friday December 10, 2021
Is your oven refusing to heat up just when you need it most? Don’t let a broken appliance ruin your meal plans! Discover the top five common culprits causing your oven woes and learn how to troubleshoot and fix them yourself—with a handy how-to video waiting right below to guide you every step of the way.
Once you have identified the part needed for your oven, search below using your model number to identify the exact part needed:

1. Power Supply
Ovens require 240 volts to operate, so if they aren’t getting enough power they will not start or produce the right amount of heat. There are a couple of things you need to do here, once you’ve safely unplugged the appliance. First, go down and check the circuit breakers. Turn them off and back on, even if they’re not tripped. To test the outlet using a multimeter, follow these steps:
- Safety First: Be sure that you take all necessary safety precautions. Wear appropriate protective gear, such as gloves and safety glasses. Verify that the multimeter and its leads are rated for the voltage you are testing.
- Set the Multimeter: Turn your multimeter to the AC voltage setting (V~). The voltage range should be set to 240 volts or higher.
- Prepare the Multimeter Probes: Connect the red and black probes to the multimeter. The red probe typically goes to the “VΩmA” port, and the black probe goes to the “COM” port.
- Testing the Outlet: Insert the multimeter probes into the outlet slots. For a standard 240-volt outlet, there are typically two hot slots and one ground slot. Insert the red probe into one of the hot slots and the black probe into the other hot slot.
- Read the Measurement: Observe the reading on the multimeter. A properly functioning 240-volt outlet should show a reading around 240 volts AC.
- Test Each Slot Individually: You can also test each slot against the ground. Insert one probe into a hot slot and the other into the ground slot. The reading should be approximately 120 volts AC for each hot slot.
- Conclude Testing: After testing, remove the probes from the outlet and turn off the multimeter.
Read More: How to use a multimeter to check appliance parts

Remember, working with electrical systems can be dangerous. If you are not experienced or confident in performing such tests, it is advisable to consult or hire a qualified electrician.
2. Bake Element
In the event that your electric range is not heating properly when you use the oven feature to bake, the most likely culprit is the heating element itself. This is located at the bottom of the oven and is responsible for creating and maintaining the ideal temperature for baking, roasting, and more. In the event that the heating element goes bad, the oven will not heat up properly.
You’ll want to disconnect the power to the appliance and inspect the heating element for visual signs of damage. Check the connection to make sure that it’s secure and there are no signs of burns or shorted wires.
Use your multimeter on the Rx1 setting to test the terminals of the bake element. In the event that the heating element doesn’t register properly (consult your owner’s manual for what is considered an accurate reading), it is probably faulty. Typically, most models will need to read between 19 and 115 ohms, but the exact number will vary. If the element doesn’t have continuity or shows other signs of damage, it will need to be replaced.
3. Thermal Fuse
The thermal fuse is a safety part that is designed to cause the entire appliance to shut down in the event that it overheats. If your electric range isn’t functioning or getting enough heat, it could be because of a faulty or blown thermal fuse. You’ll find this behind an access panel on the back of the range. Remove the wires from the fuse and then use the multimeter to test it.
Test the part by putting a probe on each terminal to test for continuity. If the reading is incorrect, you’ll need to replace the part.
4. Oven Temperature Sensor
There is a temperature sensor in your oven that is responsible for monitoring the temperature and telling the control board when to turn the elements on and off. In the event that the temperature sensor malfunctions or shorts out, it could cause the oven not to produce heat because it isn’t getting the signal that the temperature is too low. If the sensor is just faulty and off, it could cause the oven to heat to the wrong temperature rather than not heating at all. In either case, it needs tested and probably replaced.
The temperature sensor is a small metal part that is located inside the oven, usually not far from the burner element. Disconnect the power to the range and then locate the sensor. You can remove it from the oven and test it with the multimeter, which should be set to the Rx1 setting. Touch the terminals on the sensor when they are at room temperature and compare your readings to the suggested reading from your owner’s manual. If they differ, you will need to replace the part because it is likely damaged.
5. Broil Element
The broil element is located on the top of the oven, opposite the bake element. Again, you will want to inspect this part for visual signs of damage or blistering. You should remove the element and check the probes for signs of burning or damage. You will also want to check the receptacle that the element plugs into for signs of damage.
Use a multimeter to test the broil element for continuity. Set the multimeter and then remove the element so that you can test it. If you do not get a good reading, the element will need to be replaced.
Where To Find Us
If you need any replacement parts for your appliances, you can enter your model number at AppliancePartsPros.com to locate and order them quickly. Most orders arrive in just two business days, and we have tons of great information in our repair help section and YouTube videos to help you troubleshoot.
Stay connected with the latest DIY tips, tutorial videos, and repair guides by following us on Facebook, Instagram, and Twitter. We love hearing about your repair stories and successes. If you need more help or want personalized guidance, feel free to contact or call us at 877-477-7278. We’re ready to help you take on your next project with confidence!
Since 1999, AppliancePartsPros.com has helped millions of people repair their broken appliances by providing high-quality original parts at well below retail prices, free support and troubleshooting, and award-winning customer service from an expert, friendly, US-based customer support team!
The information in this article may not apply to your specific appliance model. We recommend consulting your manufacturer’s documentation or contact us with any questions.
 https://www.appliancepartspros.com/b/wp-content/uploads/2025/04/APP-blog-square-86.jpg
1080
1080
Steven E
https://www.appliancepartspros.com/b/wp-content/uploads/2020/11/app-logo-std.png
Steven E2025-04-14 11:58:472025-08-08 07:30:02How to test the terminal block on a GE Electric oven that won’t heat
https://www.appliancepartspros.com/b/wp-content/uploads/2025/04/APP-blog-square-86.jpg
1080
1080
Steven E
https://www.appliancepartspros.com/b/wp-content/uploads/2020/11/app-logo-std.png
Steven E2025-04-14 11:58:472025-08-08 07:30:02How to test the terminal block on a GE Electric oven that won’t heat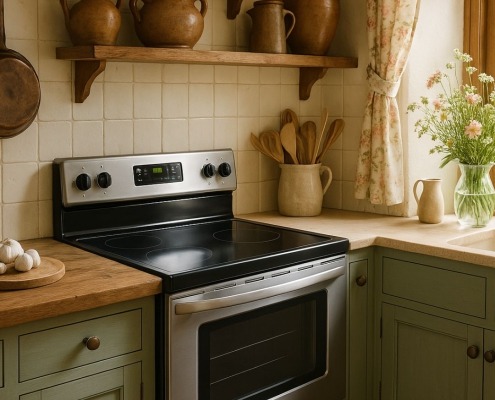 https://www.appliancepartspros.com/b/wp-content/uploads/2025/04/APP-blog-square-85.jpg
1080
1080
Steven E
https://www.appliancepartspros.com/b/wp-content/uploads/2020/11/app-logo-std.png
Steven E2025-04-14 11:53:102025-08-08 07:26:58Testing the receptacle on a GE range element that is not heating
https://www.appliancepartspros.com/b/wp-content/uploads/2025/04/APP-blog-square-85.jpg
1080
1080
Steven E
https://www.appliancepartspros.com/b/wp-content/uploads/2020/11/app-logo-std.png
Steven E2025-04-14 11:53:102025-08-08 07:26:58Testing the receptacle on a GE range element that is not heating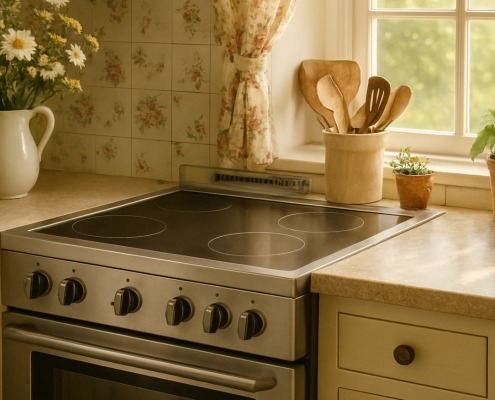 https://www.appliancepartspros.com/b/wp-content/uploads/2025/04/APP-blog-square-84.jpg
1080
1080
Steven E
https://www.appliancepartspros.com/b/wp-content/uploads/2020/11/app-logo-std.png
Steven E2025-04-14 11:19:082025-08-08 07:19:21How to test a GE electric range surface element that won’t heat
https://www.appliancepartspros.com/b/wp-content/uploads/2025/04/APP-blog-square-84.jpg
1080
1080
Steven E
https://www.appliancepartspros.com/b/wp-content/uploads/2020/11/app-logo-std.png
Steven E2025-04-14 11:19:082025-08-08 07:19:21How to test a GE electric range surface element that won’t heatWith nearly a decade of experience in providing top-notch customer service regarding appliance parts and repair, Steven enjoys sharing practical advice, troubleshooting tips, and interesting information to help readers stay informed.