F41 and F43 Bosch Oven Error Codes: A Troubleshooting Guide
Steven E / Tuesday May 13, 2025
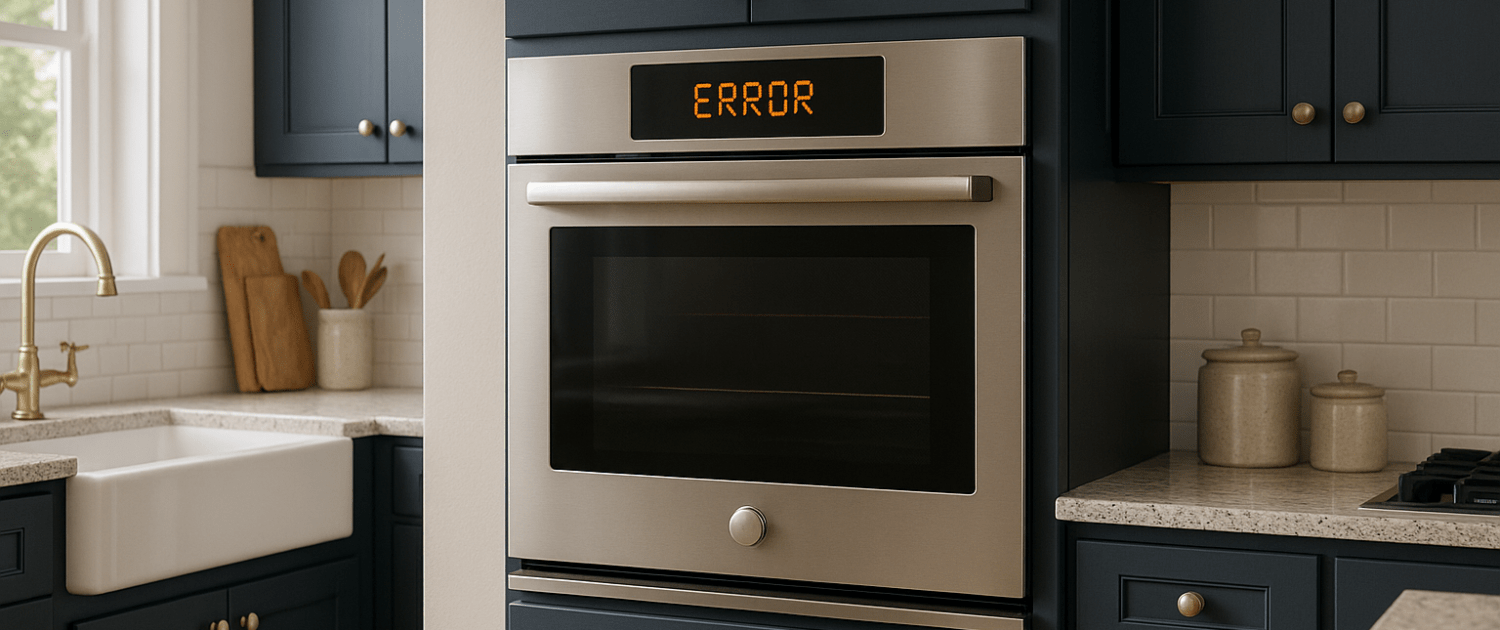
Getting an F41 or F43 error code on your Bosch oven? These fault codes indicate an issue with the motorized self-cleaning latch failing to lock or unlock properly. In this guide, we’ll cover the causes behind both the F41 and F43 Bosch oven error codes and walk through the steps to diagnose and resolve the problems.
If you find out that you need any replacement parts for your appliance while you’re troubleshooting, you can enter your model number at AppliancePartsPros.com to order them. Most orders arrive in just two business days, and we have thousands of free guides to show you how to install your new parts.
The information in this article may not apply to your specific appliance model. We recommend consulting your manufacturer’s documentation or contact us with any questions.
What causes F41 and F43 fault codes?
There are a few possible causes behind F41 and F43 self-clean latch errors:

F41 causes:
- Defective latch motor
- Obstruction-blocking latch movement
- Misaligned oven door or latch switches
- A defective oven control board
F43 causes:
- Seized latch mechanism
- Bad latch motor
- Control board failure
- Misaligned door latch switches
What is the self-cleaning latch?
Bosch wall ovens have an oven-motorized latch mechanism on the door.
When you start a self-cleaning cycle, this latch will automatically lock the door for safety once temperatures reach around 350°F.
The latch should then unlock and release the door at the end of the cleaning cycle after temperatures have cooled.
If the latch fails to lock or unlock within the expected timeframes, an F41 or F43 error will display.
Safety precautions
When working on any appliance, remember to keep safety first. Here are some tips to keep in mind:
- Always power off and unplug your appliance or switch off the circuit breaker before attempting any maintenance or replacement work. This keeps you safe by preventing any risk of injury from electric shock.
- Wear insulated work gloves to protect your hands from sharp metal parts, pinching hazards and debris.
- Take your time and don’t rush while working to prevent accidents and personal injuries.
- Work in a well-lit area so you can clearly see and access the interior parts.
- Clear your workspace of clutter and other obstacles. Keep children and pets away from the work area.
- Never work on internal parts with bare wet hands. Make sure the work area is completely dry.
- Check your user manual to see if there are specific installation or safety instructions for your part or appliance.
- Be gentle when handling or removing parts. Excessive force might damage the appliance or cause injury.
- Wear safety glasses when working with chemicals, dust or cleaning large debris to prevent injury.
- If the appliance has recently been used, give it plenty of time for any heating parts to cool down before working on it.
- Take pictures or make a note of wiring terminals or other connections before disconnecting to prevent any problems with reassembly.
- When working with wires, avoid touching any exposed wires or terminals. If you need to touch a wire, use a non-conductive tool or wear insulating gloves to prevent electrical shock.
Troubleshooting steps
An F41 code means the self-clean latch failed to lock the oven door once cleaning started.
Here are tips for diagnosing an F41 error:
Step 1: Check for motor noise
- When you activate a self-cleaning cycle, listen closely to hear if the latch motor runs at all.
- The motor noise may be faint, so get your ear close to the oven door and block out other sounds.
- If you hear no humming or churning sounds, it likely indicates the motor is burned out and not functional.
Step 2: Check for obstructions
- Thoroughly examine the latch mechanism, tracks, and surrounding oven door edges for any debris like food spatter or grease buildup.
- Wipe down areas around the latch assembly with a kitchen degreaser to eliminate any grime obstruction motion.
- Carefully try to move the latch with your hand to feel for any sticking or grinding, indicating an obstruction.
- The latch area must be 100% clear for the mechanism to lock and function properly.
Step 3: Inspect door switches
- There are typically 2-3 door switches that get activated when opening and closing the oven door.
- Make sure the door is closing fully and you hear a solid “click” indicating the switches are changing state.
- If misaligned, the switches won’t properly signal the control board that the door is closed and ready for self-clean latch activation.
- Refer to your oven schematic to test switch continuity in closed and open door positions.
Step 4: Diagnostic mode
- Refer to your owner’s manual and activate the oven’s self-diagnostic mode.
- Select the component test function for the door latch.
- The control should stop the latch through its cleaning cycle lock and unlock sequence.
- Monitor for any error codes during the test indicating a failure to properly lock or release. Error codes point to a control board defect.
Troubleshooting F43 error code
An F43 code signifies that the oven latch switch failed to unlock after self-cleaning was completed. Here is how to troubleshoot:
Step 1: Check for obstructions
- Visually inspect the latch mechanism for any debris like burnt food residue or grease that could obstruct motion.
- Use a degreasing cleanser to thoroughly clean the oven door edges near the latch assembly.
- Attempt to manually move the latch and feel for any significant sticking or grinding.
Step 2: Listen for motor noise
- As the self-clean cycle ends, get your ear close to the oven door and listen for the soft buzz of the latch motor.
- If the motor does not make any audible noise during the timed unlock sequence, the motor is likely faulty.
- No noise indicates the motor is not receiving power to disengage the locking mechanism after cleaning is completed.
Step 3: Inspect door switches
- When closing the oven door, ensure door latch switches make an audible “click” as each door switch activates.
- Consult your unit schematic to identify switch locations and test continuity in open/closed door positions.
- Any misalignment could prevent switches from properly signaling the unlocked status to the control.
Step 4: Diagnostic mode
- Look up the keypad sequence for activating self-test mode on your Bosch model.
- Select the component test function for the self-clean door latch.
- Monitor as the control runs the latch through the lock and unlock sequences.
- Note any error codes signaling a failure to properly unlock or release the door at the appropriate time.
Replacing the latch motor
If troubleshooting determines the latch motor or its wiring is faulty, replacing it may resolve F41 or F43 errors:
- Locate the model and serial number sticker inside your oven door opening to order the correct part.
- The latch motor can be accessed on the back of the oven.
- Carefully detach the latch motor wire connectors and mounting screws to remove the old motor.
- Install the new latch motor, securely reattaching the wiring connector.
- Reassemble oven components and test operation.
For replacing new parts make sure you get the correct ones the first time by visiting our Website and using our compatibility tool for your select model.
Testing the latch in diagnostics mode
Entering test or diagnostics mode on your oven allows you to activate and check the operation of the latch mechanism without heating the oven:
- To enter test mode, press a combination of keys like Bake and Broil for several seconds until the code appears.
- Select the door latch option to activate the locking and unlocking sequence.
- The display will show error codes if failures occur.
- Exit test mode by pressing Off when finished.
Refer to your owner’s manual for how to access diagnostics on your specific Bosch model.
If the latch mechanism is free of obstructions, the motor is functional, and the alignments are correct, the oven control board could potentially be the culprit. A defective control board can fail to properly signal the latch locks and unlocks. A control board is a last resort replacement and should not be the first thing replaced.
Additional information
Thank you for reading! We hope you found this information useful to get your oven working again.
If you have any other appliance repair needs or projects, don’t hesitate to explore our thousands of free videos and troubleshooting guides available. If you need replacement parts or some extra help, grab your model number and head over to AppliancePartsPros.com, where you can chat with a pro, order parts, read our DIY blog, and more.
Be sure to subscribe to us on YouTube and follow us on Facebook, Twitter, and Instagram!
 https://www.appliancepartspros.com/b/wp-content/uploads/2025/04/APP-blog-square-170.jpg
1080
1080
Steven E
https://www.appliancepartspros.com/b/wp-content/uploads/2020/11/app-logo-std.png
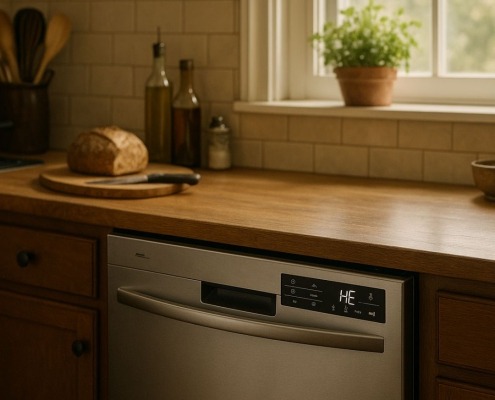
Steven E2025-04-28 06:08:372025-04-28 06:08:44Troubleshooting error code HE on an LG dishwasher
https://www.appliancepartspros.com/b/wp-content/uploads/2025/04/APP-blog-square-170.jpg
1080
1080
Steven E
https://www.appliancepartspros.com/b/wp-content/uploads/2020/11/app-logo-std.png
Steven E2025-04-28 06:08:372025-04-28 06:08:44Troubleshooting error code HE on an LG dishwasher https://www.appliancepartspros.com/b/wp-content/uploads/2025/04/APP-blog-square-157.jpg
1080
1080
Steven E
https://www.appliancepartspros.com/b/wp-content/uploads/2020/11/app-logo-std.png
Steven E2025-04-28 06:06:262025-04-28 06:06:34Learn how to troubleshoot LG washing machine error code dE
https://www.appliancepartspros.com/b/wp-content/uploads/2025/04/APP-blog-square-157.jpg
1080
1080
Steven E
https://www.appliancepartspros.com/b/wp-content/uploads/2020/11/app-logo-std.png
Steven E2025-04-28 06:06:262025-04-28 06:06:34Learn how to troubleshoot LG washing machine error code dE https://www.appliancepartspros.com/b/wp-content/uploads/2025/04/APP-blog-square-156.jpg
1080
1080
Steven E
https://www.appliancepartspros.com/b/wp-content/uploads/2020/11/app-logo-std.png
Steven E2025-04-28 06:03:282025-04-28 06:03:37Troubleshooting LG washing machine error code 0E
https://www.appliancepartspros.com/b/wp-content/uploads/2025/04/APP-blog-square-156.jpg
1080
1080
Steven E
https://www.appliancepartspros.com/b/wp-content/uploads/2020/11/app-logo-std.png
Steven E2025-04-28 06:03:282025-04-28 06:03:37Troubleshooting LG washing machine error code 0EWith nearly a decade of experience in providing top-notch customer service regarding appliance parts and repair, Steven enjoys sharing practical advice, troubleshooting tips, and interesting information to help readers stay informed.