Gas range smells like gas: top 5 reasons and fixes (with video!)
Steven E / Monday April 21, 2025
Are you worried about a persistent gas smell from your kitchen’s gas range? Don’t panic—this common but unsettling issue can be tackled with some straightforward troubleshooting. Dive into our detailed guide below, complete with a how-to video, and learn how to safely locate and resolve the source of that mysterious odor.
Looking for the right part? Enter your appliance model number below to find the exact match and get your appliance running like new again!
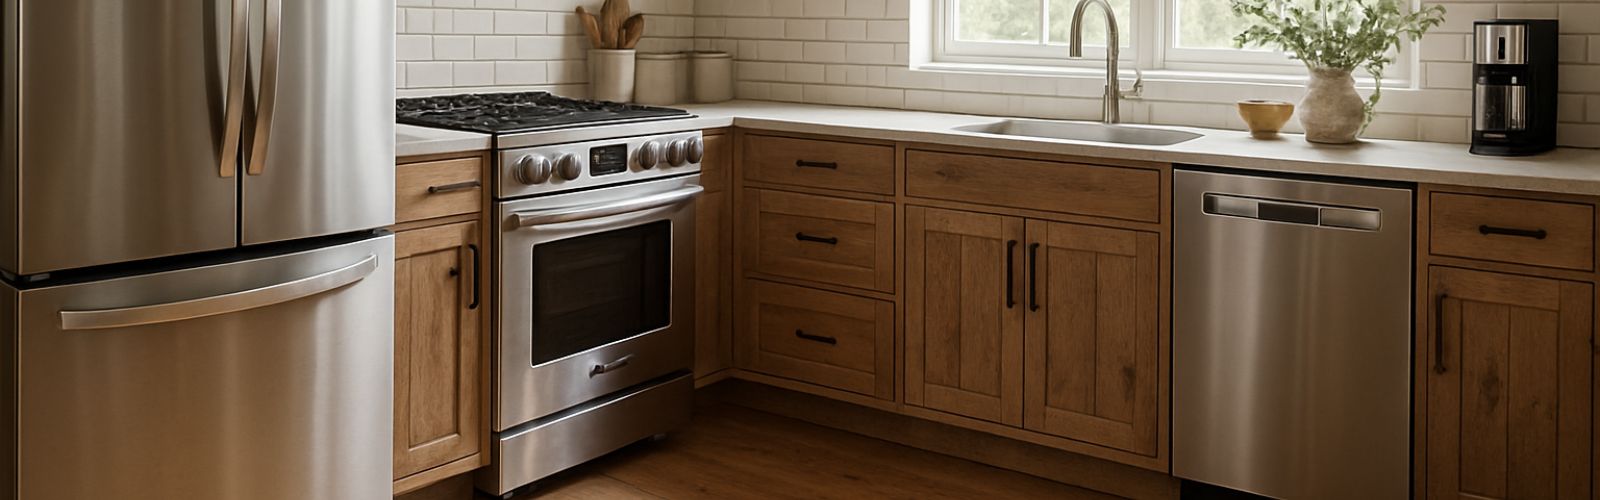
If your gas range is producing the smell of gas, it can be scary. However, it can be a simple problem to resolve that just involves investigating the situation to get to the root of the problem. A faint smell is normal upon first lighting the range, but if it persists or gets stronger, it could be a sign of a problem. Proceed with this guide to troubleshoot a faint gas smell from your range.

If you need any replacement parts for your gas range, you can enter your model number at AppliancePartsPros.com to order them. Most orders arrive in just two business days, and we have thousands of free guides to show you how to install your new parts.
Watch here: Gas Range Smells Like Gas – Top 5 Reasons & Fixes – Kenmore, Whirlpool, Frigidaire, GE & more
The information in this article may not apply to your specific appliance model. We recommend consulting your manufacturer’s documentation or contact us with any questions.
Safety precautions
When working on any appliance, remember to keep safety first. Here are some tips to keep in mind:
- Urgent: If it is suspected that there is a serious gas leak, you need to shut off all gas in the home, call the utility company, and leave immediately. If you cannot get the smell to dissipate or aren’t sure where the leak is coming from, it can be dangerous to stay in your home.
- Always power off and unplug your appliance or switch off the circuit breaker before attempting any maintenance or replacement work. This keeps you safe by preventing any risk of injury from electric shock.
- Wear insulated work gloves to protect your hands from sharp metal parts, pinching hazards and debris.
- Don’t test wiring with a multimeter for live voltage if you’re unfamiliar with how to prevent short circuiting when testing.
- When working with wires, avoid touching any exposed wires or terminals. If you need to touch a wire, use a non-conductive tool or wear insulating gloves to prevent electrical shock.
- Take your time and don’t rush while working to prevent accidents and personal injuries.
- Work in a well-lit area so you can clearly see and access the interior parts.
- Clear your workspace of clutter and other obstacles. Keep children and pets away from the work area.
- Never work on internal parts with bare wet hands. Make sure the work area is completely dry.
- Check your user manual to see if there are specific installation or safety instructions for your part or appliance.
- Be gentle when handling or removing parts. Excessive force might damage the appliance or cause injury.
- Wear safety glasses when working with chemicals, dust or cleaning large debris to prevent injury.
- If the appliance has recently been used, give it plenty of time for any heating parts to cool down before working on it.
- Take pictures or make a note of wiring terminals or other connections before disconnecting to prevent any problems with reassembly.
Carbon monoxide (CO) is a deadly, colorless, and odorless gas. Always make sure there’s at least one carbon monoxide detector installed on each level of your home to provide timely alerts about any unsafe CO accumulation.
Watch out for symptoms of CO exposure, which can include:
- Headache
- Fatigue
- Shortness of breath
- Nausea
- Dizziness
- Mental confusion
- Vomiting
- Loss of muscular coordination
- Loss of consciousness
- Death
If you experience any of these symptoms, move to fresh air immediately and call 911 or emergency medical help.
1. Oven ignitor
The oven igniter is responsible for lighting the gas in the oven. It is typically mounted on the bake or broil oven burners. If you detect a gas smell while attempting to start the oven, it is possible that the igniter is going bad. To troubleshoot and address this issue, follow the steps below:
LIVE VOLTAGE WARNING: For this test, the range needs to be plugged in and powered on. Please be very careful to protect yourself from electric shock, which has the potential to cause serious injuries. Don’t ever test live voltage if you’re uncomfortable using a multimeter.
- To reach the igniter, open the oven door and remove the racks, oven bottom, and flame spreader.
- Check if the igniter is loose or improperly mounted. Make sure it is securely attached. A loose igniter may fail to ignite the gas.
- Over time, the igniter’s glow may become dimmer as it ages. This can result in delayed ignition or failure to light the gas. To determine if the igniter is weak, you can test the amps it is drawing using a multimeter with a clamp-on amp meter.
- Different igniters have varying amp ratings. Round igniters and blue square ones are typically used with oven safety valves rated at 2.5 to 3 amps. Regular square igniters are used with valves rated at 3.3 to 3.6 amps. You can find the amp rating on the oven safety valve itself.
- Temporarily turn the power back on while leaving the gas off. Clamp the amp meter around one of the wires connected to the igniter and turn the oven on. Check the amp reading on the meter. If the igniter is not drawing enough amps, it indicates a problem, and it will need to be replaced.
2. Burner tubes
The burner tubes supply gas to the cooktop burners. If there is a problem with the burner tubes, it can result in issues such as weak flames, uneven heating, or gas leaks. Here are some troubleshooting steps to help you address the burner tube problems:
- Remove the grates, burner heads, and screws that secure them in place.
- Lift up the cooktop section or remove the control panel to access the burner tubes.
- Carefully examine the burner tubes for any visible signs of damage, such as cracks, holes, or corrosion.
- If you notice any damage, replace the affected burner tube.
- Coat the burner tubes with a leak detection fluid. This fluid is specifically designed to detect gas leaks.
- Turn on the gas supply and the burner valve for the corresponding burner tube.
- Look for any bubbles forming on the surface of the tube.
- If you notice bubbles, it indicates a gas leak, and the affected burner tube needs to be replaced.
3. Cooktop burner valves
Cooktop burner valves control the flow of gas to the burner head on a cooktop. They are typically located behind the control panel of the cooktop and have a mounting block, connection point for burner tubes, and a shaft for attaching the knob. If the cooktop burner valves become faulty and start to leak, you may notice a gas smell. To troubleshoot and address this issue, follow these steps:
- Lift the cooktop section or remove the necessary parts, such as knobs and the control panel, to reach the burner valves.
- Check if the small screw with a seal that holds the valve to the manifold is securely fastened. Ensure that the screw hasn’t vibrated loose and that the valve is properly mounted.
- Remove the spark switch, and examine the two screws located behind it. Make sure they are tightened securely.
- Coat the valve with a gas leak detector solution. This solution is designed to produce bubbles if there is a gas leak, making it easier to detect any leaks.
- Turn the gas supply back on temporarily while observing the valve. If there are no bubbles immediately visible, proceed to the next step.
- Turn the valve on and off a few times while keeping an eye out for any signs of leaks. If you notice bubbles forming or detect a gas leak during valve operation, this indicates a faulty valve that needs to be replaced.
4. Gas pressure regulator
The gas pressure regulator reduces and regulates the incoming gas pressure. It typically has a small square body with a gas inlet and outlet. Some newer models may also incorporate a built-in shut-off feature. Inside the regulator, there is a diaphragm and spring that work together to control the pressure. The location of the regulator can vary, but it is commonly found near the safety valve inside the oven or on the back of the range.
If you detect a gas smell coming from your gas range, it is possible that the gas pressure regulator has developed a leak. To troubleshoot this issue, follow the steps below:
- Gaining access to the regulator may involve removing panels or accessing the interior of the oven or the back of the range.
- Visually inspect it for any signs of damage, loose connections, or leaking. Pay attention to the body, gas inlet, and outlet.
- Make sure that it is properly mounted and securely attached.
- Coat the regulator with a leak detecting fluid. Apply the fluid thoroughly, covering all areas of the regulator.
- Turn the gas supply back on while keeping the range’s burners and oven off. Observe the regulator closely for any bubbles forming. If bubbles appear, it indicates a leak in the regulator, and it will need to be replaced.
5. Oven safety valve
The oven safety valve prevents gas from flowing to the oven burner if the igniter fails. It typically has a metal body with a bi-metal arm inside. When the oven igniter supplies electricity and heats up, the bi-metal arm bends, opening the oven safety valve to allow gas to flow out of the orifice. It is typically located near the oven burner, either directly on the gas orifice of the valve or behind the rear access panel with a short gas line running into the oven burner.
If the seal of the oven safety valve deteriorates, it can result in a gas smell from the range. To troubleshoot the oven safety valve, follow the steps below:
- Gain access to the valve. This may involve removing the racks, oven bottom, and flame spreader or accessing the rear of the range by removing the rear access panel.
- Visually inspect it for any signs of damage, loose connections, or leaking. Check the metal body and examine the bi-metal arm inside.
- Make sure that the valve is properly mounted and securely attached to the range.
- Coat the oven safety valve with a leak detecting fluid. Apply the fluid thoroughly, covering all areas of the valve.
- Turn the gas supply back on. Observe the valve closely for any bubbles forming. The presence of bubbles indicates a leak in the valve, and it will need to be replaced.
Additional information
Thanks for reading! If you need replacement parts for any of your appliances, check out AppliancePartsPros.com, where you can enter your model number to find exactly what you’re looking for. Most orders arrive in two business days, and we have thousands of free resources to show you how to install your new parts.
You can also reach our award-winning customer service team at 1-877-477-7278, chat with a pro on our website and watch thousands of free video tutorials on our YouTube channel.
 https://www.appliancepartspros.com/b/wp-content/uploads/2025/05/20250523_1412_Country-Farmhouse-Kitchen_simple_compose_01jvz5derbfevttdmjxahry1e8.png
1024
1536
Steven E
https://www.appliancepartspros.com/b/wp-content/uploads/2020/11/app-logo-std.png
Steven E2025-05-28 12:04:462025-05-28 12:04:55How to Test and Replace a Bad Samsung Range Bake Element
https://www.appliancepartspros.com/b/wp-content/uploads/2025/05/20250523_1412_Country-Farmhouse-Kitchen_simple_compose_01jvz5derbfevttdmjxahry1e8.png
1024
1536
Steven E
https://www.appliancepartspros.com/b/wp-content/uploads/2020/11/app-logo-std.png
Steven E2025-05-28 12:04:462025-05-28 12:04:55How to Test and Replace a Bad Samsung Range Bake Element https://www.appliancepartspros.com/b/wp-content/uploads/2025/05/20250523_1428_Industrial-Farmhouse-Kitchen_simple_compose_01jvz6eap7ft59dmzvw499f9yg.png
1024
1536
Steven E
https://www.appliancepartspros.com/b/wp-content/uploads/2020/11/app-logo-std.png
Steven E2025-05-28 11:58:232025-05-28 11:58:34Samsung Range High Limit Thermostat Testing and Replacement
https://www.appliancepartspros.com/b/wp-content/uploads/2025/05/20250523_1428_Industrial-Farmhouse-Kitchen_simple_compose_01jvz6eap7ft59dmzvw499f9yg.png
1024
1536
Steven E
https://www.appliancepartspros.com/b/wp-content/uploads/2020/11/app-logo-std.png
Steven E2025-05-28 11:58:232025-05-28 11:58:34Samsung Range High Limit Thermostat Testing and Replacement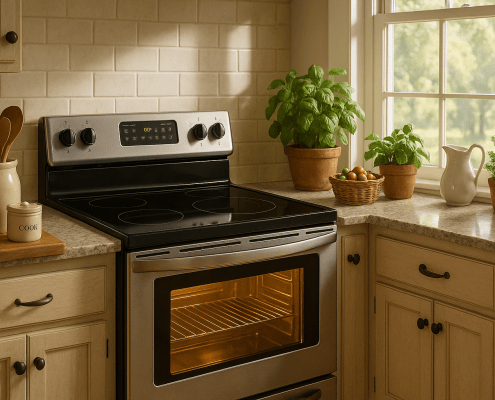 https://www.appliancepartspros.com/b/wp-content/uploads/2025/05/20250523_1418_Farmhouse-Kitchen-Ambiance_simple_compose_01jvz5tf02ea98c8cc9r0cbm5z.png
1024
1536
Steven E
https://www.appliancepartspros.com/b/wp-content/uploads/2020/11/app-logo-std.png
Steven E2025-05-28 11:54:342025-05-28 11:54:44Testing and Replacing the Control Board in a Samsung Range
https://www.appliancepartspros.com/b/wp-content/uploads/2025/05/20250523_1418_Farmhouse-Kitchen-Ambiance_simple_compose_01jvz5tf02ea98c8cc9r0cbm5z.png
1024
1536
Steven E
https://www.appliancepartspros.com/b/wp-content/uploads/2020/11/app-logo-std.png
Steven E2025-05-28 11:54:342025-05-28 11:54:44Testing and Replacing the Control Board in a Samsung RangeWith nearly a decade of experience in providing top-notch customer service regarding appliance parts and repair, Steven enjoys sharing practical advice, troubleshooting tips, and interesting information to help readers stay informed.