GE Microwave Light Lens WB36X10071 Replacement
Steven E / Friday May 16, 2025
Is your GE microwave light shining like a spotlight or missing its cover completely? Don’t worry—swapping out the light lens is a straightforward fix you’ll love to master at home. Dive into our easy guide below, and don’t miss the how-to video that ensures you’ll have it done in no time, stress-free!
Looking for the right part? Enter your appliance model number below to find the exact match and get your appliance running like new again!
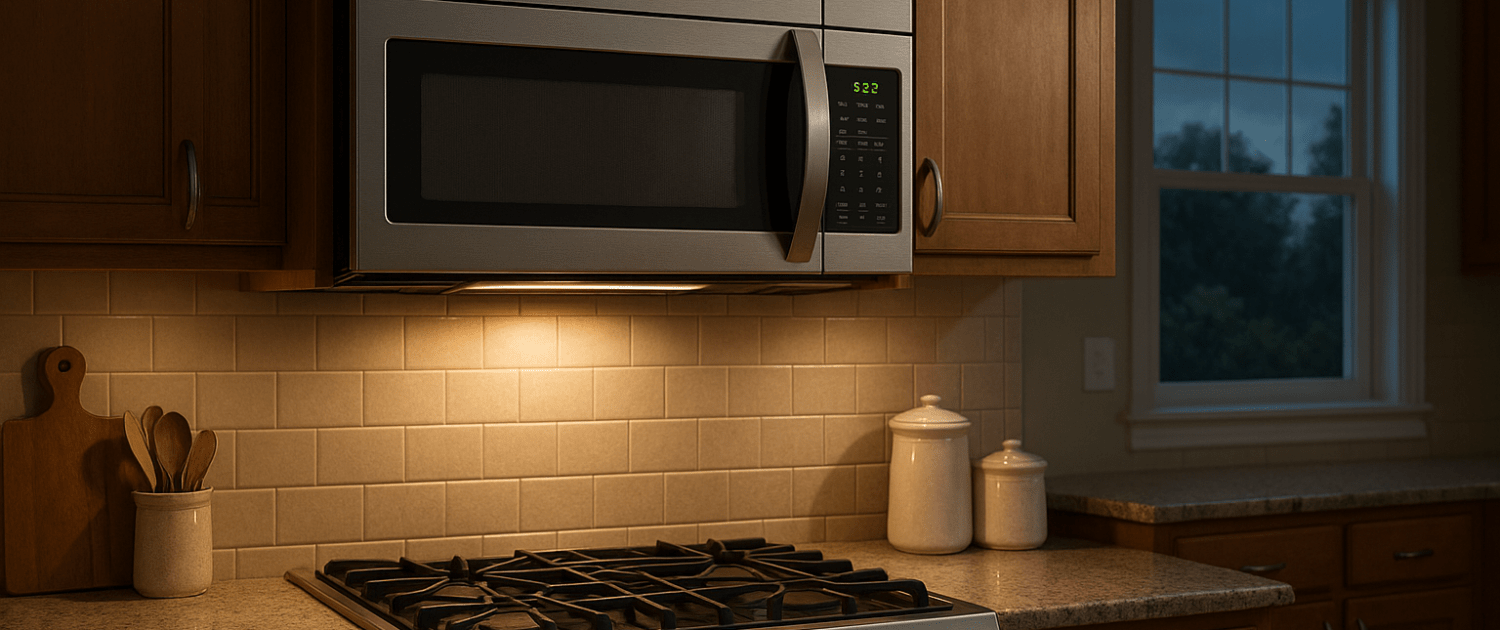
Noticed the light in your GE microwave shining a bit too brightly, or worse, the bulb exposed because the cover’s missing? The light lens (part WB36X10071) is designed to shield the bulb and keep things safe and clean inside your microwave. Luckily, replacing it is a super quick fix. We’ll walk you through how to pop the old one out and snap the new one into place, no tools or stress required!

Watch: How to Replace the Microwave Light Lens
The information in this article may not apply to your specific appliance model. We recommend consulting your manufacturer’s documentation or contact us with any questions.
Tools You’ll Need
- Phillips head screwdriver – standard size
- Flathead screwdriver – small size works best
Safety First
Safety should always be a priority when working on any appliance. Here are a few practical tips to help you stay safe:
- Turn off the power to the appliance by unplugging it or switching off the circuit breaker before starting any maintenance or repairs. This protects you from the risk of electric shock.
- Wear insulated gloves to shield your hands from sharp edges, pinching hazards, or debris.
- Work at a steady pace and take your time to avoid accidents or injuries.
- Make sure your workspace is well-lit so you can clearly see and access the parts you’re working on.
- Keep the area clear of clutter, and ensure children and pets stay out of the workspace.
- Never handle internal parts with wet hands. Check that both your hands and the work area are completely dry.
- Refer to your appliance’s user manual for any specific instructions or safety guidelines related to the part or repair.
- Handle parts gently to avoid damage to the appliance or potential injuries from applying too much force.
- Use safety glasses when dealing with chemicals, dust, or large debris to protect your eyes from harm.
- If the appliance was recently used, give it enough time to cool down before working on any heated components.
- Take photos or notes of wiring connections and terminals before disconnecting anything to make reassembly easier.
- Avoid touching exposed wires or terminals. If you must handle wires, use non-conductive tools or wear insulated gloves to minimize the risk of electrical shock.
Removing the Old Microwave Light Lens
Open the Light Housing Cover
Microwave light lenses are housed behind a plastic cover on the underside of the unit. You’ll need to open this cover to access the lens.
Look for a Phillips head screw on the cover and remove it using your screwdriver. This releases the cover so it can swing down, hinged on one side.
With the screw gone, press on the cover where you see the word “PUSH” stamped into the plastic. The cover will swing open allowing access to the light housing.
Release the Securing Tabs
Now that we have the cover open, we can remove the light lens itself. In most microwaves, the lens has small plastic tabs that snap over the edges to hold it in place.
Use your flathead screwdriver to gently pry up and release each of these tabs around the perimeter of the lens. There are usually 4-6 tabs in total.
Once you’ve freed all the tabs, the old microwave light lens will be loose and ready to take out.
Lift Out the Old Lens
Gently lift up the light lens and remove it from the microwave. Be careful not to touch the actual light bulb inside the housing.
Examine the old lens and make note of which side was facing inward toward the bulb. Often, one side of the lens will have a patterned, textured surface. This textured side should face toward the bulb when you install the new lens.
Okay, that covers successfully getting that old, worn-out microwave light lens removed! Now we can move on to the installation of the new replacement lens.
Installing the New Microwave Oven Light Lens
Insert the New Lens Properly
Take the new microwave light lens out of the packaging. Examine it to determine which side has the textured, patterned surface.
Carefully place the new lens into the light housing opening, positioning the textured side to face inward toward the bulb and wiring. This focuses the light properly when the cover is closed.
Snap the Plastic Tabs in Place
Remember those little plastic tabs around the edge that held the old lens in? Now you’ll need to bend them back down to secure the new replacement lens.
Press gently but firmly around the perimeter until the tabs snap into their slots over the edge of the new light lens. This keeps the lens firmly in position.
Close Up the Light Housing
The new light lens is now securely installed! Just a couple more steps to finish up.
Swing the plastic light cover back up into a closed position, making sure the hinge aligns properly. Insert the Phillips head screw to hold the cover in place.
Finishing Touches and Testing the Repair
You’re just a step away from successfully completing this microwave light lens replacement. Excellent work! The only remaining task is to:
- Plug the microwave back into the wall outlet.
- Switch the kitchen circuit breaker back on.
- Reset the time on your microwave.
- Test the new light.
After plugging the microwave back in and resetting it, open the door to check the light.
Where To Find Us
If you need any replacement parts for your appliances, you can enter your model number at AppliancePartsPros.com to locate and order them quickly. Most orders arrive in just two business days, and we have tons of great information in our repair help section and YouTube videos to help you troubleshoot.
Stay connected with the latest DIY tips, tutorial videos, and repair guides by following us on Facebook, Instagram, and Twitter. We love hearing about your repair stories and successes. If you need more help or want personalized guidance, feel free to reach out. We’re ready to help you take on your next project with confidence!
 https://www.appliancepartspros.com/b/wp-content/uploads/2025/05/20250428_1340_Kitchen-Microwave-Setup_simple_compose_01jsyqrhbse80ahf9k93n88yj5.png
1024
1536
Steven E
https://www.appliancepartspros.com/b/wp-content/uploads/2020/11/app-logo-std.png
Steven E2025-05-08 07:36:182025-05-08 07:36:27What the F2H1 Code Means on Your Whirlpool Microwave
https://www.appliancepartspros.com/b/wp-content/uploads/2025/05/20250428_1340_Kitchen-Microwave-Setup_simple_compose_01jsyqrhbse80ahf9k93n88yj5.png
1024
1536
Steven E
https://www.appliancepartspros.com/b/wp-content/uploads/2020/11/app-logo-std.png
Steven E2025-05-08 07:36:182025-05-08 07:36:27What the F2H1 Code Means on Your Whirlpool Microwave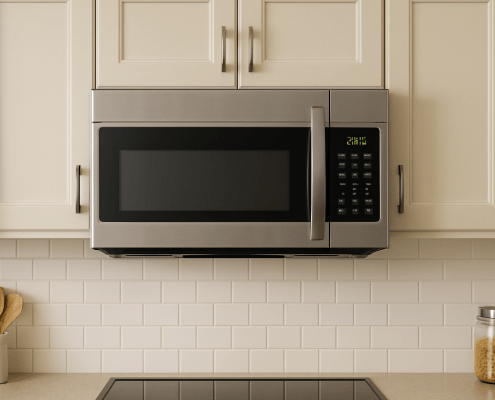 https://www.appliancepartspros.com/b/wp-content/uploads/2025/05/20250428_1340_Kitchen-Microwave-Setup_simple_compose_01jsyqrhbrftzrh8z3kkmcsef3.png
1024
1536
Steven E
https://www.appliancepartspros.com/b/wp-content/uploads/2020/11/app-logo-std.png
Steven E2025-05-07 13:25:072025-05-07 13:29:48How to Install and Replace a Microwave Like a Pro
https://www.appliancepartspros.com/b/wp-content/uploads/2025/05/20250428_1340_Kitchen-Microwave-Setup_simple_compose_01jsyqrhbrftzrh8z3kkmcsef3.png
1024
1536
Steven E
https://www.appliancepartspros.com/b/wp-content/uploads/2020/11/app-logo-std.png
Steven E2025-05-07 13:25:072025-05-07 13:29:48How to Install and Replace a Microwave Like a Pro https://www.appliancepartspros.com/b/wp-content/uploads/2025/04/APP-blog-square-195.jpg
1080
1080
Steven E
https://www.appliancepartspros.com/b/wp-content/uploads/2020/11/app-logo-std.png
Steven E2025-05-01 05:43:342025-08-12 07:58:35How to replace the door latch spring on an LG microwave
https://www.appliancepartspros.com/b/wp-content/uploads/2025/04/APP-blog-square-195.jpg
1080
1080
Steven E
https://www.appliancepartspros.com/b/wp-content/uploads/2020/11/app-logo-std.png
Steven E2025-05-01 05:43:342025-08-12 07:58:35How to replace the door latch spring on an LG microwaveWith nearly a decade of experience in providing top-notch customer service regarding appliance parts and repair, Steven enjoys sharing practical advice, troubleshooting tips, and interesting information to help readers stay informed.