How to Clean and Re-Grease Your KitchenAid Stand Mixer
Steven E / Friday July 11, 2025
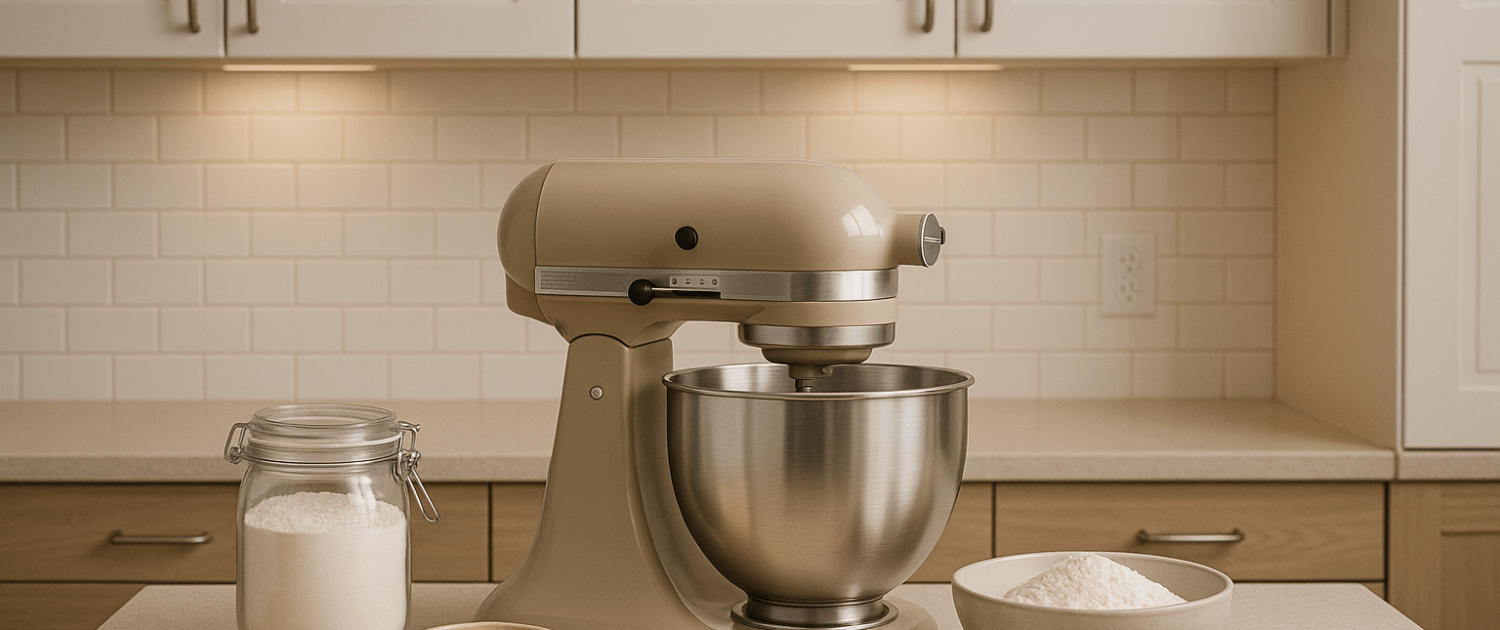
If your KitchenAid stand mixer is starting to sound noisy, feel stiff, or leak grease, it’s time for a little TLC! Cleaning and re-greasing your mixer is an easy DIY maintenance task that keeps it running like new. Here’s how to clean and re-grease your KitchenAid stand mixer step by step.
The information in this article may not apply to your specific appliance model. We recommend consulting your manufacturer’s documentation or contact us with any questions.
Why Re-Greasing Your Mixer Matters
Inside your stand mixer is a gearbox filled with food-grade grease. This grease:
- Lubricates the gears so they move smoothly
- Reduces friction and heat buildup
- Protects metal parts from wear
- Dampens noise during operation
- Leaking oil around the planetary head
- Increased noise
- Dry gears that wear faster
- Reduced efficiency and power
Repacking the gearbox with fresh grease every few years keeps your mixer in top shape and helps prevent costly repairs.

How to Know When It’s Time to Re-Grease
Over time, the grease can break down and separate into oil and solids. This can lead to:
- Oil dripping from the planetary hub or running down the shaft
- Loud grinding or whining noises when mixing
- Reduced mixing performance, especially under heavy loads
- Visible clumps or hardened grease if you’ve opened it before
If your mixer is several years old and used regularly, it is a good idea to re-grease it even if you haven’t noticed problems yet. Preventive maintenance saves wear and tear.
Tools and Supplies You’ll Need
Before you start, gather the following:
- Phillips screwdriver
- Flathead screwdriver or putty knife
- Food-grade grease
- Clean rags or paper towels
- Plastic scraper (optional)
- Small brush or toothbrush (optional)
Food-safe grease is essential because it is in the same area where food is prepared. Do not use automotive or general-purpose grease.
Step 1: Unplug and Prepare
Always unplug your mixer before beginning. Place it on a sturdy surface and lay down a towel to protect your countertop and catch any grease or screws.
If you have a tilt-head model, tilt the head back and lock it in place. For a bowl-lift model, lower the bowl and remove it.
Step 2: Remove the Rear Cover
Using a Phillips screwdriver, remove the two screws that secure the rear cover. Set the cover and screws aside. This exposes the motor housing and part of the internal wiring.
Step 3: Remove the Top Housing
Next, remove the screws around the perimeter of the top motor housing. These hold the cover in place. Carefully lift off the cover and set it aside. Now you will see the gearbox and motor assembly.
Step 4: Remove the Planetary Assembly
Turn the mixer upside down on your towel. Look at the planetary hub where the attachments connect.
Use a small flathead screwdriver to gently pry out the retaining pin that holds the planetary in place. Once the pin is removed, slide the planetary straight down and off the shaft.
Set the planetary and pin aside.
Step 5: Open the Gearbox
With the top cover and planetary removed, you can now access the gearbox. Remove the screws that hold the gearbox cover in place. Carefully lift the cover off to reveal the gears and old grease.
Step 6: Clean Out the Old Grease
Using a plastic scraper or putty knife, scrape as much of the old grease out of the gearbox as you can. Wipe down the gears and inside of the gearbox with clean rags.
For stubborn grease, use a small brush or toothbrush to get into the crevices. Be thorough, but take care not to damage the gears.
Remove any debris, metal shavings, or hardened chunks. The cleaner the gearbox, the better the new grease will work.
Step 7: Inspect the Gears
Before re-greasing, take a moment to inspect the gears for signs of wear or damage.
If you notice significant damage, you may need to replace the gear before reassembling. Replacement gears are available for most models and can usually be installed with basic tools.
Step 8: Apply New Grease
Scoop a generous amount of food-grade grease onto a clean scraper or your finger and begin packing it into the gears.
Be sure to coat every gear tooth thoroughly. Fill the gearbox cavity with an even layer of grease. Avoid overpacking (about 90 percent full is ideal to allow movement)
Take your time and ensure that no metal surface is left dry. Fresh grease should completely replace the old.
Step 9: Reassemble the Gearbox
Once greased, carefully replace the gearbox cover and secure it with screws. Wipe away any excess grease that squeezes out.
Turn the mixer upright and reinstall the planetary assembly. Align it with the shaft and push it into place, then reinsert the retaining pin.
Step 10: Reinstall the Top Housing
Replace the motor housing cover and secure it with the perimeter screws. Then reinstall the rear cover and screws.
Wipe down the exterior of the mixer to remove any smudges or grease residue.
Step 11: Test Your Mixer
Plug your mixer back in and turn it on. Run it at low, medium, and high speeds for a minute or two. You should hear a smooth, quiet hum, no grinding, clunking, or squealing.
If everything sounds and feels right, you are finished. Your mixer is now freshly greased and ready for many more batches of dough, batter, and more.
How Often Should You Re-Grease?
For most home users, re-greasing every three to five years is usually sufficient. If you use your mixer heavily or in a commercial setting, you may need to do it more often.
Check periodically for leaks, noise, or performance issues that could indicate it is time to re-grease sooner.
Where To Find Us
If you need any replacement parts for your appliances, you can enter your model number at AppliancePartsPros.com to locate and order them quickly. Most orders arrive in just two business days, and we have tons of great information in our repair help section and YouTube videos to help you troubleshoot.
Stay connected with the latest DIY tips, tutorial videos, and repair guides by following us on Facebook, Instagram, and Twitter. We love hearing about your repair stories and successes. If you need more help or want personalized guidance, feel free to reach out. We’re ready to help you take on your next project with confidence!
 https://www.appliancepartspros.com/b/wp-content/uploads/2024/04/Copy-of-Copy-of-Copy-of-Copy-of-Copy-of-Copy-of-Copy-of-Copy-of-Copy-of-Copy-of-Copy-of-Copy-of-Copy-of-IMAGE-TEMPLATE-FOR-BLOG-35.jpg
1080
1920
Steven E
https://www.appliancepartspros.com/b/wp-content/uploads/2020/11/app-logo-std.png
Steven E2024-04-16 13:47:082024-05-07 07:53:03How to troubleshoot a stand mixer that isn’t spinning
https://www.appliancepartspros.com/b/wp-content/uploads/2024/04/Copy-of-Copy-of-Copy-of-Copy-of-Copy-of-Copy-of-Copy-of-Copy-of-Copy-of-Copy-of-Copy-of-Copy-of-Copy-of-IMAGE-TEMPLATE-FOR-BLOG-35.jpg
1080
1920
Steven E
https://www.appliancepartspros.com/b/wp-content/uploads/2020/11/app-logo-std.png
Steven E2024-04-16 13:47:082024-05-07 07:53:03How to troubleshoot a stand mixer that isn’t spinning https://www.appliancepartspros.com/b/wp-content/uploads/2024/04/Copy-of-Copy-of-Copy-of-Copy-of-Copy-of-Copy-of-Copy-of-Copy-of-Copy-of-Copy-of-Copy-of-Copy-of-Copy-of-IMAGE-TEMPLATE-FOR-BLOG-37.jpg
1080
1920
Steven E
https://www.appliancepartspros.com/b/wp-content/uploads/2020/11/app-logo-std.png
Steven E2024-04-16 13:12:512025-07-30 07:22:44How to replace KitchenAid stand mixer transmission housing 8212396
https://www.appliancepartspros.com/b/wp-content/uploads/2024/04/Copy-of-Copy-of-Copy-of-Copy-of-Copy-of-Copy-of-Copy-of-Copy-of-Copy-of-Copy-of-Copy-of-Copy-of-Copy-of-IMAGE-TEMPLATE-FOR-BLOG-37.jpg
1080
1920
Steven E
https://www.appliancepartspros.com/b/wp-content/uploads/2020/11/app-logo-std.png
Steven E2024-04-16 13:12:512025-07-30 07:22:44How to replace KitchenAid stand mixer transmission housing 8212396 https://www.appliancepartspros.com/b/wp-content/uploads/2024/04/Copy-of-Copy-of-Copy-of-Copy-of-Copy-of-Copy-of-Copy-of-Copy-of-Copy-of-Copy-of-Copy-of-Copy-of-Copy-of-IMAGE-TEMPLATE-FOR-BLOG-39.jpg
1080
1920
Steven E
https://www.appliancepartspros.com/b/wp-content/uploads/2020/11/app-logo-std.png
Steven E2024-04-16 12:40:142025-07-30 06:59:30How to replace KitchenAid stand mixer lift arm WP241764
https://www.appliancepartspros.com/b/wp-content/uploads/2024/04/Copy-of-Copy-of-Copy-of-Copy-of-Copy-of-Copy-of-Copy-of-Copy-of-Copy-of-Copy-of-Copy-of-Copy-of-Copy-of-IMAGE-TEMPLATE-FOR-BLOG-39.jpg
1080
1920
Steven E
https://www.appliancepartspros.com/b/wp-content/uploads/2020/11/app-logo-std.png
Steven E2024-04-16 12:40:142025-07-30 06:59:30How to replace KitchenAid stand mixer lift arm WP241764With nearly a decade of experience in providing top-notch customer service regarding appliance parts and repair, Steven enjoys sharing practical advice, troubleshooting tips, and interesting information to help readers stay informed.