How to Drain a Washing Machine With Standing Water
Steven E / Wednesday April 16, 2025
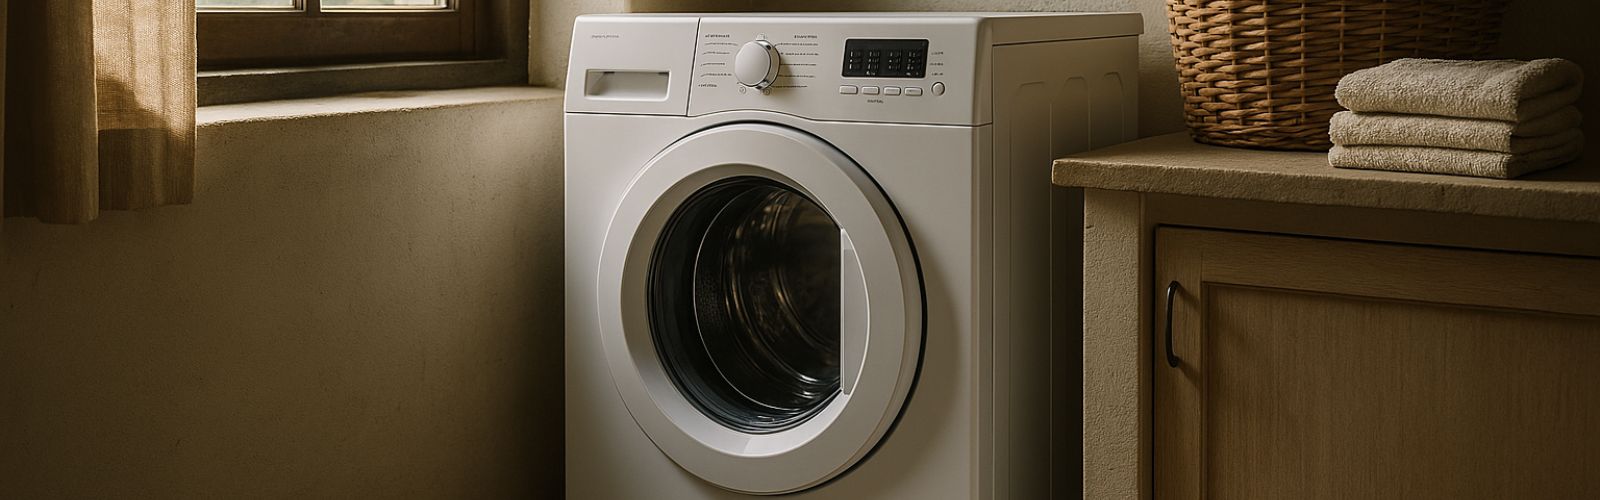
There are several reasons you might need to drain your washing machine. Perhaps the cycle stopped unexpectedly, leaving gallons of water behind, or maybe you’re preparing to move the appliance or conduct repairs. Draining the washer not only prevents water damage to your floors but also helps you inspect and clean internal parts. A little preventive maintenance now can save you time and hassle later. We’ll give you practical methods to drain water from your washer, reducing surprises and keeping your appliance in tip-top shape.
Tools and Materials You May Need
Preparing for the task makes any repair job easier. Here are some common tools and materials you should have on hand before you begin draining your washing machine:
- Old Towels and Absorbent Cloths
- Buckets or Shallow Pans
- Flathead Screwdriver or Putty Knife
- Flexible Hose or Siphon Pump
- Flashlight
General Safety Precautions
- Disconnect Power: Always unplug the washing machine from the wall outlet or turn off the corresponding circuit breaker. Mixing water and electricity is a safety hazard you want to avoid.
- Turn Off the Water Supply: Shut off both the hot and cold water valves (typically found on the wall behind your washer) by turning them clockwise until they stop. This ensures no additional water flows into the machine while you work.
- Protect Your Workspace: Lay down old towels and position shallow pans or buckets under any openings. Being prepared for spills can help prevent water damage and keep the floor safe and dry.
Steps for Draining Your Washing Machine
Method 1: Using the Drain Hose (Gravity Drain)
The gravity drain method uses the natural force of gravity to expel the water remaining in your washer. This is often the simplest method, especially for top-load machines or if you simply need to empty the water before moving the appliance.
- Locate the Drain Hose: Step behind your washing machine and find the flexible drain hose (usually grey or black). This hose is responsible for directing water from the machine to a standpipe, laundry sink, or floor drain.
- Detach the Hose Carefully: Gently pull the drain hose away from its fitting. Be prepared for a sudden release of water, this is common if the hose end is submerged. Keep your bucket or pan nearby to catch any water.
- Position the Hose for Gravity Drain: Lower the free end of the hose into a bucket or shallow pan. The hose’s end must be lower than the water level inside the drum so that gravity does its job effectively.
- Allow the Water to Drain Completely: Let gravity force the water out. Depending on the water volume, you may need to empty your pan or bucket periodically. For stubborn water leftover at the bottom, you can carefully tip the machine slightly forward (be sure to ask for help and keep the unit stable) to guide the water toward the hose.
- Reattach and Monitor: Once the water has fully drained out, reattach the hose securely to its original position. Keep an eye on the entire process to ensure no additional water spills onto your floor.
The gravity method is straightforward and works reliably as long as the pump is functioning. It’s a superb option when you want a quick solution with minimal tools.

Method 2: Using the Drain Pump Filter / Debris Trap
Many front-load washers and some high-efficiency top-load models feature an accessible drain pump filter or debris trap designed to catch lint, coins, hair, and other debris. When your machine fails to drain automatically, a clogged filter may be to blame. Clearing this filter can both drain the excess water and improve your washer’s performance.
- Locate the Access Panel: On most front-load washers, you’ll find a small, rectangular access panel at the bottom front of the machine. This panel often resides on the left or right side. If you’re not sure where the label is, check out our guide on How to find your appliance’s model number for further help.
- Prepare for Draining: Before opening the access panel, place old towels and a shallow pan or bucket right underneath. When you remove the filter, a significant amount of water may gush out; being prepared minimizes any water damage.
- Identify the Filter Cap: Inside the access panel, look for the round filter cap. Many filters come with a handle or textured ridges to help you grip and twist them open.
- Use the Mini-Drain Hose (if Available): Some models feature a secondary small drain hose adjacent to the filter cap. If your machine has one, gently pull it out and disconnect the plug so that water can drain into your pan slowly and in a controlled manner. Once a good amount of water is removed, replug the hose.
- Unscrew the Main Filter Cap: Slowly twist the filter cap counter-clockwise. As you do so, water will begin to seep out more freely. Be sure to control the pace by pausing as necessary to empty your pan.
- Clean the Filter: After the majority of water drains and the flow subsides, fully remove the filter cap. Rinse the filter under running water, ensuring you dislodge all debris, such as lint, coins, small buttons, or hair.
- Inspect the Pump Impeller: Shine a flashlight into the filter housing to examine the pump impeller, a small, fan-like component that helps move the water. Make sure it spins freely without any blockage. If you notice any resistance or foreign objects, carefully remove them.
- Reassemble the Components: Once everything is cleaned and inspected, screw the filter cap back in tightly (turning clockwise) and secure the access panel. This not only ensures that water drains properly during the next cycle but also helps maintain the overall health of your machine.
Draining via the pump filter is particularly effective for front-load washers that store water in low-lying compartments. Clearing the filter also prevents future clogs and helps your washer operate more efficiently.
Method 3: Siphoning the Water (Alternate Approach)
If the first two methods are not feasible, perhaps because your machine’s hose location is not optimal or the pump filter is inaccessible, siphoning can serve as a last-resort alternative. This technique requires a bit more patience and attention, but can be effective when other options fail.
- Choose a Suitable Hose: Find a flexible tube long enough to reach from inside the washing machine drum to a bucket or drain on the floor.
- Insert the Hose into the Drum: Submerge one end of the hose deep into the water inside your washer. The more water you cover with the hose, the better the siphon will work.
- Use a Siphon Pump: For the safest and most hygienic method, attach a siphon pump to the hose’s free end. Siphon pumps are available at hardware or auto parts stores and help start the water flow without the need to manually suck the water.
- Manual Siphoning: If you do not have a siphon pump, you can fill the hose entirely with water from a tap. Cover both ends with your thumbs, ensuring the entire tube is filled. Place one end into the washer and the other end into a bucket positioned lower than the water level in the drum. Then, release your thumbs simultaneously to begin the siphon.
- Maintain the Siphon Flow: Once the siphon is in motion, make sure that the end of the hose in the bucket remains lower than the washer’s water level at all times. Monitor the flow and empty the bucket as needed to keep the process smooth.
Although siphoning is less common than the other methods, it can be a handy option if your machine’s internal components are difficult to access. Take your time, and use this method only when necessary.
Where To Get More Help
Draining a washing machine with standing water is a simple task when you know the right steps. Whatever the reason, learning how to drain a washing machine with standing water can save you time, mess, and money.
If you need any replacement parts for your appliances, you can enter your model number at AppliancePartsPros.com to locate and order them quickly. Most orders arrive in just two business days, and we have tons of great information in our repair help section and YouTube videos to help you troubleshoot.
Stay connected with the latest DIY tips, tutorial videos, and repair guides by following us on Facebook, Instagram, and Twitter. We love hearing about your repair stories and successes. If you need more help or want personalized guidance, feel free to reach out. We’re ready to help you take on your next project with confidence!
The information in this article may not apply to your specific appliance model. We recommend consulting your manufacturer’s documentation or contact us with any questions.
 https://www.appliancepartspros.com/b/wp-content/uploads/2023/08/Untitled-design-1.jpg
1076
1547
Steven E
https://www.appliancepartspros.com/b/wp-content/uploads/2020/11/app-logo-std.png
Steven E2023-08-21 14:59:082023-08-21 14:59:27How to Decide What Water Temperature to Use for Laundry
https://www.appliancepartspros.com/b/wp-content/uploads/2023/08/Untitled-design-1.jpg
1076
1547
Steven E
https://www.appliancepartspros.com/b/wp-content/uploads/2020/11/app-logo-std.png
Steven E2023-08-21 14:59:082023-08-21 14:59:27How to Decide What Water Temperature to Use for Laundry https://www.appliancepartspros.com/b/wp-content/uploads/2023/08/Washer-with-excessive-suds-resulting-in-SUD-Whirlpool-Washer-Error-Code.png
563
999
Steven E
https://www.appliancepartspros.com/b/wp-content/uploads/2020/11/app-logo-std.png
Steven E2023-08-15 10:04:362023-08-15 10:04:44SUD Whirlpool Washer Error Code: A Troubleshooting Guide
https://www.appliancepartspros.com/b/wp-content/uploads/2023/08/Washer-with-excessive-suds-resulting-in-SUD-Whirlpool-Washer-Error-Code.png
563
999
Steven E
https://www.appliancepartspros.com/b/wp-content/uploads/2020/11/app-logo-std.png
Steven E2023-08-15 10:04:362023-08-15 10:04:44SUD Whirlpool Washer Error Code: A Troubleshooting Guide https://www.appliancepartspros.com/b/wp-content/uploads/2023/08/unlock-a-front-load-washer.png
572
1020
Steven E
https://www.appliancepartspros.com/b/wp-content/uploads/2020/11/app-logo-std.png
Steven E2023-08-11 10:49:382023-08-16 07:00:35How to Manually Unlock a Front Load Washer: Step-by-Step Guide
https://www.appliancepartspros.com/b/wp-content/uploads/2023/08/unlock-a-front-load-washer.png
572
1020
Steven E
https://www.appliancepartspros.com/b/wp-content/uploads/2020/11/app-logo-std.png
Steven E2023-08-11 10:49:382023-08-16 07:00:35How to Manually Unlock a Front Load Washer: Step-by-Step GuideWith nearly a decade of experience in providing top-notch customer service regarding appliance parts and repair, Steven enjoys sharing practical advice, troubleshooting tips, and interesting information to help readers stay informed.