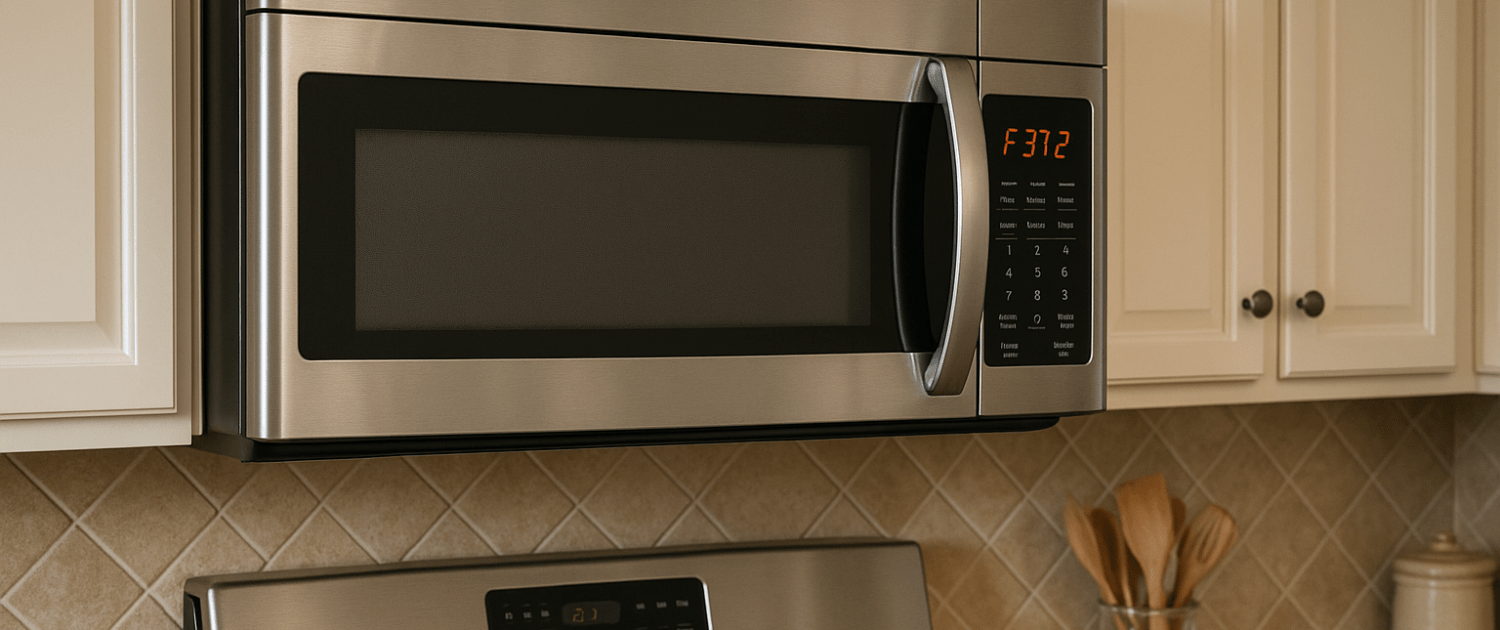
How to Fix a Whirlpool Microwave with Error Code F3T2
Steven E / Friday May 9, 2025
Is your Whirlpool microwave flashing the F3T2 error code and refusing to work like it should? That code usually means there’s a problem with the temperature sensor, either it’s faulty, disconnected, or reading incorrectly. The good news? It’s a fixable issue! We’ll show you how to troubleshoot the F3T2 error step by step, so you can get back to heating up your leftovers in peace.
If you find out that you need any replacement parts for your appliance while you’re troubleshooting, you can enter your model number at AppliancePartsPros.com to order them. Most orders arrive in just two business days, and we have thousands of free guides to show you how to install your new parts.
The information in this article may not apply to your specific appliance model. We recommend consulting your manufacturer’s documentation or contact us with any questions.
What is the error code?
The F3T2 error code indicates an issue with the food cavity (FC) thermistor in the Whirlpool microwave oven. The FC thermistor is a temperature sensor located in the rear of the oven cavity. It measures the temperature during convection cooking functions to ensure accurate heating. If the oven’s control board is not receiving the correct temperature readings from the FC thermistor, it will display the F3T2 error code and the convection system will not operate properly.
Safety precautions
When working on any appliance, remember to keep safety first. Here are some tips to keep in mind:
- Always power off and unplug your appliance or switch off the circuit breaker before attempting any maintenance or replacement work. This keeps you safe by preventing any risk of injury from electric shock.
- Wear insulated work gloves to protect your hands from sharp metal parts, pinching hazards and debris.
- Take your time and don’t rush while working to prevent accidents and personal injuries.
- Work in a well-lit area so you can clearly see and access the interior parts.
- Clear your workspace of clutter and other obstacles. Keep children and pets away from the work area.
- Never work on internal parts with bare wet hands. Make sure the work area is completely dry.
- Check your user manual to see if there are specific installation or safety instructions for your part or appliance.
- Be gentle when handling or removing parts. Excessive force might damage the appliance or cause injury.
- Wear safety glasses when working with chemicals, dust or cleaning large debris to prevent injury.
- If the appliance has recently been used, give it plenty of time for any heating parts to cool down before working on it.
- Take pictures or make a note of wiring terminals or other connections before disconnecting to prevent any problems with reassembly.
- When working with wires, avoid touching any exposed wires or terminals. If you need to touch a wire, use a non-conductive tool or wear insulating gloves to prevent electrical shock.
Microwave safety
Microwaves contain high-voltage parts and have the capacity to store voltage even when they’re disconnected from a power source. Please be very careful while working on a microwave’s internal parts to avoid electrocution, which has the potential to cause serious injuries or death.
- Always unplug the microwave before troubleshooting or making repairs.
- Discharge the high-voltage capacitor before working on high-voltage parts to eliminate the risk of electric shock. Do not continue if you are uncomfortable or unfamiliar with this process.
- Never attempt to run the microwave while its casing is open or when internal parts are exposed. Always completely reassemble the microwave before testing or using it.
- Never attempt to bypass any microwave safety features.
- Never run the microwave empty. Use a glass of water for test running.
- Removing a microwave from over the range is a two person job due to the weight and potential for damage. Follow manufacturer installation instructions for reinstallation over the range after repair.
Troubleshooting steps
Below is a step-by-step list to troubleshoot the F3T2 error code. Follow this guide to get your microwave functioning in no time.
Step 1: Check FC thermistor connection
- The FC (food cavity) thermistor is a temperature sensor located inside the microwave’s cooking chamber. It is responsible for monitoring the internal temperature.
- Locate the thermistor, which will have a pair of wires connected to it. Examine the connector where the thermistor wires attach to the control board. Make sure the connector is fully seated and the pins are not bent or damaged.
- Use a multimeter to test the resistance of the thermistor. Set the multimeter to the ohms (Ω) scale and touch the probes to the thermistor’s wire terminals. The resistance should fall within the manufacturer’s specified range, typically 10-20 kΩ at room temperature.
- If the FC thermistor is faulty, it will need to be replaced. Obtain the correct replacement part number for your specific microwave model.
Step 2: Replace the thermistor
- Disconnect the old thermistor by gently pulling the connector off the control board. Then remove the thermistor from its mounting location inside the microwave cavity.
- Install the new replacement thermistor, making sure it is properly positioned and securely fastened in place.
- Reconnect the new thermistor to the control board, ensuring the connector is fully seated.
Step 3: Replace relay control board
- After replacing the FC thermistor, plug the microwave oven back into the wall outlet.
- If the microwave was hardwired, restore power by switching the circuit breaker back to the on position.
- If the microwave oven continues to exhibit issues after replacing the FC thermistor, the problem may be with the relay control board.
- The relay control board is the “brain” of the microwave, responsible for coordinating the operation of all the internal components, including the thermistor.
- Obtain the correct replacement control board part number for your specific microwave model. Follow the manufacturer’s instructions carefully when removing the old board and installing the new one.
- Once the new relay control board is installed, power on the microwave and test its functionality to see if the issue has been resolved.
More information
Thank you for reading! We hope you found this information useful to get your microwave working again.
If you have any other appliance repair needs or projects, don’t hesitate to explore our thousands of free videos and troubleshooting guides available. If you need replacement parts or some extra help, grab your model number and head over to AppliancePartsPros.com, where you can chat with a pro, order parts, read our DIY blog, and more.
Be sure to subscribe to us on YouTube and follow us on Facebook, Twitter, and Instagram!
With nearly a decade of experience in providing top-notch customer service regarding appliance parts and repair, Steven enjoys sharing practical advice, troubleshooting tips, and interesting information to help readers stay informed.


