How to Fix Defrost Heater WPW10495967 on a Whirlpool Fridge
Steven E / Thursday June 19, 2025
Is your Whirlpool refrigerator struggling to stay cold or building up unwanted frost? You might have a faulty defrost heater on your hands, but don’t worry—it’s a fix you can handle yourself! Watch our step-by-step video below and learn how to replace the defrost heater, getting your fridge back to its frosty best in no time.
Looking for the right part? Enter your appliance model number below to find the exact match and get your appliance running like new again!
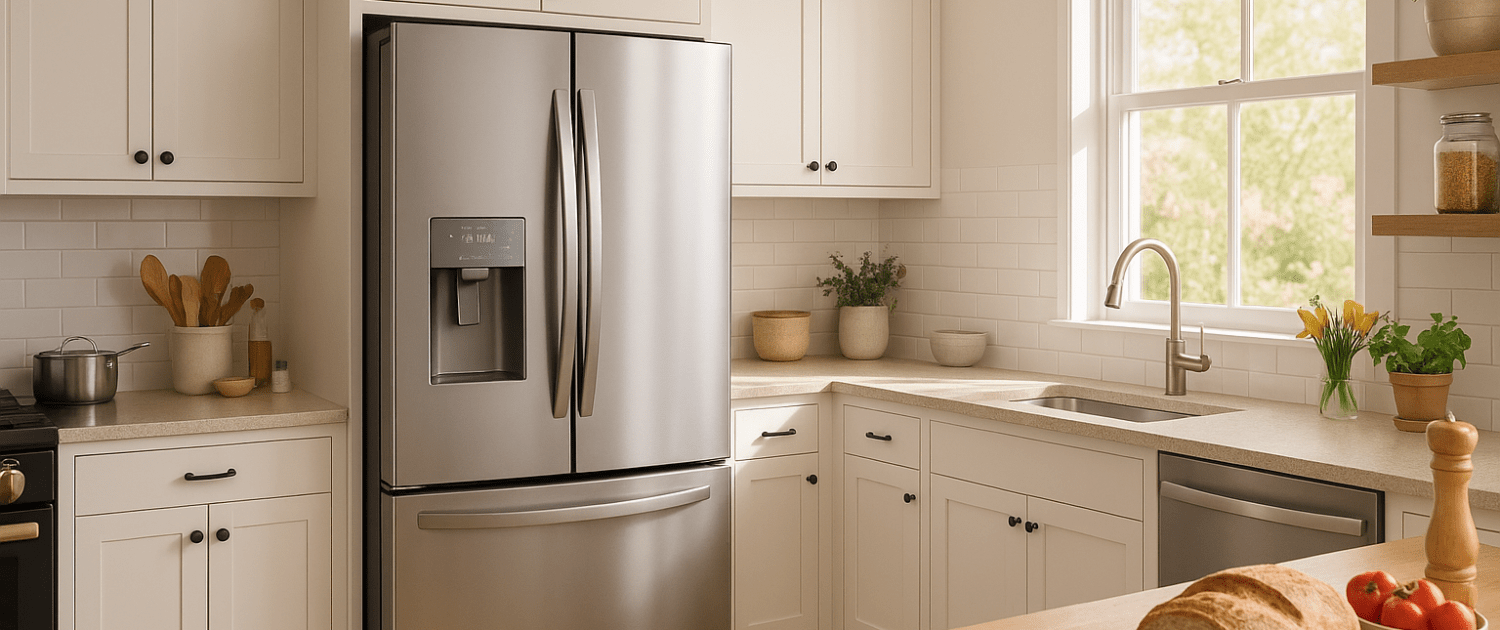
If your Whirlpool refrigerator is building up frost in the freezer or not staying cold enough, a faulty defrost heater could be the problem. The defrost heater, part number WPW10495967, helps melt away frost from the evaporator coils so the fridge can maintain proper airflow and temperature. When it stops working, frost can pile up and block the cold air from circulating. Replacing the heater might sound like a big job, but it’s actually a manageable DIY fix. In this guide, we’ll show you how to remove the old defrost heater and install a new one to get your fridge back in top shape. Let’s get started.

Watch here: How to replace a defrost heater on a refrigerator
The information in this article may not apply to your specific appliance model. We recommend consulting your manufacturer’s documentation or contact us with any questions.
What is the defrost heater?
The defrost heater plays a role in your refrigerator’s cooling system. It is positioned inside the freezer compartment, wrapped around the evaporator coil. During the defrost cycle, when activated by the control board, the defrost heater effectively melts any frost build-up on the evaporator coil, preventing it from freezing over.
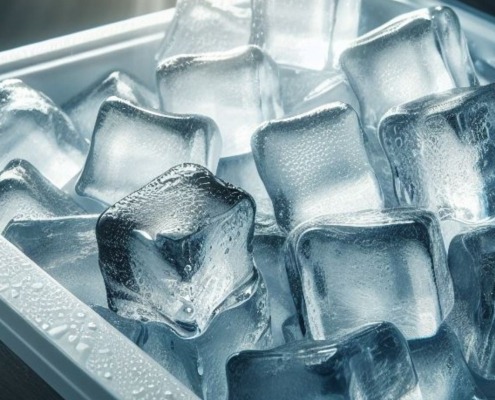
When the defrost heater malfunctions, frost starts accumulating on the evaporator coil, leading to reduced efficiency and a less cold freezer section. You may even notice the formation of a snowpack on the evaporator cover panel.
Safety first
When working on any appliance, remember to keep safety first. Here are some tips to keep in mind:
- Always power off and unplug your appliance or switch off the circuit breaker before you attempt any maintenance or replacement work. This keeps you safe by preventing any risk of electric shock.
- Take your time while working to prevent accidents and personal injuries. Rushing is the enemy of precision.
- Work in a well-lit area so you can clearly see and access appliance parts.
- Keep your workspace free of clutter and other obstacles. Keep children and pets away from the work area.
- Check the user manual to see if there are specific installation or safety instructions related to your appliance or replacement part.
- Be gentle when handling or removing parts. Excessive force might damage the appliance or cause personal injury.
- Wear insulated work gloves to protect your hands from sharp metal parts and debris.
- When working with wires, avoid touching any exposed wires or terminals. If you need to touch a wire, use a non-conductive tool or wear insulating gloves to prevent electrical shock.
- Turn off the water supply at the outlet before beginning repairs. Keep towels ready to catch any residual water in the system when removing parts.
Tools and materials needed
Before you begin, make sure you have the following tools and materials on hand:
- 1/4-inch nut driver
- Flat-bladed screwdriver
- Needle-nose pliers
- New defrost heater (part number WPW10495967): Take your model number to AppliancePartsPros.com to locate the correct part for your unit.
Replacement Steps
Always start by unplugging your fridge or switching off the circuit breaker to eliminate any risk of electric shock.
Remove Freezer Shelves and Drawers
- Open the freezer door.
- Remove the shelves and drawers from top to bottom.
- Lift each shelf slightly, slide it out, and set it aside.
- Pull each drawer forward, lift, and remove it from the rails.
Remove Rear Access Panels
- Start with the top rear plastic cover.
- Use a flat-blade screwdriver to pry it off carefully.
- Hold it as you remove it so it doesn’t fall.
- Remove the ¼-inch screw in the upper left corner of the panel.
- Lift the upper rear panel and pull it out.
- Remove the lower access panel by unscrewing the four ¼-inch screws (two at the top and two at the bottom).
- Pull the panel out and set it aside.
Disconnect the Heater Wiring Harness
- Locate the two plugs with thick black wires leading to the defrost heater.
- Use both hands if needed to press the locking tabs and disconnect the plugs.
Remove the Drip Pan and Bend the Copper Tubing
- Use needle-nose pliers to gently pull out the drip pan at the bottom of the evaporator (not fully—just enough to move it).
- Carefully bend the copper tubing at the top of the evaporator coil outward. Avoid touching the aluminum parts where it’s soldered.
Remove the Heat Shield and Ground Wire
- Use needle-nose pliers to disconnect the green ground wire from the shield.
- Wiggle the heat shield free and slide it out. There may be a rear clip—gently jiggle it if needed.
Remove the Old Defrost Heater
- Use pliers to unclip the two bottom mounting clips by bending them out of the way.
- Slide the old defrost heater out from behind the evaporator coil.
Install the New Defrost Heater
- Align the longer wire on the left side as you install the new heater.
- Slide it in from left to right, pushing the wiring harness into place.
- Reconnect the two wire plugs.
- Reinstall the bottom clips, hooking them over the aluminum tubing. Pull the heater down slightly so it’s seated securely.
Reinstall the Heat Shield and Ground Wire
- Slide the heat shield back into place (you can skip the rear clips if they broke off).
- Use pliers to reconnect the green ground wire to the top of the shield.
- Gently bend the copper tubing back into its original position.
Reinstall the Rear Panels
- Clip the lower access panel into place and secure it with the four screws using your ¼-inch nut driver.
- Reinstall the upper rear panel.
- Slide the bottom grooves over the top edge of the lower panel.
- Push down and in so that the clips on both sides lock into place.
- Secure it with the ¼-inch screw in the upper left corner.
- Reinstall the plastic cover by sliding in the right side first, then snapping the left side into place.
Reinstall Shelves and Drawers
- Start from the bottom and slide each shelf and drawer back into place.
- Make sure everything is aligned and seated properly.
Plug the Refrigerator Back In
- Close the freezer door.
- Plug the fridge back in or switch the circuit breaker back on.
- Give the unit some time to start cooling and verify that the frost issue is resolved.
More information
Thanks for reading! We hope this guide helped you replace the defrost heater in your Whirlpool refrigerator.
If you still need some replacement parts, grab your model number and head over to AppliancePartsPros.com. We offer over two million parts and most orders arrive in two business days. If you need some help with finding the right part or placing an order, you can contact our team at 1 (877) 477-7278.
While you’re waiting for your new part to arrive, you can explore our DIY blog and watch thousands of video tutorials on our YouTube channel.
Be sure to follow us on Facebook, Twitter and Instagram to see our latest repair guides!
 https://www.appliancepartspros.com/b/wp-content/uploads/2024/03/Copy-of-Copy-of-Copy-of-Copy-of-Copy-of-Copy-of-Copy-of-Copy-of-IMAGE-TEMPLATE-FOR-BLOG-11.jpg
1080
1920
Steven E
https://www.appliancepartspros.com/b/wp-content/uploads/2020/11/app-logo-std.png
Steven E2024-03-07 12:12:572025-07-29 10:28:15How to replace GE refrigerator ice maker water line fitting WR02X10967
https://www.appliancepartspros.com/b/wp-content/uploads/2024/03/Copy-of-Copy-of-Copy-of-Copy-of-Copy-of-Copy-of-Copy-of-Copy-of-IMAGE-TEMPLATE-FOR-BLOG-11.jpg
1080
1920
Steven E
https://www.appliancepartspros.com/b/wp-content/uploads/2020/11/app-logo-std.png
Steven E2024-03-07 12:12:572025-07-29 10:28:15How to replace GE refrigerator ice maker water line fitting WR02X10967 https://www.appliancepartspros.com/b/wp-content/uploads/2024/03/Copy-of-Copy-of-Copy-of-Copy-of-Copy-of-Copy-of-Copy-of-Copy-of-IMAGE-TEMPLATE-FOR-BLOG-3.jpg
1080
1920
Steven E
https://www.appliancepartspros.com/b/wp-content/uploads/2020/11/app-logo-std.png
Steven E2024-03-07 09:15:492025-07-29 09:51:17How to replace Samsung fridge dispenser switch DA34-00011B
https://www.appliancepartspros.com/b/wp-content/uploads/2024/03/Copy-of-Copy-of-Copy-of-Copy-of-Copy-of-Copy-of-Copy-of-Copy-of-IMAGE-TEMPLATE-FOR-BLOG-3.jpg
1080
1920
Steven E
https://www.appliancepartspros.com/b/wp-content/uploads/2020/11/app-logo-std.png
Steven E2024-03-07 09:15:492025-07-29 09:51:17How to replace Samsung fridge dispenser switch DA34-00011B https://www.appliancepartspros.com/b/wp-content/uploads/2024/03/Copy-of-Copy-of-Copy-of-Copy-of-Copy-of-Copy-of-Copy-of-IMAGE-TEMPLATE-FOR-BLOG-40.jpg
1080
1920
Steven E
https://www.appliancepartspros.com/b/wp-content/uploads/2020/11/app-logo-std.png
Steven E2024-03-01 13:24:312025-07-29 08:37:09How to replace Whirlpool fridge defrost heater WP2315530
https://www.appliancepartspros.com/b/wp-content/uploads/2024/03/Copy-of-Copy-of-Copy-of-Copy-of-Copy-of-Copy-of-Copy-of-IMAGE-TEMPLATE-FOR-BLOG-40.jpg
1080
1920
Steven E
https://www.appliancepartspros.com/b/wp-content/uploads/2020/11/app-logo-std.png
Steven E2024-03-01 13:24:312025-07-29 08:37:09How to replace Whirlpool fridge defrost heater WP2315530With nearly a decade of experience in providing top-notch customer service regarding appliance parts and repair, Steven enjoys sharing practical advice, troubleshooting tips, and interesting information to help readers stay informed.