How to Fix the H1 Error Code on Your Maytag Dryer
Steven E / Friday May 9, 2025
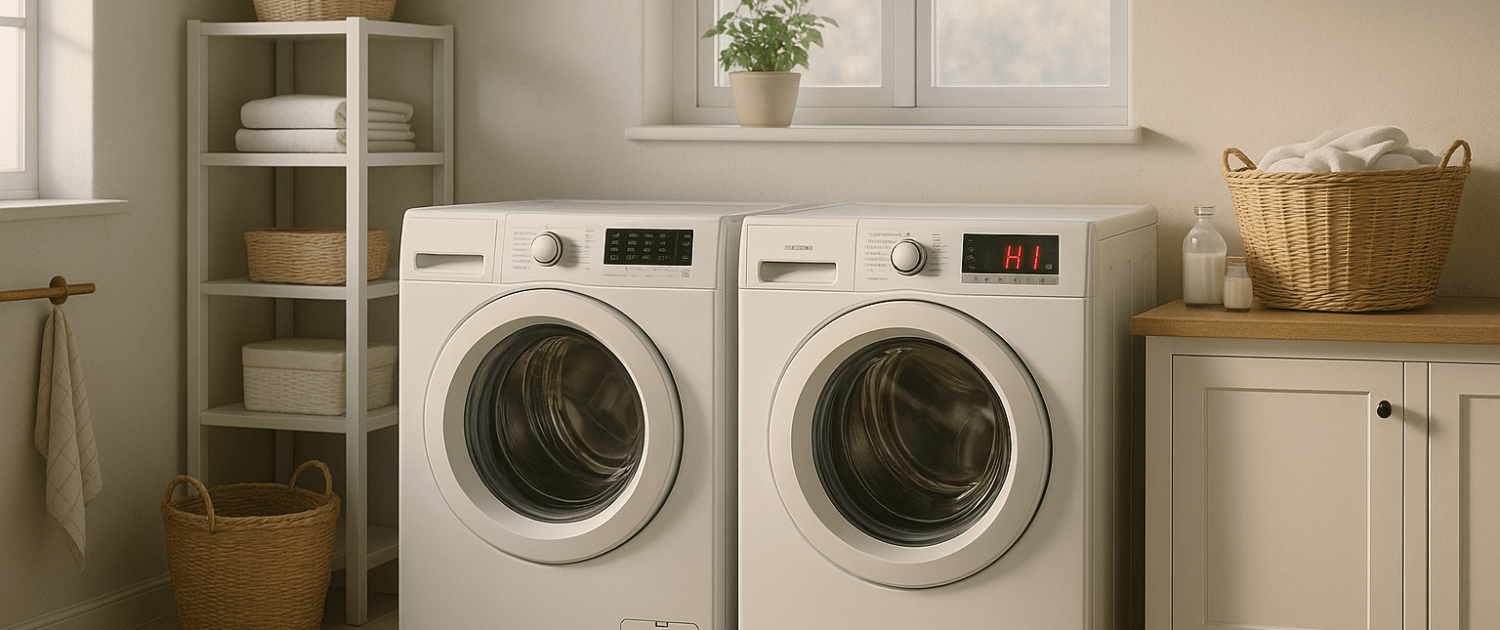
Seeing an H1 error message flash on your Maytag Neptune dryer display can be confusing and worrisome. But troubleshooting the H1 code is straightforward when you understand what’s causing it. This detailed guide will walk you through the entire H1 Maytag Dryer error code diagnostics and repair process.
If you find out that you need any replacement parts for your appliance while you’re troubleshooting, you can enter your model number at AppliancePartsPros.com to order them. Most orders arrive in just two business days, and we have thousands of free guides to show you how to install your new parts.
The information in this article may not apply to your specific appliance model. We recommend consulting your manufacturer’s documentation or contact us with any questions.
What does the error code mean?
On Maytag Neptune dryers, the H1 error code indicates the dryer is failing to detect the expected rise in internal air temperature during operation.

This commonly occurs a few minutes into a dry cycle, after the burner or heating element switches on but does not register the anticipated warm airflow. When the thermistor does not sense the temperature increase, the control board triggers H1 to flash on the display.
The H1 code alerts you that there is likely a problem with the dryer’s heating system. Something is preventing the normal rise in exhaust temperature when heat is applied.
There are several possible causes:
- Faulty heating element – An open or burned-out heating element won’t emit heat into the drum. Electrical elements can short or fail over time.
- Defective thermostat – The high-limit thermostat prevents overheating. If it is tripped or damaged, the heat source will be deactivated.
- Blocked air flow – Lint accumulation around the heating element, blower, or ducts restricts proper airflow. This prevents warm exhaust.
- Exhaust vent restriction – Blockages, lint, or excess length in the external exhaust venting can cause poor airflow.
- Thermistor issues – A defective thermistor won’t accurately detect the rise in heat. It will continue signaling “low temp” to the control board.
- Loose wiring connections – Burnt wires or loose terminals interrupt power flow to the heating components.
- Control board problems – If the heating system is working properly but H1 persists, the main control board itself may be signaling a false error code.
Safety precautions
When working on any appliance, remember to keep safety first. Here are some tips to keep in mind:
- Always power off and unplug your appliance or switch off the circuit breaker before attempting any maintenance or replacement work. This keeps you safe by preventing any risk of injury from electric shock.
- Wear insulated work gloves to protect your hands from sharp metal parts, pinching hazards and debris.
- Take your time and don’t rush while working to prevent accidents and personal injuries.
- Work in a well-lit area so you can clearly see and access the interior parts.
- Clear your workspace of clutter and other obstacles. Keep children and pets away from the work area.
- Never work on internal parts with bare wet hands. Make sure the work area is completely dry.
- Check your user manual to see if there are specific installation or safety instructions for your part or appliance.
- Be gentle when handling or removing parts. Excessive force might damage the appliance or cause injury.
- Wear safety glasses when working with chemicals, dust or cleaning large debris to prevent injury.
- If the appliance has recently been used, give it plenty of time for any heating parts to cool down before working on it.
- Take pictures or make a note of wiring terminals or other connections before disconnecting to prevent any problems with reassembly.
- When working with wires, avoid touching any exposed wires or terminals. If you need to touch a wire, use a non-conductive tool or wear insulating gloves to prevent electrical shock.
Troubleshooting steps
Follow these steps to diagnose what is triggering the H1 error message:
1: Check the heating element
The heating element generates the warm airflow needed for drying. If it is burned out or damaged, it can trigger an H1 code.
- Unplug the dryer and access the heating element housing.
- Disconnect the element wire terminals. Make a note or take a picture of where each color wire attaches for reconnection later.
- Use an ohmmeter to check continuity across the element terminals.
- The element should show very low resistance, indicating a closed circuit. If any section shows infinite resistance, the element is damaged.
- Visually inspect the element coils for signs of overheating or cracks in the metal. Discoloration or deformation is evidence of failure.
- Make sure to install the exact replacement part number for your Maytag dryer model if the element requires replacement.
- Check to make sure the voltage is actually reaching the heating element when you activate a dry cycle.
- Check for 120V power at the element terminals.
- If voltage is not present, that points to a wiring issue or failed component in the heating circuit.
2: Confirm the thermistor is working
- The thermistor detects exhaust air temperature and feeds data to the control board. If it is damaged, the board won’t receive accurate temp readings.
- Verify the thermistor resistance changes when heat is applied.
- If not, replace the faulty thermistor.
- Make sure the new part is securely mounted in the proper position to detect heated airflow.
3: Test the thermostat
The high-limit thermostat serves as a safety cutoff to prevent overheating. If it is faulty, it will deactivate the heating element. To test the dryer’s thermostat:
- Locate the thermostat mounted to the heating element housing or vent duct. It has a red reset button on top.
- Disconnect power to the dryer. Use an ohmmeter to check continuity across the thermostat terminals.
- Press the red reset button down firmly first before testing. The thermostat should show closed contacts.
- If the thermostat shows an open circuit, press the red button again. If it remains open, replace the faulty thermostat.
- Install an exact replacement high-limit thermostat with the same temperature rating as the original part.
4: Inspect the airflow system
Check for any obstructions that would restrict warm airflow through the dryer:
- Remove the lint screen and use a shop vacuum to clean out the lint ductwork behind it.
- Remove the front panel to access the blower housing. Clean out any accumulated lint restricting the blower fan.
- Disconnect the exhaust duct and inspect it for lint buildup or blockages. Clean it thoroughly or replace degraded ducting.
- Verify the outdoor exhaust hood opens and closes properly when the dryer runs.
- Check for lint accumulation around the heating element coils and clear it away. Also, clean the element grill screen.
- Confirm the element housing is properly seated and the gasket is intact. Air leaks here will inhibit airflow.
5: Verify control board operation
If the heating components all test functional, the main electronic control board may be the culprit:
- Locate the control board in the top console and unplug all wire connectors. This prevents damaging the new board.
- Install an exact replacement control board made for your specific model. Reconnect all wiring.
- Power up the dryer and start a heated cycle to see if the new board clears the H1 code.
- Monitor the display for temperature readings. The thermistor should register heat properly now if the original board was defective.
- If the H1 error persists, reconnect the original board and focus troubleshooting on the heating element, thermistor, or thermostat instead.
- Be extremely careful when handling control boards to prevent static discharge damage.
Additional information
Thank you for reading! We hope you found this information useful to get your dryer working again.
If you have any other appliance repair needs or projects, don’t hesitate to explore our thousands of free videos and troubleshooting guides available. If you need replacement parts or some extra help, grab your model number and head over to AppliancePartsPros.com, where you can chat with a pro, order parts, read our DIY blog, and more.
Be sure to subscribe to us on YouTube and follow us on Facebook, Twitter, and Instagram!
 https://www.appliancepartspros.com/b/wp-content/uploads/2023/10/illustration-of-a-microwave-showing-a-F3-GE-microwave-error.png
649
1133
Steven E
https://www.appliancepartspros.com/b/wp-content/uploads/2020/11/app-logo-std.png
Steven E2023-10-27 11:07:362023-10-27 13:07:20F3 GE microwave error code troubleshooting guide
https://www.appliancepartspros.com/b/wp-content/uploads/2023/10/illustration-of-a-microwave-showing-a-F3-GE-microwave-error.png
649
1133
Steven E
https://www.appliancepartspros.com/b/wp-content/uploads/2020/11/app-logo-std.png
Steven E2023-10-27 11:07:362023-10-27 13:07:20F3 GE microwave error code troubleshooting guide https://www.appliancepartspros.com/b/wp-content/uploads/2023/10/DALL·E-2023-10-27-13.00.45-Illustration-in-16_9-aspect-ratio-of-a-cutting-edge-dryer-in-a-minimalist-laundry-space.-The-machines-control-panel-situated-above-the-door-is-clea.png
1024
1792
Steven E
https://www.appliancepartspros.com/b/wp-content/uploads/2020/11/app-logo-std.png
Steven E2023-10-27 10:09:402023-10-27 10:43:24006 GE dryer error code troubleshooting guide
https://www.appliancepartspros.com/b/wp-content/uploads/2023/10/DALL·E-2023-10-27-13.00.45-Illustration-in-16_9-aspect-ratio-of-a-cutting-edge-dryer-in-a-minimalist-laundry-space.-The-machines-control-panel-situated-above-the-door-is-clea.png
1024
1792
Steven E
https://www.appliancepartspros.com/b/wp-content/uploads/2020/11/app-logo-std.png
Steven E2023-10-27 10:09:402023-10-27 10:43:24006 GE dryer error code troubleshooting guide https://www.appliancepartspros.com/b/wp-content/uploads/2021/08/shutterstock_389837935.jpg
994
1500
Steven E
https://www.appliancepartspros.com/b/wp-content/uploads/2020/11/app-logo-std.png
Steven E2023-10-18 11:11:442023-10-18 11:17:43Error Code 10 | Frigidaire Washing Machine Troubleshooting
https://www.appliancepartspros.com/b/wp-content/uploads/2021/08/shutterstock_389837935.jpg
994
1500
Steven E
https://www.appliancepartspros.com/b/wp-content/uploads/2020/11/app-logo-std.png
Steven E2023-10-18 11:11:442023-10-18 11:17:43Error Code 10 | Frigidaire Washing Machine TroubleshootingWith nearly a decade of experience in providing top-notch customer service regarding appliance parts and repair, Steven enjoys sharing practical advice, troubleshooting tips, and interesting information to help readers stay informed.