How to Fix The Most Common KitchenAid Stand Mixer Problems
Steven E / Wednesday July 9, 2025
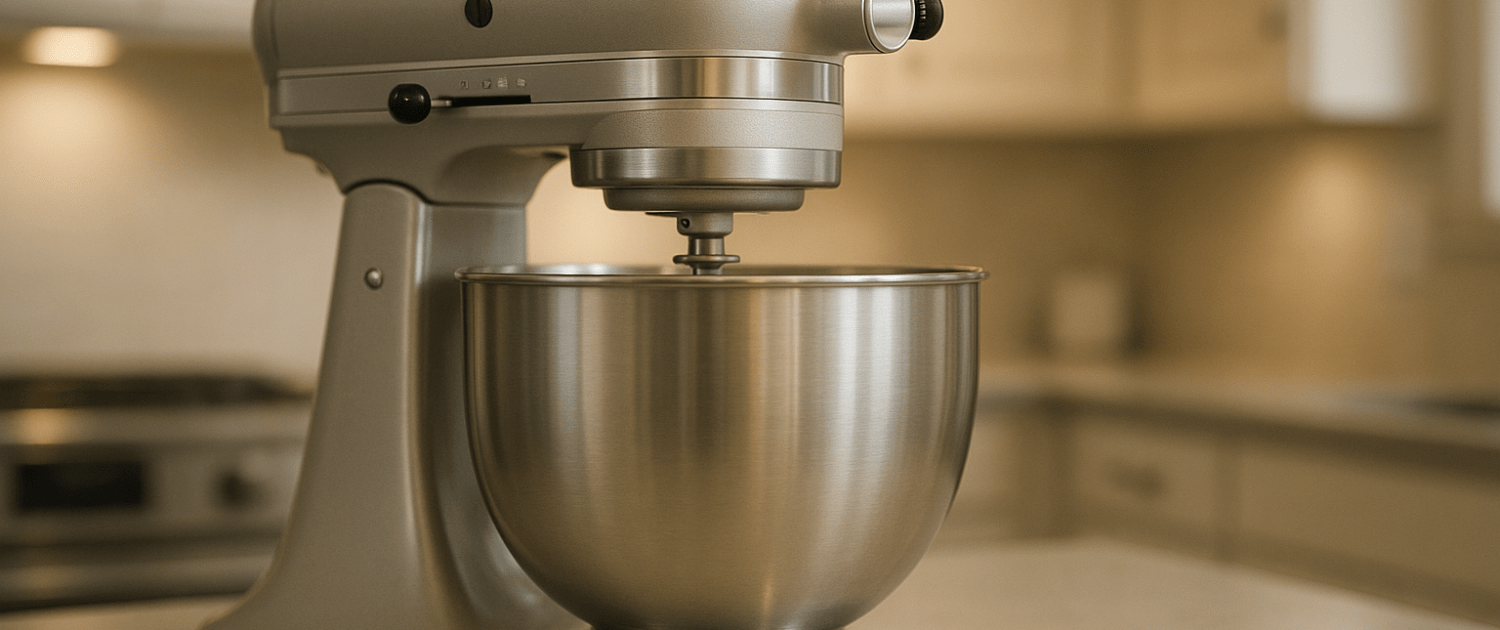
Your KitchenAid stand mixer is a workhorse in the kitchen, until something goes wrong. Whether it’s making weird noises, refusing to turn on, or not mixing properly, it can throw your baking plans into chaos. Don’t worry, though! This guide will help you diagnose the most common KitchenAid mixer problems so you can get back to whipping, kneading, and mixing like a pro.
The information in this article may not apply to your specific appliance model. We recommend consulting your manufacturer’s documentation or contact us with any questions.
Why KitchenAid Mixers Fail
KitchenAid mixers are designed to last decades, but heavy use, lack of maintenance, or accidental damage can lead to problems such as:
- Mechanical wear on gears and components.
- Electrical failures, like bad speed controls or wiring.
- Lubricant breakdown or leaks.
- Improper adjustments.
By learning what to look for and how to test parts, you can save time and money and keep your mixer running for years to come.

Mixer Won’t Start
Possible causes:
- Faulty power cord or plug.
- Blown fuse in the house circuit.
- Worn carbon brushes inside the motor.
- Internal wiring failure.
What to check:
- Make sure the mixer is firmly plugged into a working outlet.
- Test the outlet with another appliance to rule out house power.
- Inspect the cord and plug for damage or fraying.
- Unplug the mixer, remove the back cover, and check the carbon brushes. Worn brushes are a common reason mixers won’t start. Replace them if they’re cracked, chipped, or worn down.
- If everything looks intact but it still won’t turn on, the internal wiring or motor windings may need inspection.
Mixer Runs But Only at One Speed
Possible causes:
- Broken or worn speed control lever.
- Faulty speed control plate or governor.
What to check:
- Turn the mixer off, unplug it, and remove the back cover.
- Check the mechanical linkage between the speed lever and the control plate; it may have slipped out of alignment or broken.
- Inspect the control plate contacts for burning, corrosion, or sticking.
- If the governor is damaged or worn, it may need to be replaced.
Mixer Runs Noisily or Grinds
Possible causes:
- Stripped or worn gears.
- Lack of lubrication.
- Foreign object in the gear housing.
What to check:
- Unplug the mixer and remove the motor housing cover.
- Inspect the main gear and worm gear for worn or missing teeth.
- Look at the grease in the gear housing; if it’s dark, dirty, or dried out, it needs to be replaced.
- Clean out the housing, replace any worn gears, and re-pack with fresh food-grade grease.
Beater Hits Bowl or Doesn’t Reach Ingredients
Possible causes:
- Bowl-to-beater clearance is misadjusted.
What to check:
- With the mixer unplugged, attach the bowl and a flat beater.
- Turn the adjustment screw (located at the hinge of the mixer head on tilt-head models, or behind the bowl support on bowl-lift models) slightly clockwise to lower the beater, or counterclockwise to raise it.
- The beater should just clear the bottom of the bowl, with a piece of parchment sliding underneath easily.
Mixer Shuts Off During Use
Possible causes:
- Overheating due to heavy load.
- Overloaded circuit.
- Failing thermal overload protector.
What to check:
- Let the mixer cool for 20–30 minutes and try again.
- Make sure you’re not exceeding the mixer’s rated capacity.
- If it shuts down even when lightly loaded, the thermal overload protector or wiring may need inspection or replacement.
Oil Leaking From Mixer Head
Possible causes:
- Grease separates from age or heat.
What to check:
- A small amount of oil seepage is normal over time. Wipe away excess and check if it continues.
- If leaking persists or is significant, open the gear housing, clean out the old grease, and repack with fresh food-grade grease.
Attachments Won’t Turn or Are Weak
Possible causes:
- Worn attachment hub gear.
- Stripped or misaligned attachment hub.
What to check:
- Remove the hub cover and inspect the gear and drive mechanism.
- Check for wear, stripped teeth, or improper engagement.
- Replace the hub gear if worn or damaged.
Where To Find Us
If you need any replacement parts for your appliances, you can enter your model number at AppliancePartsPros.com to locate and order them quickly. Most orders arrive in just two business days, and we have tons of great information in our repair help section and YouTube videos to help you troubleshoot.
Stay connected with the latest DIY tips, tutorial videos, and repair guides by following us on Facebook, Instagram, and Twitter. We love hearing about your repair stories and successes. If you need more help or want personalized guidance, feel free to reach out. We’re ready to help you take on your next project with confidence!
 https://www.appliancepartspros.com/b/wp-content/uploads/2023/11/Illustration-of-a-KitchenAid-mixer.png
646
1133
Steven E
https://www.appliancepartspros.com/b/wp-content/uploads/2020/11/app-logo-std.png
Steven E2023-11-02 14:15:222023-11-22 13:56:32Preparing your KitchenAid stand mixer for Thanksgiving dinner
https://www.appliancepartspros.com/b/wp-content/uploads/2023/11/Illustration-of-a-KitchenAid-mixer.png
646
1133
Steven E
https://www.appliancepartspros.com/b/wp-content/uploads/2020/11/app-logo-std.png
Steven E2023-11-02 14:15:222023-11-22 13:56:32Preparing your KitchenAid stand mixer for Thanksgiving dinner https://www.appliancepartspros.com/b/wp-content/uploads/2023/10/appcreator_A_kitchen_countertop_with_a_stand_mixer_ready_for_us_e83fc656-0e79-4977-915c-5bce650ccef0.png
960
960
Steven E
https://www.appliancepartspros.com/b/wp-content/uploads/2020/11/app-logo-std.png
Steven E2023-10-02 08:14:512023-12-20 06:53:05How to fix a KitchenAid mixer that won’t turn on
https://www.appliancepartspros.com/b/wp-content/uploads/2023/10/appcreator_A_kitchen_countertop_with_a_stand_mixer_ready_for_us_e83fc656-0e79-4977-915c-5bce650ccef0.png
960
960
Steven E
https://www.appliancepartspros.com/b/wp-content/uploads/2020/11/app-logo-std.png
Steven E2023-10-02 08:14:512023-12-20 06:53:05How to fix a KitchenAid mixer that won’t turn on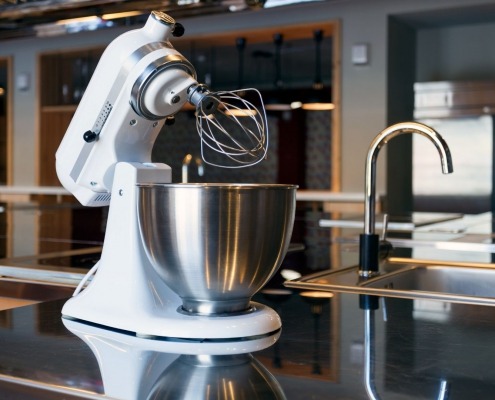 https://www.appliancepartspros.com/b/wp-content/uploads/2023/09/Copy-of-Copy-of-Copy-of-Untitled-Design.jpg
1080
1621
Steven E
https://www.appliancepartspros.com/b/wp-content/uploads/2020/11/app-logo-std.png
Steven E2023-09-25 10:08:122023-10-18 08:33:45How to Fix a KitchenAid Stand Mixer That Is Leaking Oil/Grease
https://www.appliancepartspros.com/b/wp-content/uploads/2023/09/Copy-of-Copy-of-Copy-of-Untitled-Design.jpg
1080
1621
Steven E
https://www.appliancepartspros.com/b/wp-content/uploads/2020/11/app-logo-std.png
Steven E2023-09-25 10:08:122023-10-18 08:33:45How to Fix a KitchenAid Stand Mixer That Is Leaking Oil/GreaseWith nearly a decade of experience in providing top-notch customer service regarding appliance parts and repair, Steven enjoys sharing practical advice, troubleshooting tips, and interesting information to help readers stay informed.