How To Install A Garbage Disposal (With Video!)
APP Expert / Wednesday May 11, 2022
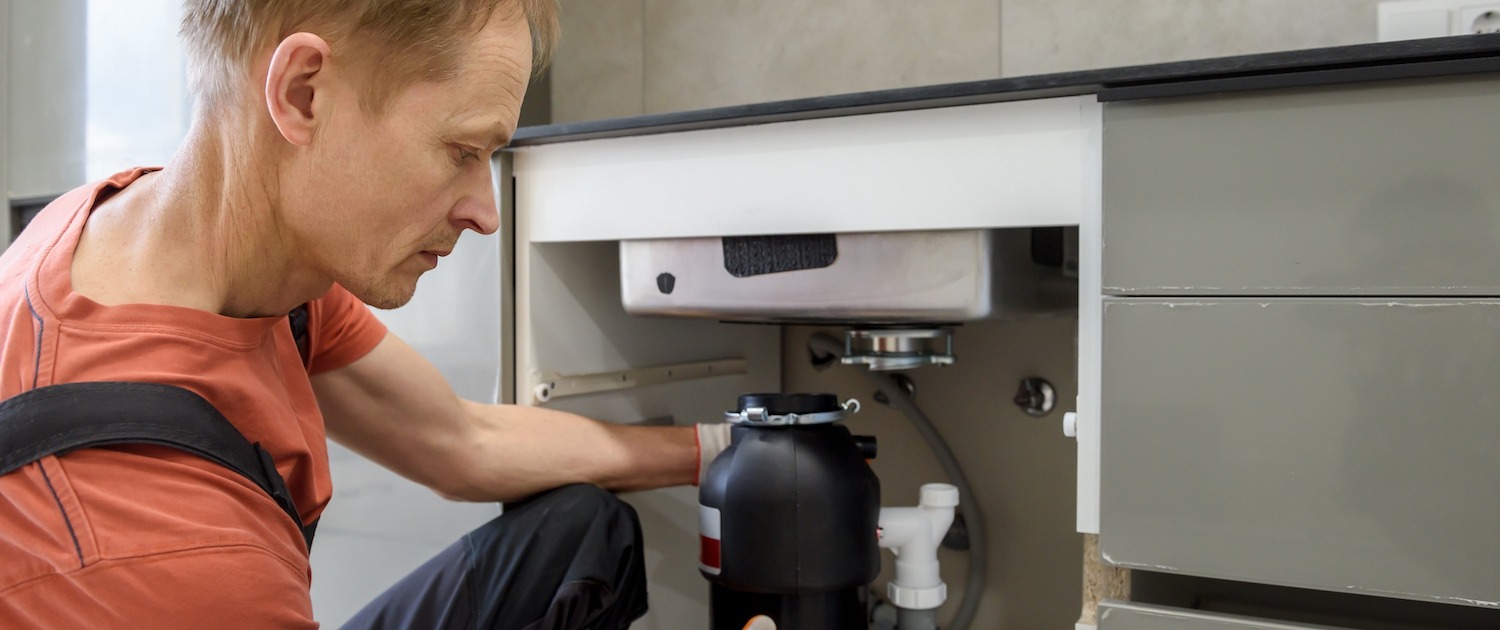
Struggling with a faulty garbage disposal that disrupts your kitchen routine? Fear not, DIY enthusiasts! Our step-by-step guide and helpful how-to video below will empower you to install a brand-new garbage disposal like a pro, saving both your time and money. Dive in and discover how easy it is to upgrade your kitchen’s efficiency all on your own!
Need to fix an appliance problem in your home? Search below using your specific appliance model number to identify the exact part needed:
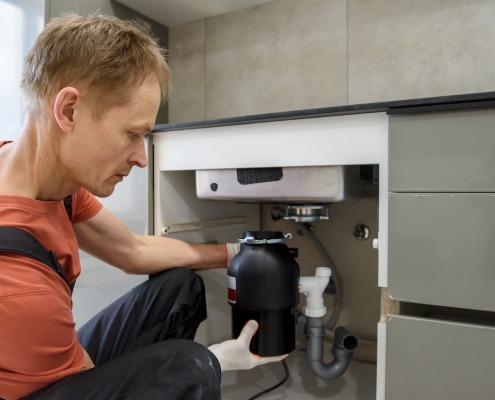
Need help installing a new disposal to keep your kitchen running smoothly? Whether you’re adding a completely new disposal to your home or replacing an old one, AppliancePartsPros.com has you covered with this video guide and step-by-step tutorial. In this guide learn how to save money installing a new garbage disposal beneath your kitchen sink yourself.
When Should I Replace My Garbage Disposal?
Fixing appliances and home improvement is kind of our thing here at AppliancePartsPros.com. Leaks, weird noises, unexpected shut-offs, and nasty smells–we handle them all! But even we have to admit that sometimes the best DIY fix for a problem is to buy and install a completely new appliance.
Here are some signs you’re on that road with your garbage disposal:
- It’s time to upgrade. A ⅓-hp disposal may not be able to keep up if your family is growing or if you’re cooking at home significantly more than you used to resulting in more food waste. Consider looking into a higher horsepower disposal if your current one is struggling to keep up with your needs.
- You’re hitting the reset button often. Most disposals have a reset button somewhere on the bottom of the unit. You use this to reset your disposal if it shuts itself off after the motor has overworked itself. If you’re having to go for the reset button often, it’s time to purchase a new disposal – and possibly consider an upgrade in horsepower.
- You’re experiencing multiple issues and the disposal is 10 or more years old. All mechanical parts wear out with time, and most major manufacturers put a 10 year lifespan on their garbage disposals. Once the cost of regular repairs is starting to exceed the cost of a new disposal, it’s time to make the jump.
What To Consider When Buying A Garbage Disposal
Before you start looking at new garbage disposals, answer these questions:
- How much power will I need? Garbage disposal motors are rated in horsepower, and home-use disposals generally run between ⅓ hp on the small end and 1 hp for more power. More than 1 hp and you’re getting into commercial use. A few factors will determine how much power you need:
- What you’re using the disposal for. If large bones, fruit pits, or other hard food debris are winding up in your disposal, you’re going to need a more powerful motor. Softer scraps don’t need quite as much power to handle, and even things like chicken bones are usually fine with a ¾ hp disposal.
- How often you cook. Home chefs will likely want something with a bit more kick to keep up with the everyday grind, but if you’re eating out more than once a week, you may not need the extra horsepower.
- Family size. If you’re flying solo, a ⅓ hp disposal should be fine, but a family of four or more, particularly if you’re cooking at home a lot, may need a garbage disposal with a more powerful ¾ or 1 hp motor.
- How much space is there beneath my sink? More horsepower naturally means a bigger disposal, but garbage disposals usually average from between 10 to 15 inches in length and 5 to 9 inches in width.
- What’s my budget? Generally, the more horsepower, the more expensive, and certain features – like sound-deadening elements, EZ-mount, or extended warranties – may add onto that price. You may be able to strike a balance by purchasing a disposal with a less powerful, but still adequate, motor and more features.
How To Install A Garbage Disposal
Most home garbage disposals are installed in the same way, so this guide can help you out regardless of your new disposal’s brand or model.
Please note that depending on what disposal you purchase, you may need to do some electrical work to complete the install. Be sure that all circuit breakers are off and no part of the disposal or wiring is receiving power as you’re working. If at any point you do not feel confident in your ability to complete a task, stop what you are doing and call a professional plumber, electrician, or repair technician to help you.
Tools for the job
Get these items together before you begin garbage disposal installation:
- Your new garbage disposal replacement parts with all mounting hardware accounted for
- Plumber’s putty
- Phillips and flathead screwdrivers
- ⅜-inch and 5/16-inch nut drivers
- Hammer or mallet
- Needle nose pliers
- Towel
- Work gloves
Powering your garbage disposal
Disposals generally do not come with power cords. So if you are not hardwiring your disposal, you will need to make sure you purchase one. Depending on how you’re wiring your disposal, you may need some additional tools. Which of these you need will depend on the wiring method you’ve chosen.
- A compatible power cord
- Strain relief – we used a ⅜-inch strain relief for our disposal. You can also reuse the strain relief in your old disposal if it is still in good shape.
- Wire cutters/strippers
- Wire nuts
Before you begin
Double check that your new garbage disposal has everything you need. Most garbage disposals will include all the hardware components needed for the disposal’s mounting assembly, but they generally do not come with a power cord.
If your disposal’s mounting assembly came pre-assembled, you’re going to want to take it apart so that it can be installed properly. We’ll walk you through exactly how to do that in our tutorial video. You should also either loosely thread, or if they’re already installed, loosen the screws on the disposal’s mounting ring.
Installing a garbage disposal
- Prepare the space. Clear out the space beneath your sink. This includes removing the old garbage disposal, mounting assembly, and flange. You should also clean the sink flange area, getting rid of any residue from previous connections.
- Apply plumber’s putty to the new flange. Make a ½-inch rope of plumber’s putty and apply it evenly around the sink flange.
- Install the new flange. Orient the flange how you’d like and then firmly press it into the sink opening. You can leave the excess putty for now. We’ll get to it later in the tutorial.
- Beneath the sink, install the mounting flange.
- Start by sliding the fiber washer into place.
- Then the backup flange, with the lip facing down.
- Slide the mounting ring on after that with the screws already threaded but loose.
- Finally, install the snap ring. You’ll need to hold the mounting ring in place, fix the snap ring to one side, and then use a flathead screwdriver to snap it into place on the other side.
- Tighten down the screws on the mounting ring. You want it to be tight enough to create a good seal for the flange so that it doesn’t spin while installing the rest of the disposal.
- Clean off excess putty in the sink. Tightening down the mounting ring should’ve added a lot more excess putty, so you can clean that up now.
- If needed, remove the knockout plug. If you have a dishwasher and will be attaching a hose to the disposal, you’ll need to remove the knockout plug in the small upper fitting.
- Lay the disposal on its side, then use a flathead screwdriver and a hammer to knock the plug out.
- A pair of needle nose pliers can be used to remove the plug from inside the disposal.
- Wire the disposal for power. For this tutorial, we used a pigtail extension cord. If you’re hardwiring your disposal into your home’s power supply, you will need to consult the steps outlined in your appliance’s manual.
- Remember, if you do not feel confident completing electrical work yourself, you should stop what you are doing and consult with a professional electrician.
- Prep your work surface by laying a towel down, then set the disposal on the towel upside down, with the opening facing the towel.
- Remove the access plate, which is held in place by a single Phillips screw.
- Pull the wires out from inside the disposal.
- The pigtail extension we used already had the ends of the wires stripped back by about ½ inch. If your extension cord does not have this, strip the wires by roughly that much.
- Feed the wires through the strain relief hole and pull them through the access opening with needle nose pliers.
- Connect the ribbed (neutral) wire to the neutral wire on the disposal using a wire nut. This is likely the white wire, but be sure to consult your manual to be sure.
- Connect the smooth wire to the disposal’s power wire. This is likely the black wire. Again, consult your manual to be sure.
- Connect the center wire (probably green in color) to the grounding screw by wrapping it around the base and tightening the screw down with a Phillips screwdriver.
- Make sure there’s a bit of slack on the power cord, then tight down the strain relief.
- Tuck the wires back into the disposal and reinstall the access cover.
- Put the gasket in place in the discharge hookup. It can be pressed into place by hand.
- Install the discharge tube. Slide the diamond-shaped flange onto the discharge tube, seat the tube and flange, and then tighten down the bolts with a nut driver.
- Spritz the gasket on top of the disposal with some water. This will make it easier to slide it into place.
- Lift the disposal into position beneath the sink and secure it. Make sure it’s properly seated, and that the three locking tabs on the disposal’s mounting ring line up and engage with the sink-side mounting ring.
- Once aligned, turn the mounting ring counterclockwise by hand to start it, then use the special tool that came with your disposal – it looks a bit like an allen wrench – to tighten it all the way. All three tabs need to lock over the ridges for it to be secure.
- Rotate the disposal itself to line up the plumbing hookups. It should turn by hand if it was installed properly.
- Check your discharge tube. At this point, you may need to trim the tube down or buy additional tubing so that it will all fit.
- Connect your tubing. Connect your discharge tube to the straight pipe and, if you have it, connect the dishwasher tube to the fitting where the knockout plug was. Be sure to clamp down the dishwasher tubing. A 5/16-inch nut driver will be necessary to tighten that down.
- Time for testing! There are a few steps you’ll want to take to make sure everything is in working order:
- Start by plugging up your sink with the disposal stopper, then turn on the water and let the sink fill.
- Look under the sink. Check around the flange and mounting hardware for any signs of leaking.
- If there are no leaks from the flange, plug your new disposal in or flip the breakers back on for it – don’t turn it on yet, though!
- Remove the stopper from your sink and continue watching under the sink for any leaks in the tubing or the disposal itself.
- Once most of the water is drained, flip the disposal on to make sure it’s running correctly.
Wrapping Up
Installing a new disposal unit in your kitchen isn’t much of a grind at all, you will be catching up to your discharge pile in no time! If you’re impressed with just how easy that was, and are looking for help with other tasks, keep AppliancePartsPros.com in mind. Check out our tips, tutorials, and genuine OEM replacement parts the next time you’re looking to maintain your appliances. Our friendly staff is happy to help you fix your appliances yourself!
If you need any replacement parts for your appliances, you can enter your model number at AppliancePartsPros.com to locate and order them quickly. Most orders arrive in just two business days, and we have tons of great information in our repair help section and YouTube videos to help you troubleshoot.
Stay connected with the latest DIY tips, tutorial videos, and repair guides by following us on Facebook, Instagram, and Twitter. We love hearing about your repair stories and successes. If you need more help or want personalized guidance, feel free to contact or call us at 877-477-7278. We’re ready to help you take on your next project with confidence!
Since 1999, AppliancePartsPros.com has helped millions of people repair their broken appliances by providing high-quality original parts at well below retail prices, free support and troubleshooting, and award-winning customer service from an expert, friendly, US-based customer support team!
Hi! I’m Matt H., and I’m thrilled to be your guide through the world of appliance repair with over 25 years of invaluable experience in the industry.
From the early days of my career, I have been deeply passionate about appliances and their inner workings. Over the years, I’ve seen it all – from vintage models to the latest cutting-edge technology – and I’ve dedicated myself to mastering the art of repair. With a toolbox in one hand and a wealth of knowledge in the other, I’ve tackled every challenge that has come my way, learning and growing with each repair.
Join me as we dive into the intricacies of appliance repair. From step-by-step repair guides to explanations of common problems and their solutions, I’ll be here to simplify the repair process and empower you with the knowledge you need to keep your appliances running smoothly.
Feel free to explore our blog, ask questions, and leave comments – this platform is a space for learning, sharing, and growing together. Let’s work together to ensure that your appliances continue to serve you for years to come.
Thank you for joining me on this journey, and I look forward to being your go-to resource for all things related to appliance repair!


