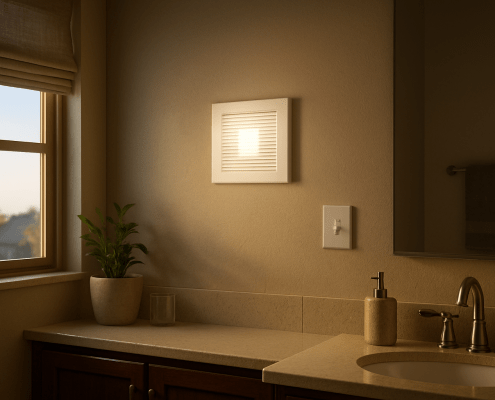
How to Install a New Bathroom Fan in an Older Home
Steven E / Tuesday June 24, 2025
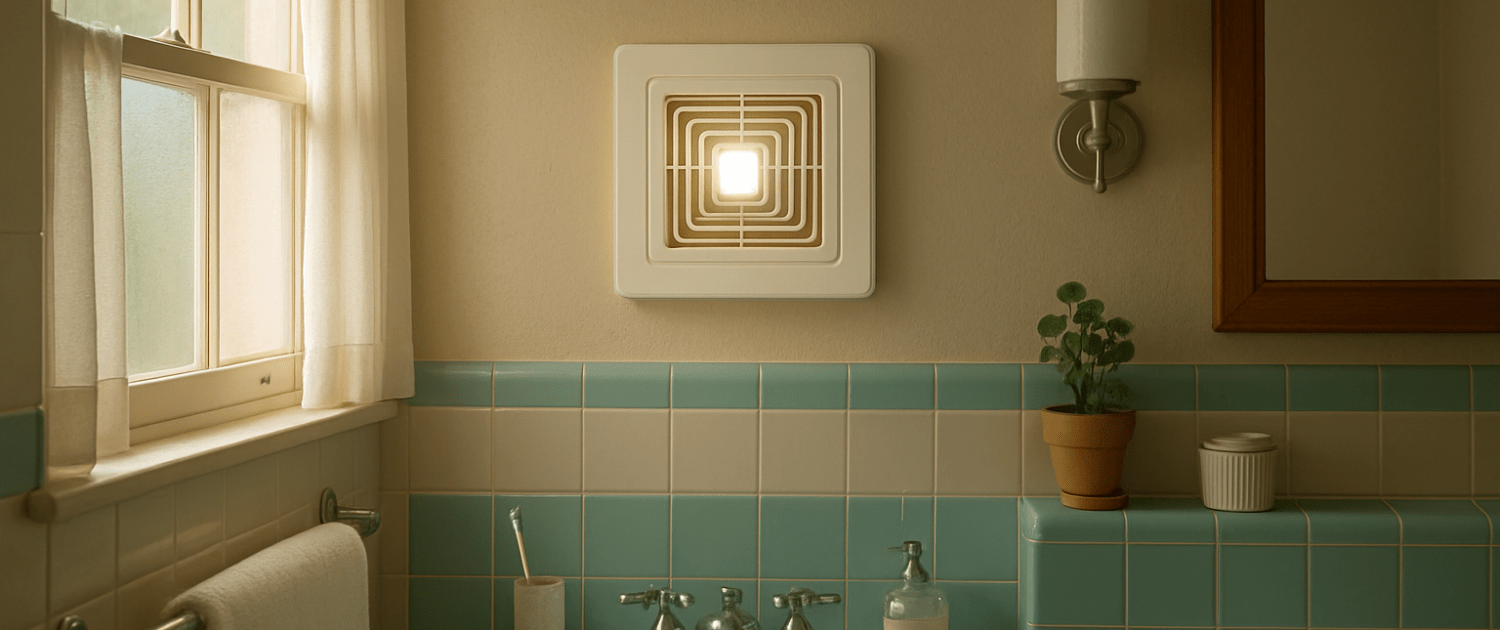
If you’ve ever taken a hot shower in an older home and felt like the steam would linger forever, chances are your bathroom fan is outdated, or nonexistent. Ventilation in older homes wasn’t always a top priority, but adding or upgrading a bathroom fan is one of the best improvements you can make for comfort, mold prevention, and even resale value.
Don’t worry, it’s not as intimidating as it sounds. Whether you’re replacing a rickety old fan or installing one from scratch, we’ll walk you through the process step-by-step. No fancy tools needed, just a bit of prep, patience, and maybe a dusty attic crawl.
Why Upgrade or Install a Bathroom Fan?
Before we dive into the how, let’s quickly cover the why:
- Moisture Control: Older homes often lack the insulation and ventilation modern homes have, making them more prone to mold and mildew. A proper exhaust fan removes moisture from steamy showers and baths.
- Odor Removal: Obvious, but still important. A good fan keeps things fresh.
- Improved Air Quality: Bathroom fans help circulate air, especially in homes where windows are painted shut or don’t open easily.
- Energy Efficiency: Newer fans are more efficient, quieter, and some even include built-in lights or humidity sensors.
What You’ll Need
- Drill and bits
- Screwdriver (or drill with driver bit)
- Stud finder
- Utility knife or drywall saw
- Measuring tape
- Pencil
- Wire stripper
- Voltage tester
- Safety goggles & gloves
- Bathroom exhaust fan (choose one sized for your room’s square footage)
- Ducting (4″ or 6″ flex duct, depending on fan requirements)
- Roof or wall vent cap
- Foil tape (not duct tape)
- Wire connectors (wire nuts)
- Optional: new wall switch or timer switch
Step 1: Prep and Planning
Check Your Power
Before you even grab a screwdriver, turn off the power to your bathroom at the circuit breaker. Use a voltage tester to confirm everything is off.

Choose the Right Fan
Measure your bathroom’s square footage (length × width). Bathroom fans are rated in CFM (cubic feet per minute). A good rule of thumb: 1 CFM per square foot. So if your bathroom is 60 square feet, get a fan rated for at least 60 CFM.
If you’re installing in an older home with limited attic space, look for a low-profile model designed for retrofit projects.
Step 2: Remove the Old Fan (If Applicable)
If you’re replacing a fan:
- Remove the cover: Most fan covers just pop off.
- Disconnect power: Unscrew the fan unit, pull it down gently, and disconnect the wiring and duct.
- Take out the housing: This might require unscrewing it from the ceiling joists or cutting around it with a drywall saw.
- Inspect the wiring: If it looks outdated or frayed, it may be time to call an electrician. If it’s solid, you’re good to go.
Step 3: Cut the Opening
If this is your first fan installation, you’ll need to cut a hole in the ceiling.
- Pick your spot: Ideally between joists and as close to the shower as possible without being directly above it (unless the fan is rated for shower use).
- Trace the template: Use the fan housing as a stencil. Trace around it with a pencil.
- Cut carefully: Use a drywall saw or oscillating tool. Be careful not to damage existing wiring or plumbing.
Step 4: Run the Ductwork
Older homes often lack dedicated bathroom fan ducting, so you may need to add it. Fans must vent outside, not into the attic. Your options are:
- Roof vent
- Sidewall vent
- Soffit vent (only if permitted in your area)
DIY Steps
- Choose your vent route: Shorter runs with fewer bends are better.
- Install the duct cap: Drill a pilot hole, cut the opening, and install the cap with screws and caulk.
- Attach ducting: Connect your flex duct from the fan housing to the vent cap. Secure with foil tape, never use standard duct tape, which deteriorates over time.
Step 5: Wire It Up
This is often the most nerve-wracking step, but if you’re comfortable working with basic wiring, it’s totally manageable.
- Run electrical cable: If a cable isn’t already in place, run a new one from your wall switch to the fan location (or vice versa).
- Strip the wires: Use your wire stripper to expose about ¾” of copper.
- Connect wires: Match black to black (hot), white to white (neutral), and green or bare copper to the ground screw in the fan housing.
- Use wire connectors to safely join the wires, and tuck them into the fan’s junction box.
Pro tip: Consider installing a timer switch or humidity sensor switch while you’re at it, these save energy and hassle.
Step 6: Install the Fan
- Position the housing: Slip the housing into your ceiling cutout and attach it to the joist using screws.
- Secure the duct: Attach the flex duct to the fan’s duct port and seal it with foil tape.
- Connect the power: Plug in or wire the fan motor according to the manufacturer’s instructions.
- Attach the grill cover: Usually a simple snap or screw.
Step 7: Test and Finish Up
Once everything is wired, ducted, and mounted:
- Restore power at the breaker.
- Flip the switch: The fan should hum to life. If it doesn’t, turn the power back off and double-check your wiring.
- Check airflow: Hold a tissue up to the fan, if it sticks to the grille, you’ve got good suction.
- Patch up drywall (if needed), and enjoy a steamy mirror-free bathroom from now on.
Troubleshooting Common Issues
- Fan is noisy: Check for loose mounting screws or rattling ductwork. Also, higher CFM fans tend to be noisier, look for “quiet” models under 1.5 sones.
- No airflow: Duct may be kinked or disconnected. Inspect the attic or wherever it’s routed.
- Fan won’t turn on: Double-check your breaker and wire connections.
Final Thoughts
Installing a bathroom fan in an older home is one of those DIY projects that feels intimidating at first but is totally doable with some prep and patience. It can be a little sweaty (attic work, anyone?), but it’s also incredibly satisfying to know you’ve made your home healthier and more comfortable.
Plus, modern fans are much quieter and more efficient than their predecessors. Some even come with features like integrated lighting, Bluetooth speakers, or humidity sensors, because why not?
If you’re ever unsure about electrical work or local code compliance, don’t hesitate to call in a licensed electrician for the wiring part. But everything else? You’ve got this.
Happy ventilating!
Where To Find Us
If you need any replacement parts for your appliances, you can enter your model number at AppliancePartsPros.com to locate and order them quickly. Most orders arrive in just two business days, and we have tons of great information in our repair help section and YouTube videos to help you troubleshoot.
Stay connected with the latest DIY tips, tutorial videos, and repair guides by following us on Facebook, Instagram, and Twitter. We love hearing about your repair stories and successes. If you need more help or want personalized guidance, feel free to reach out. We’re ready to help you take on your next project with confidence!
The information in this article may not apply to your specific appliance model. We recommend consulting your manufacturer’s documentation or contact us with any questions.
 https://www.appliancepartspros.com/b/wp-content/uploads/2025/06/20250624_1533_Bathroom-Vent-with-Light_simple_compose_01jyhpwat8faj81kf7qg2a7rek.png
1024
1536
Steven E
https://www.appliancepartspros.com/b/wp-content/uploads/2020/11/app-logo-std.png
Steven E2025-06-25 05:40:142025-06-25 05:40:44How to Replace a Broken Exhaust Fan Switch in the Bathroom
https://www.appliancepartspros.com/b/wp-content/uploads/2025/06/20250624_1533_Bathroom-Vent-with-Light_simple_compose_01jyhpwat8faj81kf7qg2a7rek.png
1024
1536
Steven E
https://www.appliancepartspros.com/b/wp-content/uploads/2020/11/app-logo-std.png
Steven E2025-06-25 05:40:142025-06-25 05:40:44How to Replace a Broken Exhaust Fan Switch in the Bathroom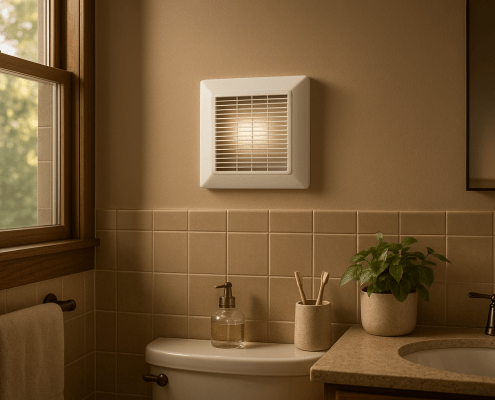 https://www.appliancepartspros.com/b/wp-content/uploads/2025/06/20250624_1425_Bathroom-Vent-with-Light_simple_compose_01jyhjws84ft7r6krs6g96gak4.png
1024
1536
Steven E
https://www.appliancepartspros.com/b/wp-content/uploads/2020/11/app-logo-std.png
Steven E2025-06-24 12:05:192025-06-24 12:05:27Bathroom Exhaust Fan Light Burned Out? Here’s How to Fix It
https://www.appliancepartspros.com/b/wp-content/uploads/2025/06/20250624_1425_Bathroom-Vent-with-Light_simple_compose_01jyhjws84ft7r6krs6g96gak4.png
1024
1536
Steven E
https://www.appliancepartspros.com/b/wp-content/uploads/2020/11/app-logo-std.png
Steven E2025-06-24 12:05:192025-06-24 12:05:27Bathroom Exhaust Fan Light Burned Out? Here’s How to Fix It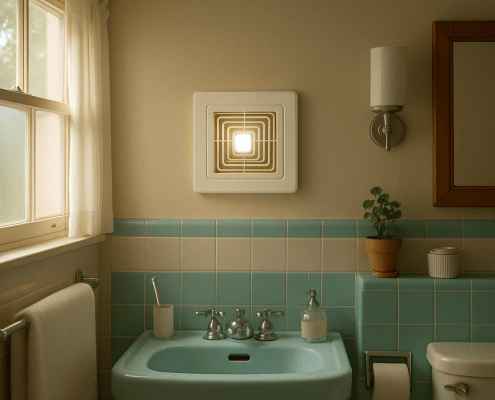 https://www.appliancepartspros.com/b/wp-content/uploads/2025/06/20250624_1432_Retro-Bathroom-Vent-Grille_simple_compose_01jyhkb21rea4srzn9pqhd70wd.png
1024
1536
Steven E
https://www.appliancepartspros.com/b/wp-content/uploads/2020/11/app-logo-std.png
Steven E2025-06-24 11:59:232025-06-24 11:59:33How to Install a New Bathroom Fan in an Older Home
https://www.appliancepartspros.com/b/wp-content/uploads/2025/06/20250624_1432_Retro-Bathroom-Vent-Grille_simple_compose_01jyhkb21rea4srzn9pqhd70wd.png
1024
1536
Steven E
https://www.appliancepartspros.com/b/wp-content/uploads/2020/11/app-logo-std.png
Steven E2025-06-24 11:59:232025-06-24 11:59:33How to Install a New Bathroom Fan in an Older HomeWith nearly a decade of experience in providing top-notch customer service regarding appliance parts and repair, Steven enjoys sharing practical advice, troubleshooting tips, and interesting information to help readers stay informed.