How to Install and Replace a Microwave Like a Pro
Steven E / Wednesday May 7, 2025
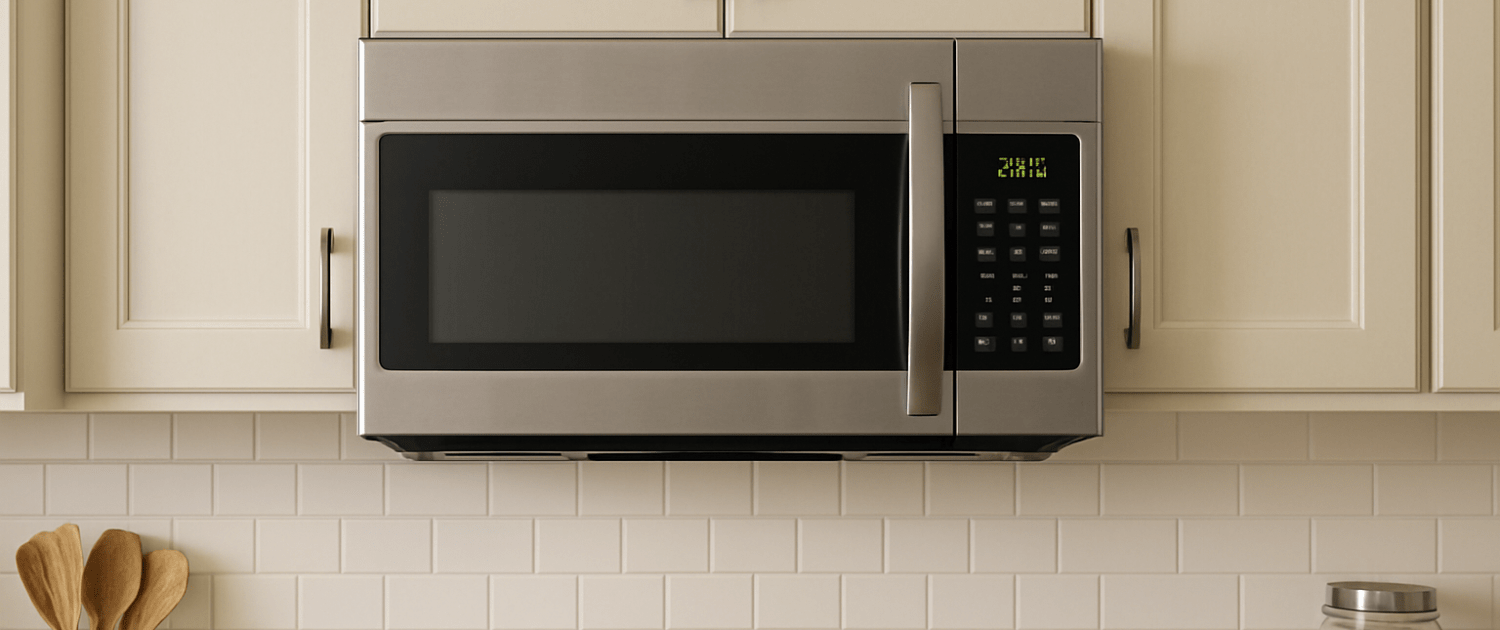
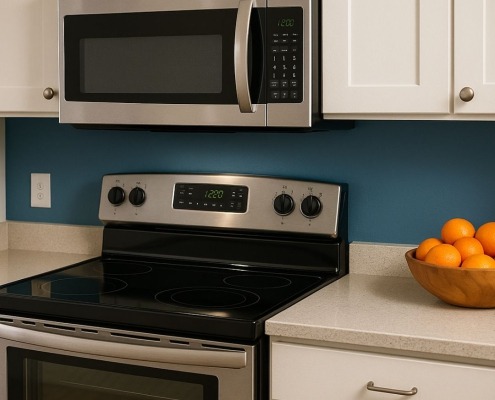
The microwave has become an important appliance in modern kitchens. It plays a significant role in our culinary routines, from reheating leftovers to cooking meals in minutes. However, with time, your microwave may start showing signs of wear and tear, and you may need an upgrade. If you find yourself in this situation, don’t worry! We will help you install a new over-the-range microwave allowing a more efficient and stylish culinary experience.
If you need any replacement parts, you can enter your model number at AppliancePartsPros.com to order them. Most orders arrive in just two business days, and we have thousands of free guides to show you how to install your new parts.
The information in this article may not apply to your specific appliance model. We recommend consulting your manufacturer’s documentation or contact us with any questions.
Why invest in a new microwave?
Investing in a new microwave can enhance your cooking experience and uplift the overall aesthetic appeal of your culinary space. A sleek new microwave with modern designs and advanced features not only complements your existing décor but also makes meal preparation quicker, more versatile, and potentially even healthier. Switching to a new microwave means embracing energy-efficient technology, which can save you money on your utility bills over time. Now that you’re convinced of the benefits, let’s dive into the installation process that will help you embrace the future of cooking.

Safety first
When working on any appliance, remember to keep safety first. Here are some tips to keep in mind:
- Turn off the breaker to the unit. This keeps you safe by preventing any risk of electric shock.
- Take your time while working to prevent accidents and personal injuries. Rushing is the enemy of precision.
- Work in a well-lit area so you can clearly see and access appliance parts.
- Keep your workspace free of clutter and other obstacles. Keep children and pets away from the work area.
- Check the user manual to see if there are specific installation or safety instructions related to your appliance or replacement part.
- Wear insulated work gloves to protect your hands from sharp metal parts and debris.
- When working with wires, avoid touching any exposed wires or terminals. If you need to touch a wire, use a non-conductive tool or wear insulating gloves to prevent electrical shock.
- Consider wearing safety glasses and/or a dust mask when working with chemicals, dust or a large amount of debris to prevent irritation or injury.
Tools and materials needed
- Tape measure
- Phillips screwdriver
- Flathead screwdriver
- Drill
- Level
- Pencil
- New over-the-range microwave
- Mounting kit
- Venting components (Optional)
With these tools and materials at your fingertips, you’ll be well-prepared to tackle the installation process with confidence.
Step 1: Prepare for installation
Proper preparation is the key to a hassle-free installation process. Take the time to lay the groundwork before you start, and you’ll enjoy a seamless experience. Here’s what you need to do:
- Using your trusty tape measure, carefully measure the space above your range where the new microwave will be installed. This step ensures a perfect fit and avoids any unwanted surprises down the line.
- Every microwave model comes with a comprehensive installation manual, which serves as your guide throughout the process. Take some time to thoroughly read and understand the instructions, as different models may have specific requirements or quirks to be aware of.
- Now that you’ve measured the space and familiarized yourself with the manual, gather all the tools and materials listed above and keep them within easy reach. Having everything organized and accessible will make the installation process much smoother and more efficient.
By taking care of these preparatory steps, you’ll be setting yourself up for success and ensuring that the installation process goes as smoothly as possible.
Step 2: Remove the old microwave
Before you can bask in the glory of your new microwave, you’ll need to bid farewell to your old appliance. But don’t worry; this process is straightforward and will pave the way for the exciting upgrade ahead.
- To allow unobstructed access, take a moment to clear out any items from the cabinets above or around the microwave. This will make it easier to maneuver and remove the old appliance without any obstacles in the way.
- Most over-the-range microwaves are secured with screws at the bottom, which attach the appliance to the mounting bracket or cabinet. Use your screwdriver to carefully remove these mounting screws, taking care not to damage the surrounding area.
- With the mounting screws removed, enlist the help of a friend or family member to carefully lift and detach the old microwave from its mounting bracket or cabinet. This step may require some coordination and a bit of muscle power, so having an extra set of hands is highly recommended.
Step 3: Install the new mounting bracket
Now that the old microwave has been removed, it’s time to prepare the installation area for your new appliance. This step involves installing the new mounting bracket, which will provide a sturdy and secure foundation for your microwave.
- Many microwaves come with a helpful mounting template that takes the guesswork out of the installation process. Locate this template and use it to accurately mark the spots where you’ll need to drill holes for the new mounting bracket.
- If required, use your drill to create the necessary holes in the marked spots, following the measurements provided on the mounting template. Take care to drill the holes precisely and avoid any potential damage to the surrounding area.
- With the holes drilled, it’s time to securely attach the new mounting bracket to the wall or cabinet using the provided screws and anchors. Be sure to use a level to make sure that the bracket is perfectly straight and aligned, as this will allow a stable and secure installation for your new microwave.
A properly installed mounting bracket will provide the sturdy support necessary for your new appliance. Take your time and double-check your work to make sure you have a solid foundation for the installation process.
Step 4: Mount the new microwave
With the mounting bracket securely in place, you’re now ready to unveil the star of the show – your sleek, new over-the-range microwave. This step requires a bit of coordination and an extra set of hands, but with careful execution, you’ll have your new appliance mounted and ready to elevate your culinary experience.
- Before lifting the microwave into place, locate the power cord and carefully thread it through the designated hole in the bottom cabinet or mounting area. This will allow the cord to be properly routed and accessible for the final connections.
- Enlist the help of a friend or family member to assist you in lifting the microwave and aligning it with the mounting bracket. Take your time and make sure that the appliance is perfectly aligned with the bracket before proceeding to the next step.
- With the microwave in position, use the provided screws to securely fasten the appliance to the mounting bracket. Double-check that the microwave is level and properly aligned, making any necessary adjustments as needed.
- Once the microwave is securely mounted, gently rock it back and forth to make sure that it is stable and firmly attached to the bracket. If any wobbling or instability is detected, revisit the previous steps and make the necessary adjustments.
Step 5: Test and final touches
After successfully mounting your new microwave, it’s time to put it through its paces and make sure that everything is working as it should.
- Once the microwave is securely mounted, plug in the power cord and turn on the appliance. Listen for any unusual noises or signs of potential issues during the initial startup.
- Start by testing out the basic functions of your new microwave, such as heating and defrosting. Place a small item or a cup of water inside and run a short cycle to make sure that the appliance is heating properly and that the turntable (if applicable) is rotating smoothly.
- If your new microwave model features ventilation capabilities, take a moment to verify that the exhaust vent is connected correctly and that air is being vented as intended. This step may require consulting the installation manual.
- Many modern microwaves come equipped with advanced features like sensor cooking, convection modes, and preset cooking programs. Take some time to familiarize yourself with these features and experiment with them to make sure they are functioning correctly.
By testing each function and feature of your new microwave, you’ll not only confirm that it is operating as intended but also gain a better understanding of its capabilities.
More information
Thanks for reading! If you need replacement parts for any of your appliances, check out AppliancePartsPros.com, where you can enter your model number to find exactly what you’re looking for. Most orders arrive in two business days, and we have thousands of free resources to show you how to install your new parts.
You can also reach our award-winning customer service team at 1-877-477-7278, chat with a pro on our website and watch thousands of free video tutorials on our YouTube channel.
 https://www.appliancepartspros.com/b/wp-content/uploads/2025/04/APP-blog-square-204.jpg
1080
1080
Steven E
https://www.appliancepartspros.com/b/wp-content/uploads/2020/11/app-logo-std.png
Steven E2025-04-29 05:48:242025-08-11 11:18:55How to replace the door frame on a Whirlpool microwave
https://www.appliancepartspros.com/b/wp-content/uploads/2025/04/APP-blog-square-204.jpg
1080
1080
Steven E
https://www.appliancepartspros.com/b/wp-content/uploads/2020/11/app-logo-std.png
Steven E2025-04-29 05:48:242025-08-11 11:18:55How to replace the door frame on a Whirlpool microwave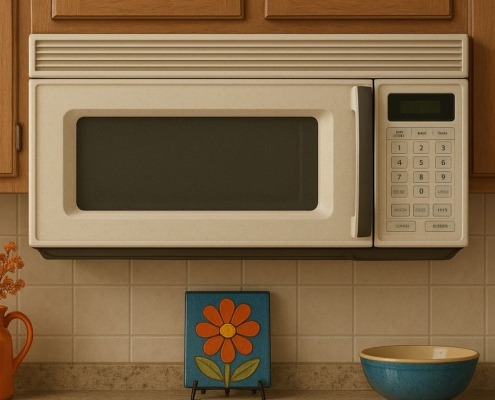 https://www.appliancepartspros.com/b/wp-content/uploads/2025/04/APP-blog-square-88.jpg
1080
1080
Steven E
https://www.appliancepartspros.com/b/wp-content/uploads/2020/11/app-logo-std.png
Steven E2025-04-15 08:38:492025-04-15 11:48:02Microwave Buttons Not Working: How to Fix The Keypad
https://www.appliancepartspros.com/b/wp-content/uploads/2025/04/APP-blog-square-88.jpg
1080
1080
Steven E
https://www.appliancepartspros.com/b/wp-content/uploads/2020/11/app-logo-std.png
Steven E2025-04-15 08:38:492025-04-15 11:48:02Microwave Buttons Not Working: How to Fix The Keypad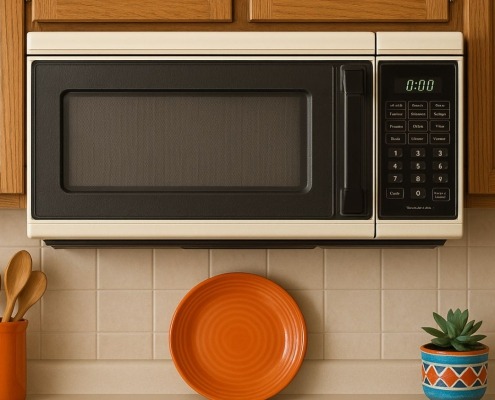 https://www.appliancepartspros.com/b/wp-content/uploads/2025/04/APP-blog-square-71.jpg
1080
1080
Steven E
https://www.appliancepartspros.com/b/wp-content/uploads/2020/11/app-logo-std.png
Steven E2025-04-11 08:16:372025-04-11 08:16:46How To Measure an Over-the-Range Microwave For Replacement
https://www.appliancepartspros.com/b/wp-content/uploads/2025/04/APP-blog-square-71.jpg
1080
1080
Steven E
https://www.appliancepartspros.com/b/wp-content/uploads/2020/11/app-logo-std.png
Steven E2025-04-11 08:16:372025-04-11 08:16:46How To Measure an Over-the-Range Microwave For ReplacementWith nearly a decade of experience in providing top-notch customer service regarding appliance parts and repair, Steven enjoys sharing practical advice, troubleshooting tips, and interesting information to help readers stay informed.