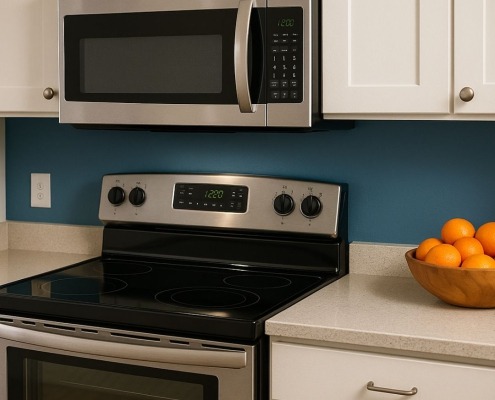
How to install damper 4900W1A001B in an LG microwave
Samantha Bullington / Monday May 20, 2024
Is your LG microwave’s damper leaving your kitchen steamy and unsafe? Discover how easy it is to replace that damaged damper yourself, cutting down those costly repair bills. Dive into our step-by-step guide and watch the how-to video below to restore your microwave’s airflow in no time!
Need a part? Search below using your appliance model number to find exactly what you need:
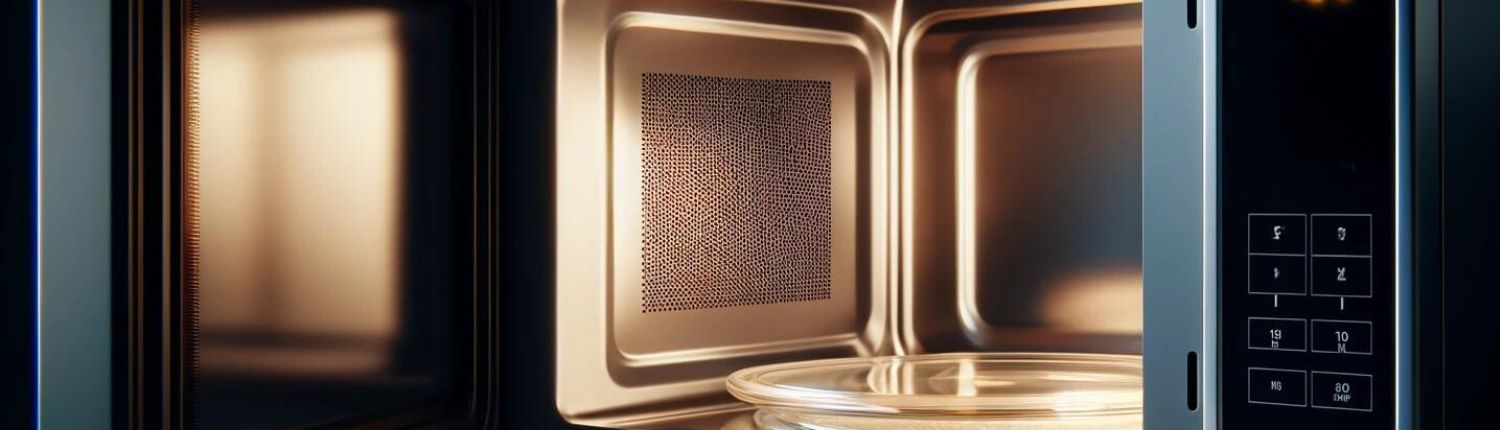
If the damper in your LG microwave is damaged, it can prevent air circulation and increase safety hazards. Thankfully, you can swap out this part and save yourself from professional repair costs.

You can find a replacement damper here. If you need other replacement parts for your LG microwave, just enter your model number at AppliancePartsPros.com to find them. It’s that easy! Most orders arrive in just two business days, and we have thousands of guides to show you how to install your new parts.
WATCH: How to replace the damper on a microwave
What is the damper & why would it need to be replaced?
The damper regulates airflow and vents steam from heated foods inside the microwave.
Over time, cooking cycles can expose the damper flaps to moisture as it’s opened and closed. Food or liquid particles that escape and dry within the tracks can also interfere with the damper’s movement.
Symptoms of a damaged or defective damper include:
- Excess moisture from heating isn’t being vented out
- Frequent messes spilling beyond the microwave frame
- Grating sounds or squeaks occurring during cooking
- Stuck flaps that are preventing steam circulation
What you need
- New damper (make sure it’s compatible with your specific model before installing)
- Flathead screwdriver
- Towel or soft cloth
READ MORE: 9 safety tips for using a microwave
Safety tips
Microwaves contain high-voltage parts and can store voltage even when they’re disconnected from a power source. Please be very careful while working on a microwave’s internal parts to avoid electrocution, which has the potential to cause serious injuries or death.
- Always unplug the microwave before troubleshooting or making repairs.
- Discharge the high-voltage capacitor before working on high-voltage parts to eliminate the risk of electric shock.
- Never attempt to run the microwave while its casing is open or when internal parts are exposed. Always completely reassemble the microwave before testing or using it.
- Never attempt to bypass any microwave safety features.
- With the microwave unplugged, remove the outer case to gain internal access.
- Wear insulated gloves and use insulated tools when testing any parts.
- Check all parts for damage before reassembling and powering up the microwave again.
- If the appliance has recently been used, give it plenty of time to cool down before working on it.
- Take your time while working to prevent accidents and personal injuries. Rushing is the enemy of precision.
- Work in a well-lit area so you can see and access appliance parts.
- Keep your workspace free of clutter and other obstacles. Keep children and pets away from the work area.
- Check the user manual to see if there are specific installation or safety instructions related to your appliance or replacement part.
- Be gentle when handling or removing parts. Excessive force might damage the appliance or cause personal injury.
READ MORE: Why It’s Best to Choose OEM Over Aftermarket Parts for Appliance Repairs
How to install the damper
Follow these steps to install a new damper in your LG microwave.
Step 1: Prepare your work area
Find a clean, flat surface to work on, such as a countertop or a sturdy table. Place a towel or soft cloth on the surface to protect it from scratches or damage during the repair process.
Step 2: Remove the old damper
- Unplug the microwave and place it on a towel or soft cloth.
- Find the damper, which is typically secured in place by pins or brackets on either end.
- Remove the damper. In most cases, you’ll need to gently lift the damper slightly to release it from one end, then use a flathead screwdriver to pry the other end out of its bracket.
READ MORE: 4 Simple Ways to Reduce Kitchen Waste
Step 3: Install the new damper
- Align one end of the new damper with the corresponding bracket or pin, then gently insert it into place. You may need to use the flathead screwdriver to insert the other end into its bracket.
- Make sure the new damper is securely fastened.
READ MORE: How to Clean a Microwave
Step 4: Test the microwave
Turn on the microwave and observe the damper’s movement. It should open and close smoothly to regulate airflow.
More information
Thanks for reading! We hope this guide helped you replace the damper in your LG microwave.
If you still need some replacement parts, grab your model number and head over to AppliancePartsPros.com. We offer over two million parts and most orders arrive in two business days. If you need some help with finding the right part or placing an order, you can contact our team at 1 (877) 477-7278.
While you’re waiting for your new part to arrive, you can explore our DIY blog and watch thousands of video tutorials on our YouTube channel.
Follow us on Facebook, Twitter and Instagram to see our latest repair guides!
 https://www.appliancepartspros.com/b/wp-content/uploads/2025/04/APP-blog-square-204.jpg
1080
1080
Steven E
https://www.appliancepartspros.com/b/wp-content/uploads/2020/11/app-logo-std.png
Steven E2025-04-29 05:48:242025-08-11 11:18:55How to replace the door frame on a Whirlpool microwave
https://www.appliancepartspros.com/b/wp-content/uploads/2025/04/APP-blog-square-204.jpg
1080
1080
Steven E
https://www.appliancepartspros.com/b/wp-content/uploads/2020/11/app-logo-std.png
Steven E2025-04-29 05:48:242025-08-11 11:18:55How to replace the door frame on a Whirlpool microwave https://www.appliancepartspros.com/b/wp-content/uploads/2025/04/APP-blog-square-88.jpg
1080
1080
Steven E
https://www.appliancepartspros.com/b/wp-content/uploads/2020/11/app-logo-std.png
Steven E2025-04-15 08:38:492025-04-15 11:48:02Microwave Buttons Not Working: How to Fix The Keypad
https://www.appliancepartspros.com/b/wp-content/uploads/2025/04/APP-blog-square-88.jpg
1080
1080
Steven E
https://www.appliancepartspros.com/b/wp-content/uploads/2020/11/app-logo-std.png
Steven E2025-04-15 08:38:492025-04-15 11:48:02Microwave Buttons Not Working: How to Fix The Keypad https://www.appliancepartspros.com/b/wp-content/uploads/2025/04/APP-blog-square-71.jpg
1080
1080
Steven E
https://www.appliancepartspros.com/b/wp-content/uploads/2020/11/app-logo-std.png
Steven E2025-04-11 08:16:372025-04-11 08:16:46How To Measure an Over-the-Range Microwave For Replacement
https://www.appliancepartspros.com/b/wp-content/uploads/2025/04/APP-blog-square-71.jpg
1080
1080
Steven E
https://www.appliancepartspros.com/b/wp-content/uploads/2020/11/app-logo-std.png
Steven E2025-04-11 08:16:372025-04-11 08:16:46How To Measure an Over-the-Range Microwave For ReplacementHey there, I’m Samantha and I’m super excited to be a part of the Appliance Parts Pros team! With 9 years of experience, I’ve had the awesome opportunity to assist countless customers in troubleshooting their home appliances and finding DIY repair solutions.