How to Install Gasket WPW10355585 on a Whirlpool Refrigerator
Steven E / Thursday June 19, 2025
Ever opened your freezer to find a mountain of frost or a door that just won’t close right? Don’t worry—these are signs that your freezer door gasket may be worn out, and the solution is simpler than you think. Dive into our step-by-step guide and accompanying video to learn how you can replace a faulty gasket yourself and keep your freezer running efficiently.
Looking for the right part? Enter your appliance model number below to find the exact match and get your appliance running like new again!
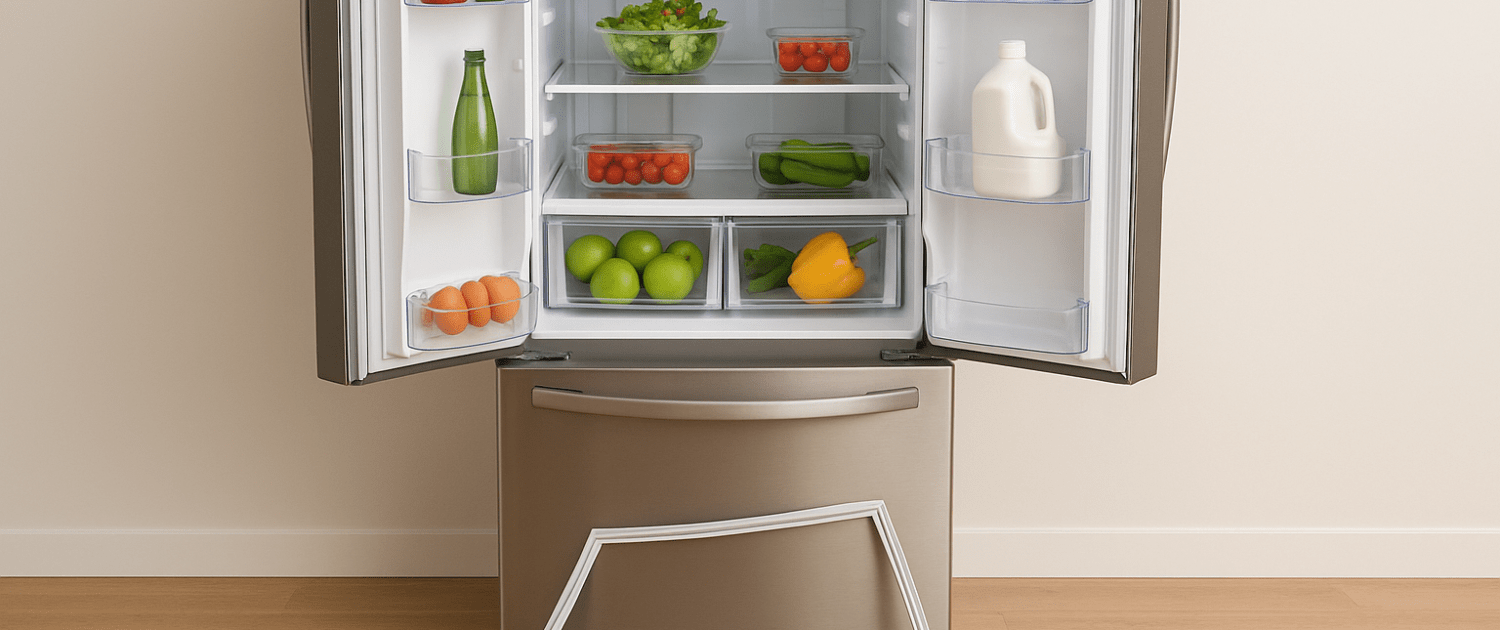
If you’re noticing frost buildup in your freezer or the door isn’t sealing tightly, the freezer door gasket might be worn out. This flexible rubber seal, part number WPW10355585, keeps cold air in and warm air out so your freezer runs efficiently. Over time, gaskets can crack, stretch, or lose their grip, which can lead to cooling issues and higher energy bills. The good news is that replacing the gasket is a simple fix that doesn’t take much time. In this guide, we’ll walk you through how to remove the old gasket and install a new one step by step. Let’s get started.

Watch here: How to replace the freezer door gasket for a refrigerator
The information in this article may not apply to your specific appliance model. We recommend consulting your manufacturer’s documentation or contact us with any questions.
Safety first
When working on any appliance, remember to keep safety first. Here are some tips to keep in mind:
- If the appliance has recently been used, give it plenty of time to cool down before working on it.
- Take your time while working to prevent accidents and personal injuries. Rushing is the enemy of precision.
- Work in a well-lit area so you can clearly see and access appliance parts.
- Keep your workspace free of clutter and other obstacles. Keep children and pets away from the work area.
- Never work on internal parts with wet hands. Make sure the work area is completely dry.
- Check the user manual to see if there are specific installation or safety instructions related to your appliance or replacement part.
- Be gentle when handling or removing parts. Excessive force might damage the appliance or cause personal injury.
- Wear insulated work gloves to protect your hands from sharp metal parts and debris.
- When working with wires, avoid touching any exposed wires or terminals. If you need to touch a wire, use a non-conductive tool or wear insulating gloves to prevent electrical shock.
- Consider wearing safety glasses and/or a dust mask when working with chemicals, dust, or a large amount of debris to prevent irritation or injury.
- Turn off the water supply at the outlet before beginning repairs. Keep towels ready to catch any residual water in the system when removing parts.
Tools and Materials Needed
Before you begin, make sure you have the following tools and materials on hand:
- Putty knife
- Heat gun (or a hairdryer)
- New freezer door gasket (Part number: WPW10355585)- Take your model number to AppliancePartsPros.com to locate the correct part number for your unit.
Replacement Steps
Always power off and unplug your appliance or switch off the circuit breaker before you attempt any maintenance or replacement work. This keeps you safe by preventing any risk of electric shock.
Step 1- Check the gasket
- Open the freezer door.
- Measure the new gasket to verify that you have the correct size.
- Make sure that the new gasket matches the dimensions of the old one and will fit properly in the door frame.
Step 2- Remove the old gasket
- Use the putty knife to cut through the expandable foam that secures the gasket to the door frame.
- Slice through the foam at the top, sides, and bottom of the gasket, being careful not to cut too deep and damage the plastic lining of the door.
- Carefully peel off the old gasket, using the putty knife as needed to separate it from the door frame. Try not to break or damage the plastic lining as you remove the gasket.
Step 3- Clear any debris from the seam
- Use the putty knife to remove any remaining foam or debris from the seam where the gasket was seated.
- Make sure the seam is clean and free of obstructions to allow a proper fit for the new gasket.
Step 4- Install the new gasket
- Start at the top corners and insert the sharp plastic edge of the new gasket into the seam between the metal door frame and the plastic lining.
- Use the putty knife to help guide the gasket into the seam, gently pushing it into place as you work your way around the door.
- Carefully push the gasket into the seam, switching sides as needed to make sure it is seated properly. Avoid pushing too hard or bending the gasket, as this could cause it to break or create gaps.
- Take your time and be patient during this process.
Step 5- Finish up
- Close the freezer door and open the fresh food door.
- Inspect the gasket to make sure it is making even contact with the cabinet frame all the way around, without any gaps.
- If you notice gaps or areas where the gasket isn’t sealing properly, use a heat gun or hairdryer to gently heat the gasket.
- Set the heat gun to around 650°F (343°C) and apply heat evenly along the gasket. Be careful not to overheat or burn the gasket material.
- As you heat the gasket, carefully push it towards the cabinet frame to create a tight seal. You can also use your fingers to gently mold the heated gasket into the desired shape and position.
More information
Thanks for reading! We hope this guide helped you replace the defrost heater in your Whirlpool refrigerator.
If you still need some replacement parts, grab your model number and head over to AppliancePartsPros.com. We offer over two million parts and most orders arrive in two business days. If you need some help with finding the right part or placing an order, you can contact our team at 1 (877) 477-7278.
While you’re waiting for your new part to arrive, you can explore our DIY blog and watch thousands of video tutorials on our YouTube channel.
Be sure to follow us on Facebook, Twitter and Instagram to see our latest repair guides!
 https://www.appliancepartspros.com/b/wp-content/uploads/2024/10/APP-blog-square-1-3.jpg
1080
1080
Steven E
https://www.appliancepartspros.com/b/wp-content/uploads/2020/11/app-logo-std.png
Steven E2024-10-31 09:49:542024-10-31 09:50:03How to test & replace the flipper mullion or mullion rail on a Whirlpool-built french door refrigerator
https://www.appliancepartspros.com/b/wp-content/uploads/2024/10/APP-blog-square-1-3.jpg
1080
1080
Steven E
https://www.appliancepartspros.com/b/wp-content/uploads/2020/11/app-logo-std.png
Steven E2024-10-31 09:49:542024-10-31 09:50:03How to test & replace the flipper mullion or mullion rail on a Whirlpool-built french door refrigerator https://www.appliancepartspros.com/b/wp-content/uploads/2024/10/APP-blog-square-20.jpg
1080
1080
Steven E
https://www.appliancepartspros.com/b/wp-content/uploads/2020/11/app-logo-std.png
Steven E2024-10-31 09:25:112024-10-31 09:25:19How can I test & replace the LED power supply on my KitchenAid French door refrigerator?
https://www.appliancepartspros.com/b/wp-content/uploads/2024/10/APP-blog-square-20.jpg
1080
1080
Steven E
https://www.appliancepartspros.com/b/wp-content/uploads/2020/11/app-logo-std.png
Steven E2024-10-31 09:25:112024-10-31 09:25:19How can I test & replace the LED power supply on my KitchenAid French door refrigerator? https://www.appliancepartspros.com/b/wp-content/uploads/2024/10/APP-blog-square-2024-09-16T153353.401.jpg
1080
1080
Steven E
https://www.appliancepartspros.com/b/wp-content/uploads/2020/11/app-logo-std.png
Steven E2024-10-28 11:28:222024-10-28 11:28:29How to test & replace the LED light module on a KitchenAid French door bottom-mount refrigerator
https://www.appliancepartspros.com/b/wp-content/uploads/2024/10/APP-blog-square-2024-09-16T153353.401.jpg
1080
1080
Steven E
https://www.appliancepartspros.com/b/wp-content/uploads/2020/11/app-logo-std.png
Steven E2024-10-28 11:28:222024-10-28 11:28:29How to test & replace the LED light module on a KitchenAid French door bottom-mount refrigeratorWith nearly a decade of experience in providing top-notch customer service regarding appliance parts and repair, Steven enjoys sharing practical advice, troubleshooting tips, and interesting information to help readers stay informed.