How to install light bulbs in an LG over-the-range microwave
Samantha Bullington / Friday May 3, 2024
Ever found yourself in a dimly lit kitchen while attempting to use your over-the-range LG microwave? A burned-out light bulb can leave you in the dark, quite literally. Fear not! With our easy-to-follow guide and a handy how-to video just below, you’ll have your microwave shining bright again in no time.
Need a part? Search below using your appliance model number to find exactly what you need:
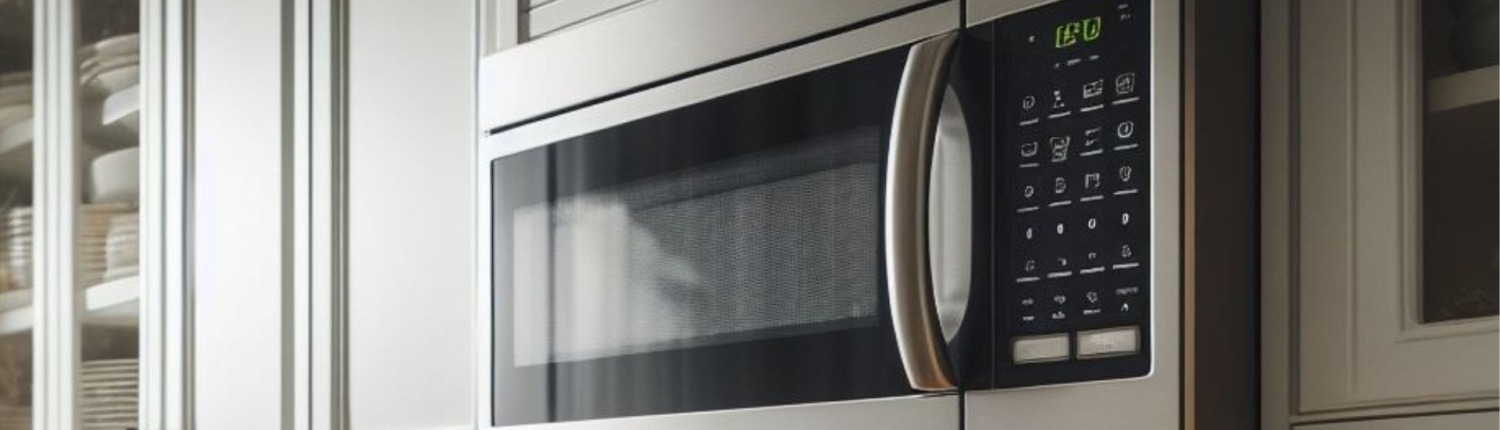
We often overlook the convenience of microwaves until something goes awry. One of the most common problems that might plague your kitchen is a burned-out light bulb in your microwave, which can leave you cooking in the dark. Luckily, it’s really easy to replace both the upper and lower light bulbs in an LG over-the-range microwave. If you’re new to the appliance repair sphere or just want a refresher, check out the following steps so you can get back to cooking.

In this guide, we’re going to be using this light bulb, so double-check to make sure it’s compatible with your model number. Not sure where to find your model number? Visit this page to find a list of the most common locations for a model number sticker or plate. If you need any other parts for your LG microwave, you can find them here.
WATCH: How to replace a light bulb in a microwave
What you need
- Phillips screwdriver
- New light bulb 6912W1Z004B (make sure it’s compatible with your specific microwave model BEFORE installing)
READ MORE: 9 safety tips for using a microwave
Safety tips
Microwaves contain high-voltage parts and can store voltage even when they’re disconnected from a power source. Please be very careful while working on a microwave’s internal parts to avoid electrocution, which has the potential to cause serious injuries or death.
- Always unplug the microwave before troubleshooting or making repairs.
- Never attempt to run the microwave while its casing is open or when internal parts are exposed. Always completely reassemble the microwave before testing or using it.
- Never attempt to bypass any microwave safety features.
- With the microwave unplugged, remove the outer case to gain internal access.
- If the appliance has recently been used, give it plenty of time to cool down before working on it.
- Take your time while working to prevent accidents and personal injuries. Rushing is the enemy of precision.
- Work in a well-lit area so you can see and access appliance parts.
- Keep your workspace free of clutter and other obstacles. Keep children and pets away from the work area.
- Check the user manual to see if there are specific installation or safety instructions related to your appliance or replacement part.
- Be gentle when handling or removing parts. Excessive force might damage the appliance or cause personal injury.
- Wear insulated work gloves to protect your hands from sharp metal parts and debris.
- When working with wires, avoid touching any exposed wires or terminals. If you need to touch a wire, use a non-conductive tool or wear insulating gloves to prevent electrical shock.
READ MORE: How to Clean a Microwave
How to replace the light bulbs
Most over-the-range LG microwaves have two light bulbs – one located behind the vent assembly (upper light bulb) and another mounted on the bottom (lower light bulb). Here’s how to replace them in case either one goes dark.
How to replace the upper light bulb
- Unplug the microwave from the outlet.
- Remove the microwave from its mount and lower it onto a countertop.
- Find the two screws holding the vent assembly to the microwave. Use your Phillips screwdriver to remove these screws.
- Carefully pull down the vent assembly to release it, then lift it off.
- Behind the vent assembly, find the plate surrounding the light bulb, which is held in place by a single screw. Use your Phillips screwdriver to remove this screw.
- Gently lift and turn the plate to expose the light bulb socket.
- Turn the old light bulb counterclockwise to unscrew it.
- Carefully insert the new bulb into the socket and screw it in by turning it clockwise until it’s snug.
- Put the light bulb plate back into its original position and make sure the wires are tucked away.
- Use your Phillips screwdriver to tighten the screw that holds the plate in place.
- Align the vent assembly’s tabs with the corresponding cutouts on the microwave frame.
- Gently push the vent assembly back into its designated spot. Make sure it snaps back into place.
- Tighten the two screws that hold the vent assembly in place.
If the upper light bulb was the only faulty bulb, then you’re done! If you still need to replace the lower bulb, continue reading.
READ MORE: 10 Tips and Tricks to Clean Your Appliances
How to replace the lower light bulb
Let’s tackle the lower light bulb, which illuminates the cooktop.
- Carefully lay your microwave on its back so you can access its bottom.
- Find the light lens cover on the bottom of the microwave, which is typically held in place by a single screw. Use your Phillips screwdriver to remove the screw.
- Carefully pull off or open the light lens cover. Depending on your model, the cover may be hinged.
- Unscrew the old light bulb by turning it counterclockwise until it’s free from the socket.
- Screw the new bulb into the socket by turning it clockwise until it’s snug.
- Put the light lens cover back in place. Align the cover’s tab with the corresponding cutout on the microwave frame.
- Swing or snap the cover back into position, depending on which model you have.
- Use your Phillips screwdriver to tighten the screw and secure the light lens cover.
READ MORE: 5 Common Mistakes That Shorten The Lifespan Of Appliances
Finish up
With the new light bulb(s) installed, it’s time to test your handiwork.
- Plug your microwave back into the power source.
- Open the microwave door and see if the upper light bulb is illuminating properly. Also press the surface lamp button to see if the lower bulb illuminates.
- Run a short test cycle with a small bowl of food or water inside the cavity to make sure the microwave is functioning correctly.
READ MORE: Why It’s Best to Choose OEM Over Aftermarket Parts for Appliance Repairs
More information
Thanks for reading! We hope this guide helped you replace the light bulb(s) in your over-the-range LG microwave.
If you still need some replacement parts, grab your model number and head over to AppliancePartsPros.com. We offer over two million parts and most orders arrive in two business days. If you need some help with finding the right part or placing an order, you can contact our team at 1 (877) 477-7278.
While you’re waiting for your new part to arrive, you can explore our DIY blog and watch thousands of video tutorials on our YouTube channel.
Be sure to follow us on Facebook, Twitter and Instagram to see our latest repair guides!
 https://www.appliancepartspros.com/b/wp-content/uploads/2025/05/20250509_1341_Cozy-Kitchen-Microwave_simple_compose_01jtv21xkxfmy8dmbdk4ydtn39.png
1024
1536
Steven E
https://www.appliancepartspros.com/b/wp-content/uploads/2020/11/app-logo-std.png
Steven E2025-05-12 07:43:312025-05-12 07:43:41Microwave Not Heating? Here’s How to Test the Thermal Fuse
https://www.appliancepartspros.com/b/wp-content/uploads/2025/05/20250509_1341_Cozy-Kitchen-Microwave_simple_compose_01jtv21xkxfmy8dmbdk4ydtn39.png
1024
1536
Steven E
https://www.appliancepartspros.com/b/wp-content/uploads/2020/11/app-logo-std.png
Steven E2025-05-12 07:43:312025-05-12 07:43:41Microwave Not Heating? Here’s How to Test the Thermal Fuse https://www.appliancepartspros.com/b/wp-content/uploads/2025/05/20250509_1341_Cozy-Kitchen-Microwave_simple_compose_01jtv21xkwegr8m3k6wtwb42bm.png
1024
1536
Steven E
https://www.appliancepartspros.com/b/wp-content/uploads/2020/11/app-logo-std.png
Steven E2025-05-12 07:37:142025-05-12 07:37:24Should You Choose a Microwave Drawer? Pros and Cons
https://www.appliancepartspros.com/b/wp-content/uploads/2025/05/20250509_1341_Cozy-Kitchen-Microwave_simple_compose_01jtv21xkwegr8m3k6wtwb42bm.png
1024
1536
Steven E
https://www.appliancepartspros.com/b/wp-content/uploads/2020/11/app-logo-std.png
Steven E2025-05-12 07:37:142025-05-12 07:37:24Should You Choose a Microwave Drawer? Pros and Cons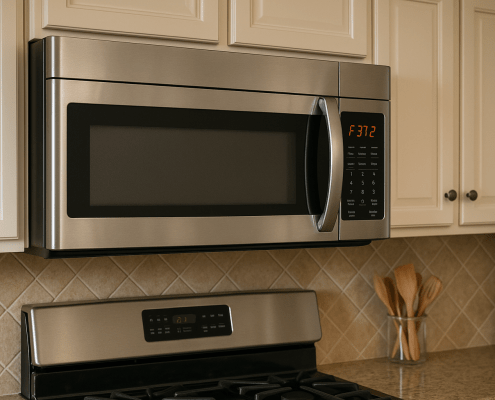 https://www.appliancepartspros.com/b/wp-content/uploads/2025/05/20250508_1404_Microwave-Error-Code_simple_compose_01jtrgzj2nf0v9q5tg9fzgkhfn.png
1024
1536
Steven E
https://www.appliancepartspros.com/b/wp-content/uploads/2020/11/app-logo-std.png
Steven E2025-05-09 05:53:072025-05-09 05:53:11How to Fix a Whirlpool Microwave with Error Code F3T2
https://www.appliancepartspros.com/b/wp-content/uploads/2025/05/20250508_1404_Microwave-Error-Code_simple_compose_01jtrgzj2nf0v9q5tg9fzgkhfn.png
1024
1536
Steven E
https://www.appliancepartspros.com/b/wp-content/uploads/2020/11/app-logo-std.png
Steven E2025-05-09 05:53:072025-05-09 05:53:11How to Fix a Whirlpool Microwave with Error Code F3T2Hey there, I’m Samantha and I’m super excited to be a part of the Appliance Parts Pros team! With 9 years of experience, I’ve had the awesome opportunity to assist countless customers in troubleshooting their home appliances and finding DIY repair solutions.