How to Replace a Broken Exhaust Fan Switch in the Bathroom
Steven E / Wednesday June 25, 2025
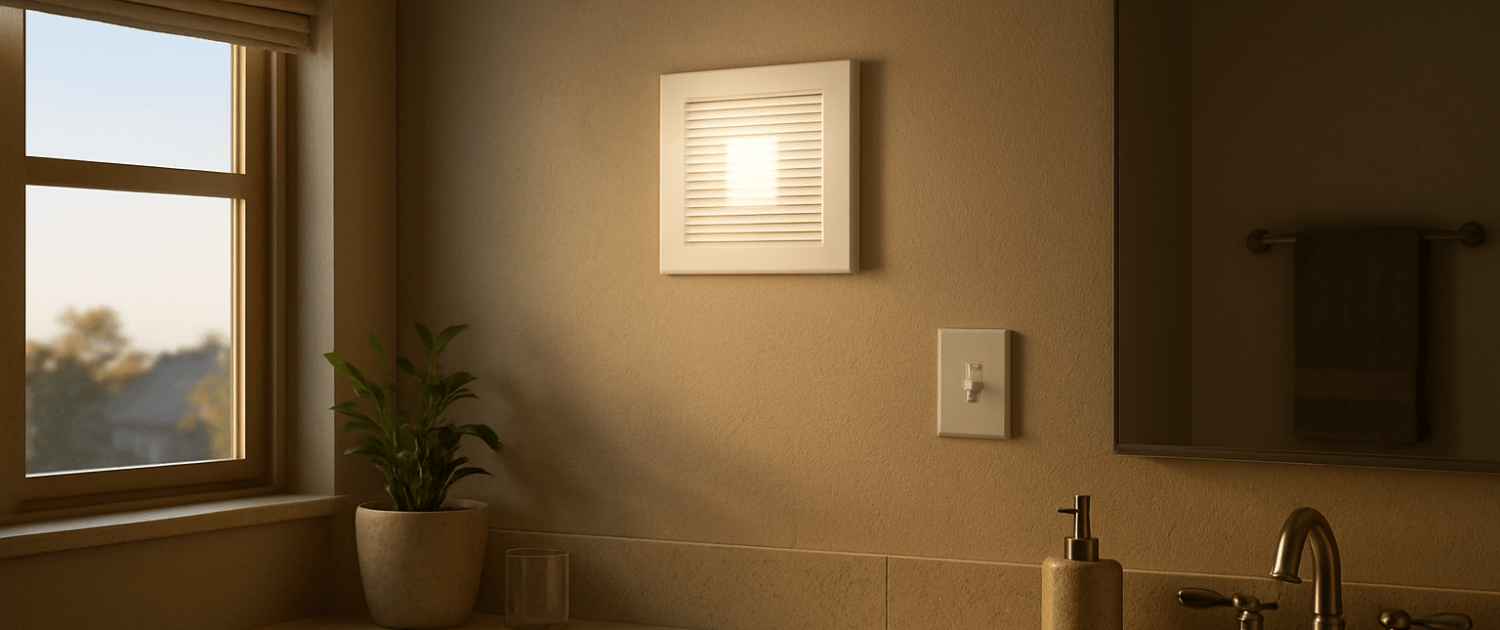
If your bathroom fan switch has stopped working, or you have to jiggle it “just right” to get the fan running, it’s time for a replacement. The good news? This is one of the easiest electrical repairs you can make in your home, and it usually takes under an hour.
Whether your switch has become unresponsive, cracked, or you’re ready to upgrade to a timer or humidity sensor, we’ll walk you through everything you need to know to do the job safely and confidently.
Let’s fix that switch and get your bathroom back in business.
Why Do Fan Switches Go Bad?
Bathroom fan switches get a lot of use, and they don’t last forever. Over time, they may stop working due to:

- Daily wear and tear (they’re used a lot)
- Moisture and humidity in the bathroom
- Loose or old wiring
- Age or poor-quality parts
When a fan switch goes bad, the fan may stop turning on completely, only work sometimes, or make crackling or buzzing sounds. Replacing the switch usually solves the problem right away.
What You’ll Need
Before diving in, here’s a list of tools and materials to have on hand:
- Flathead screwdriver
- Phillips screwdriver
- Voltage tester or non-contact tester
- Wire strippers
- Needle-nose pliers (optional)
- Flashlight or headlamp (if lighting is affected)
- New switch (standard toggle, rocker, timer, or smart switch)
- Wall plate (optional, great time to update if yours is old or cracked)
- Electrical tape
- Wire nuts (often included with your new switch)
Pro Tip: Take a picture of your current switch wiring before removing anything. It’ll make installation a breeze, especially if you’re dealing with more than two wires.
Safety First: Cut the Power
Before you touch any wires or start unscrewing anything, shut off power at the circuit breaker. Find the breaker labeled for your bathroom and flip it off.
Then go back and test the switch to make sure the fan doesn’t turn on. Use a voltage tester to confirm the wires in the switch box are no longer live.
Never assume the power is off until you’ve tested it!
Step-by-Step: Replacing the Bathroom Fan Switch
1. Remove the Wall Plate
Use a flathead screwdriver to remove the screws holding the wall plate in place. Set the plate and screws aside.
If the plate is old or discolored, now’s a great time to upgrade it.
2. Unscrew and Pull Out the Old Switch
Use a Phillips screwdriver to remove the two screws holding the switch to the electrical box.
Gently pull the switch forward. You’ll now see the connected wires, usually two or three, depending on your setup.
3. Identify and Disconnect the Wires
Take note of your wiring layout. Most standard bathroom fan switches have:
- One hot (black) wire bringing power in
- One load (black or red) wire going to the fan
- Ground wire (bare copper or green)
Some switches may also have a neutral (white) wire, especially if you’re installing a digital timer or smart switch.
Use your voltage tester again to confirm the wires are not live. Once safe, disconnect the wires by loosening the terminal screws and removing the wires or removing the wire nuts and separating the wires (if push-in connectors were used).
4. Install the New Switch
Unpack your new switch and take a look at the wiring diagram included in the instructions. Here’s the basic process for most single-pole fan switches:
- Connect the hot wire to the screw marked “Line” or “In”
- Connect the load wire (to the fan) to the screw marked “Load” or “Out”
- Connect the ground wire to the green screw or designated ground terminal
For timer switches or smart switches, you may also need to:
- Connect the neutral (white) wire if required
- Program or set the timer function after installation
Twist wires together securely using wire nuts and wrap each with electrical tape for extra safety.
Tuck the wires back into the box neatly, push gently to avoid bending or pinching.
5. Mount the Switch and Replace the Wall Plate
Secure the new switch with the provided screws. Make sure it’s straight before tightening fully.
Install the wall plate over the switch and tighten the screws.
6. Restore Power and Test
Head back to your breaker panel and flip the power back on. Test the switch:
- Does the fan turn on and off correctly?
- If it’s a timer switch, does it count down and shut off properly?
- For smart switches, complete any app pairing or setup steps.
If the fan doesn’t respond, double-check your wiring. Most issues at this stage are due to reversed connections or loose wires.
Optional Upgrades
Replacing a bathroom fan switch is a great opportunity to modernize. Consider one of these popular upgrades:
Timer Switch
Perfect for guest bathrooms or forgetful family members. Set the fan to run for 10, 20, or 60 minutes, then shut off automatically.
Humidity Sensor Switch
These smart switches detect excess moisture and turn the fan on or off as needed, great for preventing mold and mildew.
Dual Fan/Light Control
If your fan and light run on the same switch but you want to control them separately, now’s the time to run a second wire and install a dual switch.
Troubleshooting Common Issues
Fan Still Doesn’t Turn On?
- Check your breaker, it may have tripped.
- Double-check wire connections at both the switch and the fan itself.
- Try another new switch, yours could be defective.
- If the fan hums but doesn’t spin, the issue might be with the motor or capacitor, not the switch.
Fan Won’t Turn Off?
- Make sure you didn’t connect the hot wire to the wrong terminal.
- For timer switches, verify the programming settings.
Final Thoughts
Swapping out a broken bathroom fan switch is one of those small repairs that makes a big difference in daily comfort. With just a few basic tools, some safety precautions, and a bit of patience, you can replace your faulty switch and enjoy fresh, well-ventilated air in no time.
Plus, it opens the door to energy-saving upgrades like timers or humidity sensors, simple additions that make your bathroom smarter and more efficient.
So go ahead, grab that screwdriver, turn off the breaker, and give your bathroom fan switch the upgrade it deserves. You’ve got this!
Where To Find Us
If you need any replacement parts for your appliances, you can enter your model number at AppliancePartsPros.com to locate and order them quickly. Most orders arrive in just two business days, and we have tons of great information in our repair help section and YouTube videos to help you troubleshoot.
Stay connected with the latest DIY tips, tutorial videos, and repair guides by following us on Facebook, Instagram, and Twitter. We love hearing about your repair stories and successes. If you need more help or want personalized guidance, feel free to reach out. We’re ready to help you take on your next project with confidence!
The information in this article may not apply to your specific appliance model. We recommend consulting your manufacturer’s documentation or contact us with any questions.
 https://www.appliancepartspros.com/b/wp-content/uploads/2025/07/20250626_0956_Ceiling-Bathroom-Fan_simple_compose_01jyp8bv6df0taqzp3zd5ythxq.png
1024
1536
Steven E
https://www.appliancepartspros.com/b/wp-content/uploads/2020/11/app-logo-std.png
Steven E2025-07-02 12:03:312025-07-02 12:03:49How to Fix a Bathroom Fan That Works But the Light is Out
https://www.appliancepartspros.com/b/wp-content/uploads/2025/07/20250626_0956_Ceiling-Bathroom-Fan_simple_compose_01jyp8bv6df0taqzp3zd5ythxq.png
1024
1536
Steven E
https://www.appliancepartspros.com/b/wp-content/uploads/2020/11/app-logo-std.png
Steven E2025-07-02 12:03:312025-07-02 12:03:49How to Fix a Bathroom Fan That Works But the Light is Out https://www.appliancepartspros.com/b/wp-content/uploads/2025/07/20250624_1432_Retro-Bathroom-Vent-Grille_simple_compose_01jyhkb21sfyyv58yc6k99cwrn.png
1024
1536
Steven E
https://www.appliancepartspros.com/b/wp-content/uploads/2020/11/app-logo-std.png
Steven E2025-07-02 11:50:352025-07-02 11:50:43Bathroom Fan Runs Louder on Cold Days: What’s Happening?
https://www.appliancepartspros.com/b/wp-content/uploads/2025/07/20250624_1432_Retro-Bathroom-Vent-Grille_simple_compose_01jyhkb21sfyyv58yc6k99cwrn.png
1024
1536
Steven E
https://www.appliancepartspros.com/b/wp-content/uploads/2020/11/app-logo-std.png
Steven E2025-07-02 11:50:352025-07-02 11:50:43Bathroom Fan Runs Louder on Cold Days: What’s Happening? https://www.appliancepartspros.com/b/wp-content/uploads/2025/07/20250624_1414_Bathroom-Fan-Vent_simple_compose_01jyhjb0gme1q9nc7hv6b89ttf.png
1024
1536
Steven E
https://www.appliancepartspros.com/b/wp-content/uploads/2020/11/app-logo-std.png
Steven E2025-07-02 11:16:462025-07-02 11:16:55Fix a Bathroom Fan That Keeps Running After Lights Are Off
https://www.appliancepartspros.com/b/wp-content/uploads/2025/07/20250624_1414_Bathroom-Fan-Vent_simple_compose_01jyhjb0gme1q9nc7hv6b89ttf.png
1024
1536
Steven E
https://www.appliancepartspros.com/b/wp-content/uploads/2020/11/app-logo-std.png
Steven E2025-07-02 11:16:462025-07-02 11:16:55Fix a Bathroom Fan That Keeps Running After Lights Are OffWith nearly a decade of experience in providing top-notch customer service regarding appliance parts and repair, Steven enjoys sharing practical advice, troubleshooting tips, and interesting information to help readers stay informed.