How to Replace a Flexible Dryer Vent Hose So That It Won’t Clog
Steven E / Friday July 11, 2025
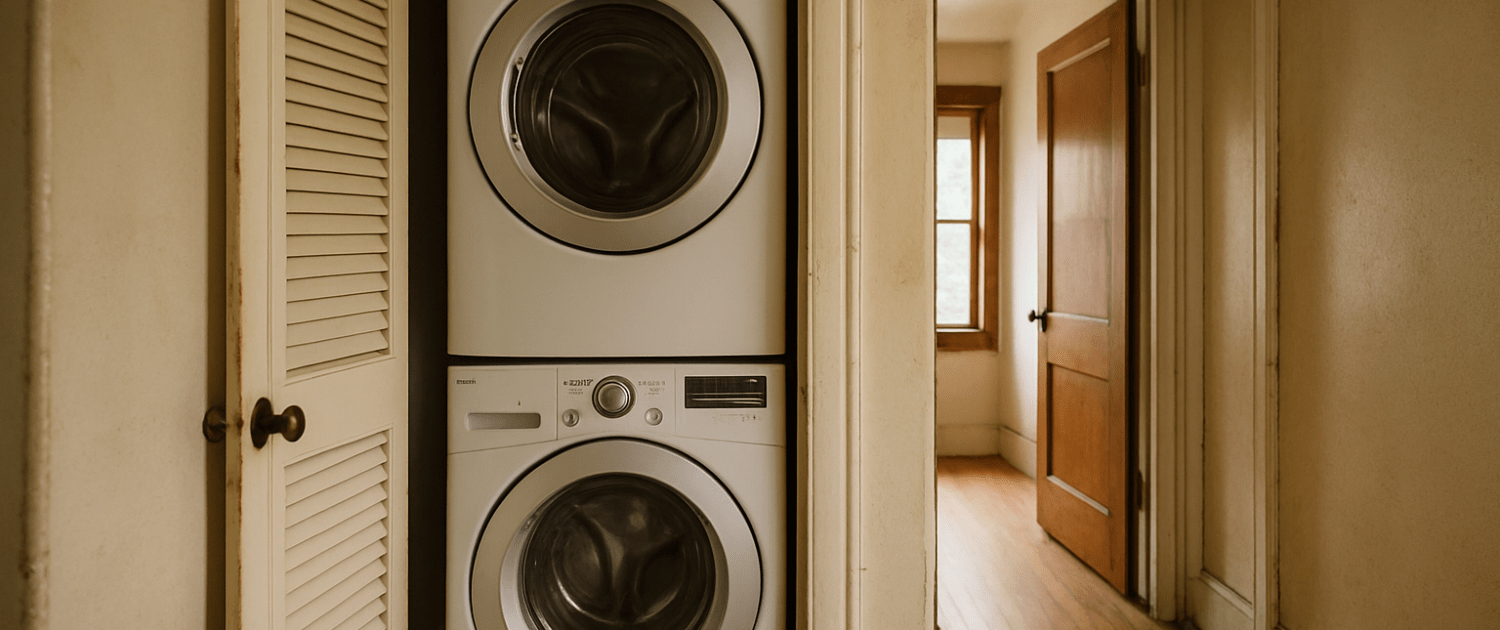
If your dryer seems to take forever to dry or your laundry room feels extra warm, your vent hose might be clogged up with lint. The fix? Replace that old flexible dryer vent hose and install the new one properly so it stays clear and efficient. Here’s how to do it right, step by step, no pro needed.
The information in this article may not apply to your specific appliance model. We recommend consulting your manufacturer’s documentation or contact us with any questions.
Why Installation Matters
The flexible hose behind your dryer is responsible for directing moist, lint-filled air safely outside. If it isn’t installed correctly:
- Lint can build up inside the hose, reducing airflow and efficiency.
- Leaks can release moisture into your laundry room, leading to mold and damage.
- Longer drying times can waste energy and wear out your clothes.
- A clogged or kinked hose can become a serious fire hazard.
Installing the vent properly helps your dryer work faster, saves energy, and keeps your home safe.

Tools and Materials You’ll Need
Before you start, gather the following:
- Flexible dryer vent hose (4-inch diameter)
- Worm gear hose clamps (2)
- Foil duct tape (not cloth duct tape)
- Screwdriver
- Utility knife or scissors
- Vacuum or brush (to clean old vent and outlet)
Make sure your flexible vent hose is the correct diameter and long enough to reach from your dryer outlet to the wall or floor vent with some slack. Avoid using thin plastic hoses, instead, choose a flexible aluminum foil or semi-rigid metal hose for better durability.
Step 1: Unplug and Move the Dryer
For safety, unplug your dryer before starting. If it’s a gas dryer, turn off the gas valve as well. Carefully pull the dryer away from the wall to give yourself room to work.
Step 2: Clean the Dryer Outlet and Wall Vent
This is a good opportunity to remove any lint that may have built up.
- Vacuum or brush out the dryer’s outlet port.
- Clean the wall vent opening as well, removing any dust, lint, or debris.
- Check the vent flap outside to ensure it opens and closes freely.
Step 3: Plan the Hose Path
Before attaching the hose, figure out the best route between the dryer outlet and the wall vent.
- Keep the hose as short and straight as possible.
- Avoid sharp bends, loops, or sagging sections.
- Leave enough slack so you can move the dryer slightly without straining the hose.
If the hose is too long, use scissors or a utility knife to cut it to size.
Step 4: Attach the Hose to the Dryer Outlet
Slide one end of the flexible hose over the dryer’s round outlet port. If it’s a tight fit, you can gently twist it as you push it on. Once it’s fully seated:
- Slide a hose clamp over the end.
- Tighten the clamp with a screwdriver until it feels snug and secure.
- Wrap a short piece of foil duct tape around the connection for extra security and to prevent leaks.
- Make sure the hose isn’t crushed or pinched as you secure it.
Step 5: Attach the Hose to the Wall Vent
Next, attach the other end of the hose to the wall or floor vent opening.
- Slide the hose over the vent collar.
- Secure it with a second hose clamp and tighten with a screwdriver.
- Seal the connection with foil duct tape to prevent leaks.
- Check that the hose maintains its full round shape and isn’t flattened.
Step 6: Push the Dryer Back Into Place
Plug your dryer back in (and turn on the gas valve if applicable). Slowly slide the dryer back toward the wall while keeping an eye on the hose.
- Avoid crushing or kinking the hose as you push the dryer into place.
- Leave a small gap between the dryer and the wall for air circulation and to prevent pinching the hose.
- Once the dryer is positioned, check that the hose still has a smooth curve and is securely attached at both ends.
Step 7: Test the Dryer
Run your dryer on a short cycle to make sure everything is working properly.
Where To Find Us
If you need any replacement parts for your appliances, you can enter your model number at AppliancePartsPros.com to locate and order them quickly. Most orders arrive in just two business days, and we have tons of great information in our repair help section and YouTube videos to help you troubleshoot.
Stay connected with the latest DIY tips, tutorial videos, and repair guides by following us on Facebook, Instagram, and Twitter. We love hearing about your repair stories and successes. If you need more help or want personalized guidance, feel free to reach out. We’re ready to help you take on your next project with confidence!
 https://www.appliancepartspros.com/b/wp-content/uploads/2024/06/Copy-of-Copy-of-Copy-of-Copy-of-app-blog-square.jpg
1080
1080
Steven E
https://www.appliancepartspros.com/b/wp-content/uploads/2020/11/app-logo-std.png
Steven E2024-06-04 13:02:092025-07-31 10:59:33How to replace Frigidaire dryer control thermistor 134587700
https://www.appliancepartspros.com/b/wp-content/uploads/2024/06/Copy-of-Copy-of-Copy-of-Copy-of-app-blog-square.jpg
1080
1080
Steven E
https://www.appliancepartspros.com/b/wp-content/uploads/2020/11/app-logo-std.png
Steven E2024-06-04 13:02:092025-07-31 10:59:33How to replace Frigidaire dryer control thermistor 134587700 https://www.appliancepartspros.com/b/wp-content/uploads/2024/05/Copy-of-Copy-of-Copy-of-app-blog-square-1.jpg
1080
1080
Steven E
https://www.appliancepartspros.com/b/wp-content/uploads/2020/11/app-logo-std.png
Steven E2024-05-30 13:56:562025-07-31 08:42:13How to replace LG / Kenmore dryer light bulb 6913EL3001E
https://www.appliancepartspros.com/b/wp-content/uploads/2024/05/Copy-of-Copy-of-Copy-of-app-blog-square-1.jpg
1080
1080
Steven E
https://www.appliancepartspros.com/b/wp-content/uploads/2020/11/app-logo-std.png
Steven E2024-05-30 13:56:562025-07-31 08:42:13How to replace LG / Kenmore dryer light bulb 6913EL3001E https://www.appliancepartspros.com/b/wp-content/uploads/2024/05/Copy-of-app-blog-square-16.jpg
1080
1080
Steven E
https://www.appliancepartspros.com/b/wp-content/uploads/2020/11/app-logo-std.png
Steven E2024-05-24 13:50:062024-05-24 13:50:13F3E2 error on a Maytag dryer: A troubleshooting guide
https://www.appliancepartspros.com/b/wp-content/uploads/2024/05/Copy-of-app-blog-square-16.jpg
1080
1080
Steven E
https://www.appliancepartspros.com/b/wp-content/uploads/2020/11/app-logo-std.png
Steven E2024-05-24 13:50:062024-05-24 13:50:13F3E2 error on a Maytag dryer: A troubleshooting guideWith nearly a decade of experience in providing top-notch customer service regarding appliance parts and repair, Steven enjoys sharing practical advice, troubleshooting tips, and interesting information to help readers stay informed.