How To Replace a Frigidaire Range Indicator Light 316022500
Steven E / Thursday May 22, 2025
Is your stove’s burner indicator light stuck on or off, leaving you puzzled? With just a few tools and a little guidance, you can easily replace that faulty light yourself, bringing your Frigidaire or Electrolux range back to perfect working order. Scroll down to watch our straightforward how-to video and get your kitchen appliance shining again in no time!
Looking for the right part? Enter your appliance model number below to find the exact match and get your appliance running like new again!
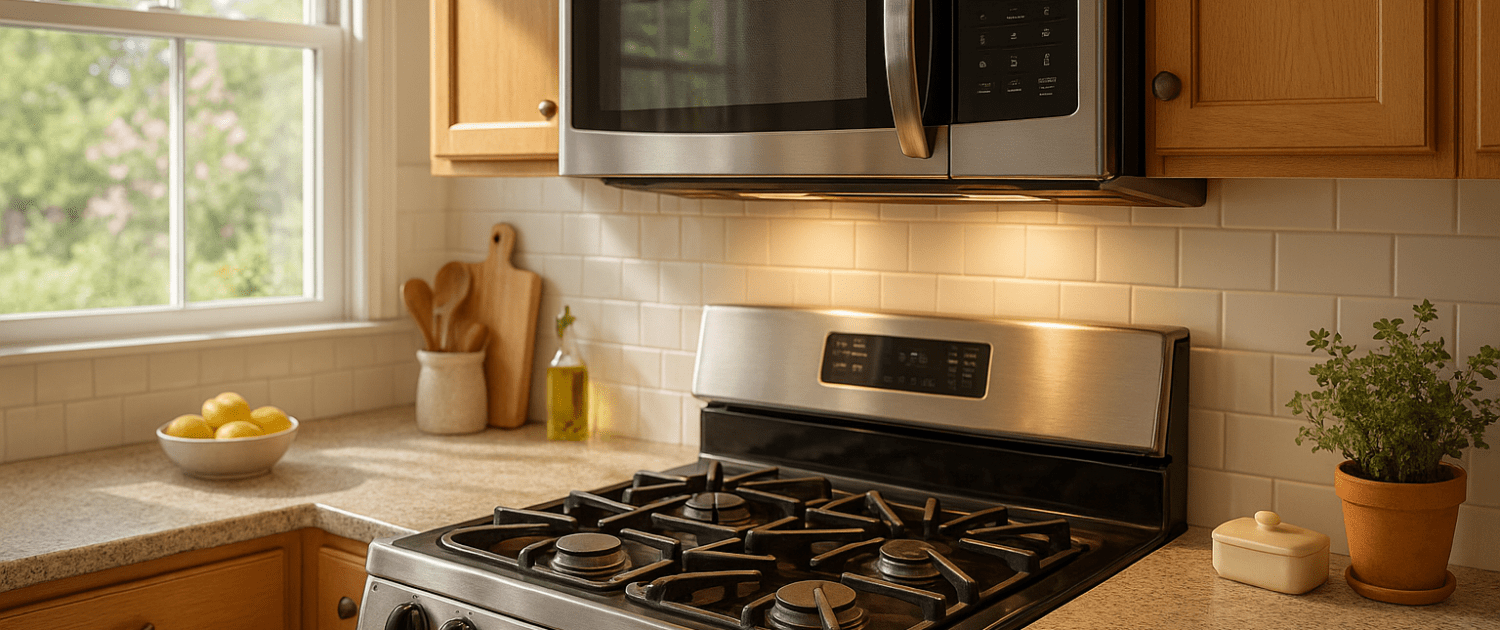
Got a burner indicator light that won’t turn off or won’t turn on at all on your Frigidaire or Electrolux range? The part you’re looking for is 316022500, and replacing it is a quick and easy fix you can handle yourself. Whether it’s stuck, burned out, or just faulty, we’ll walk you through how to remove the old light and pop in a new one so your stove works and looks like it should.

Watch: How to replace indicator light 316022500
The information in this article may not apply to your specific appliance model. We recommend consulting your manufacturer’s documentation or contact us with any questions.
What you’ll need
Before diving into the replacement process, the first thing to do is make sure you are safe and prevent any risk of electric shock. Here’s what you need to do:
Begin by disconnecting the appliance from its power source by unplugging it and turning off the breaker. This step will eliminate any chance of electrical mishaps while you work on it.
Now that you’ve taken the necessary safety precautions, let’s gather the tools and parts you’ll need for this task:
- Replacement indicator light (316022500)
- 1⁄4” nut driver
- Needle nose pliers
- Phillips head screwdriver
- Protective gloves to keep hands safe
Taking apart the range
With the prep work done, it’s time to take the range apart to access the indicator light. The light is housed behind your range’s control panel. Here are the steps to safely remove it:
- Unscrew the two 1⁄4” screws located on the top rear of the control panel using your nut driver. Set them aside in a safe place.
- Use the Phillips head screwdriver to remove the two screws securing the left and right sides of the panel. Take off both end caps. They should slide off relatively easily, exposing the inner workings of the panel.
- To remove the panel, handle it with care. Gently lift it, tilting it forward to get a clear view of the wires connected to it. Take your time to inspect and identify any wire connectors or fasteners that are holding the panel securely in place. Once you have done so, detach these connectors and remove any fasteners to release the panel. You can also take pictures of the wiring connections so you remember how everything is connected.
- Fully remove the control panel and set it on a flat, stable surface.
With the main control panel lifted off, you now have clear access to the indicator light assembly. Next, we’ll go over taking out the old light and wiring in your new replacement.
Removing and replacing light assembly
You are almost there! Just follow these final steps to remove the malfunctioning indicator light and install your new replacement part:
- Find the plastic indicator light housing at the rear of the control panel.
- Use the needle nose pliers to gently pry or cut any plastic rivets securing the housing in place.
- Once you have detached the indicator light assembly, slide the entire assembly out of the panel, taking care not to damage any surrounding components.
- Use the pliers to disconnect the old wires by unscrewing connectors or snipping wire ties.
- To install the new indicator light, take the part and connect its two wires to the corresponding wires of the appliance. You will use the connectors provided or use electrical tape to secure the connection. Match the colors of the wires if possible.
- Insert the new light assembly into the control panel, pressing it firmly into place. Use pliers to bend over small plastic tabs if present.
- Check that the light is properly seated. Also, double-check that all the wiring connections are securely fastened, minimizing any potential risks or issues.
Reassembling the range
Congratulations! The difficult part is done. Now, all you need to do is put your range back together.
- To make sure you have a smooth and seamless transition, carefully tilt the control panel back over the range into its original position. Take your time and make sure that the panel is aligned properly and snugly fits into place.
- Reattach any connectors or fasteners on the back to hold it in place.
- Replace the two Phillips head screws along the left and right sides.
- Finally, reinstall the two 1⁄4” screws along the top.
- Restore power to the range and test that the new indicator light turns on when appropriate.
Where To Get More Help
Thank you for reading! We hope you found this information useful to get your range working again.
If you have any other appliance repair needs or projects, don’t hesitate to explore our thousands of free videos and troubleshooting guides available. If you need replacement parts or some extra help, grab your model number and head over to AppliancePartsPros.com, where you can chat with a pro, order parts, read our DIY blog and more.
Be sure to subscribe to us on YouTube and follow us on Facebook, Twitter and Instagram!
 https://www.appliancepartspros.com/b/wp-content/uploads/2025/04/APP-blog-square-109.jpg
1080
1080
Steven E
https://www.appliancepartspros.com/b/wp-content/uploads/2020/11/app-logo-std.png
Steven E2025-04-21 12:08:572025-08-08 07:40:53Gas range smells like gas: top 5 reasons and fixes (with video!)
https://www.appliancepartspros.com/b/wp-content/uploads/2025/04/APP-blog-square-109.jpg
1080
1080
Steven E
https://www.appliancepartspros.com/b/wp-content/uploads/2020/11/app-logo-std.png
Steven E2025-04-21 12:08:572025-08-08 07:40:53Gas range smells like gas: top 5 reasons and fixes (with video!) https://www.appliancepartspros.com/b/wp-content/uploads/2025/04/APP-blog-square-93.jpg
1080
1080
Steven E
https://www.appliancepartspros.com/b/wp-content/uploads/2020/11/app-logo-std.png
Steven E2025-04-16 06:09:562025-04-16 06:10:04Easy Steps for a Safe and Successful Gas Stove Installation
https://www.appliancepartspros.com/b/wp-content/uploads/2025/04/APP-blog-square-93.jpg
1080
1080
Steven E
https://www.appliancepartspros.com/b/wp-content/uploads/2020/11/app-logo-std.png
Steven E2025-04-16 06:09:562025-04-16 06:10:04Easy Steps for a Safe and Successful Gas Stove Installation https://www.appliancepartspros.com/b/wp-content/uploads/2025/04/APP-blog-square-1-13.jpg
1080
1080
Steven E
https://www.appliancepartspros.com/b/wp-content/uploads/2020/11/app-logo-std.png
Steven E2025-04-14 12:02:342025-08-08 07:34:04How to test the bake element on a GE Electric oven that won’t heat
https://www.appliancepartspros.com/b/wp-content/uploads/2025/04/APP-blog-square-1-13.jpg
1080
1080
Steven E
https://www.appliancepartspros.com/b/wp-content/uploads/2020/11/app-logo-std.png
Steven E2025-04-14 12:02:342025-08-08 07:34:04How to test the bake element on a GE Electric oven that won’t heatWith nearly a decade of experience in providing top-notch customer service regarding appliance parts and repair, Steven enjoys sharing practical advice, troubleshooting tips, and interesting information to help readers stay informed.