How to replace a Kenmore refrigerator ice dispenser auger motor
Steven E / Friday March 7, 2025
Is your Kenmore refrigerator refusing to dispense ice, even though the ice maker still hums along faithfully? The culprit might be a faulty auger motor, crucial for driving ice through the chute. No worries—a quick DIY replacement can have ice flowing freely again, and we’ve included a handy how-to video just below to guide you every step of the way!
Looking for the right part? Enter your appliance model number below to find the exact match and get your appliance running like new again!
")
Are you having issues with ice dispensing from your Kenmore refrigerator? If you open the dispenser and no ice comes out, even though the ice maker itself is working, the problem likely lies with a faulty auger motor. The auger motor is what rotates to push ice through the dispenser chute and into your cup or bucket. When this motor fails, ice won’t advance through the chute. Replacing this part is an easy DIY fix that you can tackle in with some basic tools.

If you need any replacement parts for your appliances, you can enter your model number at AppliancePartsPros.com to locate and order them. Most orders arrive in just two business days, and we have tons of great information in our repair help section and YouTube videos to help you troubleshoot.
What you’ll need
This repair requires just a few tools that you likely already have on hand:
- Phillips screwdriver
- Flat blade screwdriver
- New ice dispenser auger motor (EAU60784231)
Important reminders
Before tackling any appliance repair, keep these tips in mind:
- Always turn off the power by unplugging the appliance or switching off the circuit breaker before starting. This protects you from the risk of electric shock.
- Wear insulated gloves to protect your hands from sharp edges, pinching hazards, or debris.
- Take your time and work at a steady pace to avoid accidents or injuries.
- Make sure your workspace is well-lit so you can clearly see and access the parts you’re working on.
- Keep your area organized and free of clutter, and ensure children and pets are kept away from the workspace.
- Never handle internal parts with wet hands. Make sure both your hands and the work area are completely dry.
- Check your appliance’s user manual for specific instructions or safety guidelines related to your repair.
- Handle parts gently to prevent damaging the appliance or injuring yourself by using too much force.
- Wear safety glasses if you’re dealing with chemicals, dust, or large debris to protect your eyes.
- If the appliance was recently used, give it time to cool down before working on any heated components.
- Take photos or notes of wiring connections before disconnecting anything. This makes reassembly much easier.
- Avoid touching exposed wires or terminals. If you need to handle wires, use non-conductive tools or wear insulated gloves to reduce the risk of electrical shock.
Read article: Cool Savings: 6 Fridge Energy Saving Tips
Replacement steps
Follow these detailed steps to safely remove and replace the ice dispenser auger motor in your Kenmore fridge:
Unplug the fridge and remove the ice bin
- Locate the fridge’s plug and disconnect it from the outlet.
- Next, open the ice dispenser door and remove the ice bin.
- Lift it up and pull the bottom out first to remove it.
- Set the bin aside while you work.
Remove the mounting plate
With the ice bin removed, you’ll see the mounting plate that houses the auger motor.
- Remove the three Phillips screws that secure this plate using your Phillips screwdriver. There will also be one screw at the top to loosen.
- Once all screws are out, carefully pull the mounting plate away from the freezer wall.
- As you pull it down, you’ll notice a wiring harness plug connected to the back.
- Press down on the locking tab for this plug and disconnect it, freeing the mounting plate.
- Lay the mounting plate assembly on a flat surface like a table or countertop.
Remove the old auger motor
You’ll now access and remove the old auger motor.
- Start by unscrewing the coupling that connects the motor shaft to the auger spiral inside the ice bin.
- Use your Phillips screwdriver to remove the single screw and detach this coupling, making note of its original vertical alignment.
- Next, remove the two Phillips screws that secure the motor housing to the mounting plate.
- Carefully turn the assembly over while holding the loose motor in place.
- Disconnect the green ground wire and set it off to the side.
- You can now slide the old motor out and disconnect the wiring harness plug by pressing in on the plastic locking tab and pulling.
- Save this old part to return in case of warranty concerns.
Install the new auger motor
With the old motor removed, you can now reverse the steps to install the new replacement part:
- Connect the wiring harness to the new motor and press firmly to ensure the plug locks in place.
- Use the two Phillips screws to secure the motor housing to the mounting plate. Make sure both screws are tightened properly.
- Reattach the green ground wire with the remaining Phillips screw.
- Double-check that the wiring is tucked into the proper channels and replace any tape if necessary.
- Slide the coupling back onto the new motor shaft in the original vertical alignment. Secure it with a single Phillips screw.
Reassemble the dispenser
You’re now ready to put the ice dispenser components back together:
- Keeping the wiring routed correctly, slide the mounting plate assembly back into place. Reconnect the wiring plug.
- Replace the three long Phillips screws and tighten the top loosened screw.
- Double-check that the coupling alignment matches the open end on the ice bucket.
- Replace the ice bucket, inserting the bottom first then pressing up to lock it in place.
- Close and latch the ice dispenser housing door.
Final steps
All that’s left is to plug the refrigerator back into its power source and verify normal operation:
- Reconnect the power and allow the fridge time to cool down again.
- Test the ice dispenser by pressing the paddle. Ice should advance through the chute once again.
- If issues persist, recheck wiring connections and alignments.
And that’s it! With the new auger motor installed, ice should dispense smoothly once again.
Read Article: A Complete Guide to Refrigerator Organization
More information
Thanks for reading! We hope this guide helped you complete your repair! If you still need some replacement parts, grab your model number and head over to AppliancePartsPros.com. We offer over 2 million parts and most orders arrive in 2-3 business days. If you need some help with finding the right part or placing an order, you can contact our team at 1 (877) 477-7278.
While you’re waiting for your new part to arrive, you can explore our DIY blog and watch thousands of video tutorials on our YouTube channel.
Be sure to follow us on Facebook, Twitter, and Instagram to see our latest repair guides!
 https://www.appliancepartspros.com/b/wp-content/uploads/2025/06/20250521_1429_Organizing-Groceries_simple_compose_01jvt1k4v5fdt8ft4ggdm4kjbc.png
1024
1536
Steven E
https://www.appliancepartspros.com/b/wp-content/uploads/2020/11/app-logo-std.png
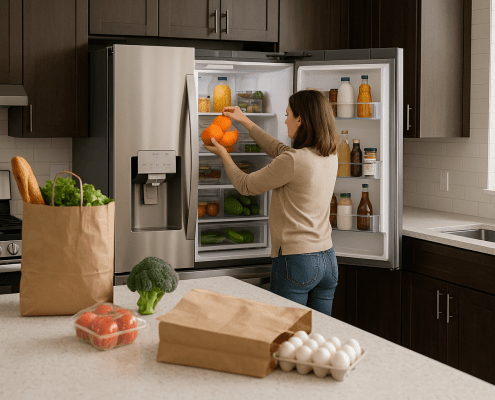
Steven E2025-06-04 07:43:092025-08-18 12:11:44How To Replace GE Refrigerator Pan Slide Rails WR49X10144
https://www.appliancepartspros.com/b/wp-content/uploads/2025/06/20250521_1429_Organizing-Groceries_simple_compose_01jvt1k4v5fdt8ft4ggdm4kjbc.png
1024
1536
Steven E
https://www.appliancepartspros.com/b/wp-content/uploads/2020/11/app-logo-std.png
Steven E2025-06-04 07:43:092025-08-18 12:11:44How To Replace GE Refrigerator Pan Slide Rails WR49X10144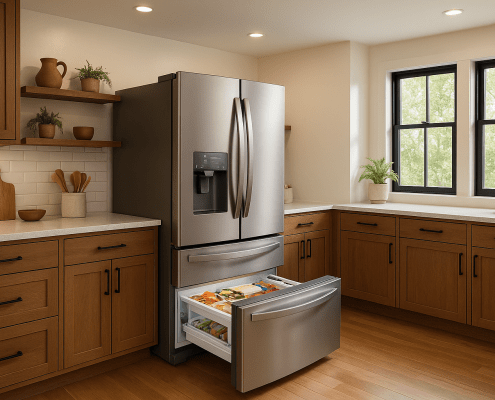 https://www.appliancepartspros.com/b/wp-content/uploads/2025/06/20250602_1036_Modern-Kitchen-Fridge_simple_compose_01jwrh1dh5f11tggy6526agz7b.png
1024
1536
Steven E
https://www.appliancepartspros.com/b/wp-content/uploads/2020/11/app-logo-std.png
Steven E2025-06-04 07:39:022025-08-18 11:59:03Replacing LG/Kenmore Fridge Freezer Slide Rail 5218JA1010F
https://www.appliancepartspros.com/b/wp-content/uploads/2025/06/20250602_1036_Modern-Kitchen-Fridge_simple_compose_01jwrh1dh5f11tggy6526agz7b.png
1024
1536
Steven E
https://www.appliancepartspros.com/b/wp-content/uploads/2020/11/app-logo-std.png
Steven E2025-06-04 07:39:022025-08-18 11:59:03Replacing LG/Kenmore Fridge Freezer Slide Rail 5218JA1010F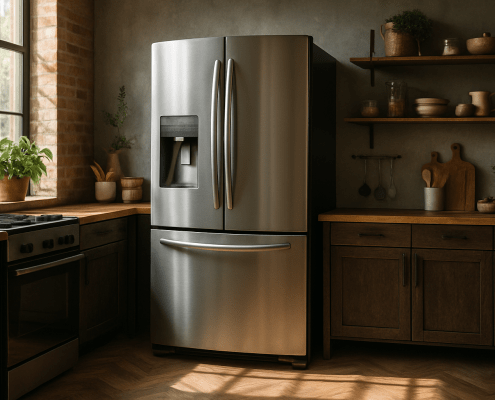 https://www.appliancepartspros.com/b/wp-content/uploads/2025/06/20250523_1514_Industrial-Kitchen-Vibes_simple_compose_01jvz91e08fb59h972xzx63z2g.png
1024
1536
Steven E
https://www.appliancepartspros.com/b/wp-content/uploads/2020/11/app-logo-std.png
Steven E2025-06-04 07:29:092025-08-18 11:01:19Replacing the dispenser overlay 240570237 on a Frigidaire fridge
https://www.appliancepartspros.com/b/wp-content/uploads/2025/06/20250523_1514_Industrial-Kitchen-Vibes_simple_compose_01jvz91e08fb59h972xzx63z2g.png
1024
1536
Steven E
https://www.appliancepartspros.com/b/wp-content/uploads/2020/11/app-logo-std.png
Steven E2025-06-04 07:29:092025-08-18 11:01:19Replacing the dispenser overlay 240570237 on a Frigidaire fridgeWith nearly a decade of experience in providing top-notch customer service regarding appliance parts and repair, Steven enjoys sharing practical advice, troubleshooting tips, and interesting information to help readers stay informed.