How to Replace a Refrigerator Defrost Thermostat (With Video!)
APP Expert / Monday April 11, 2022
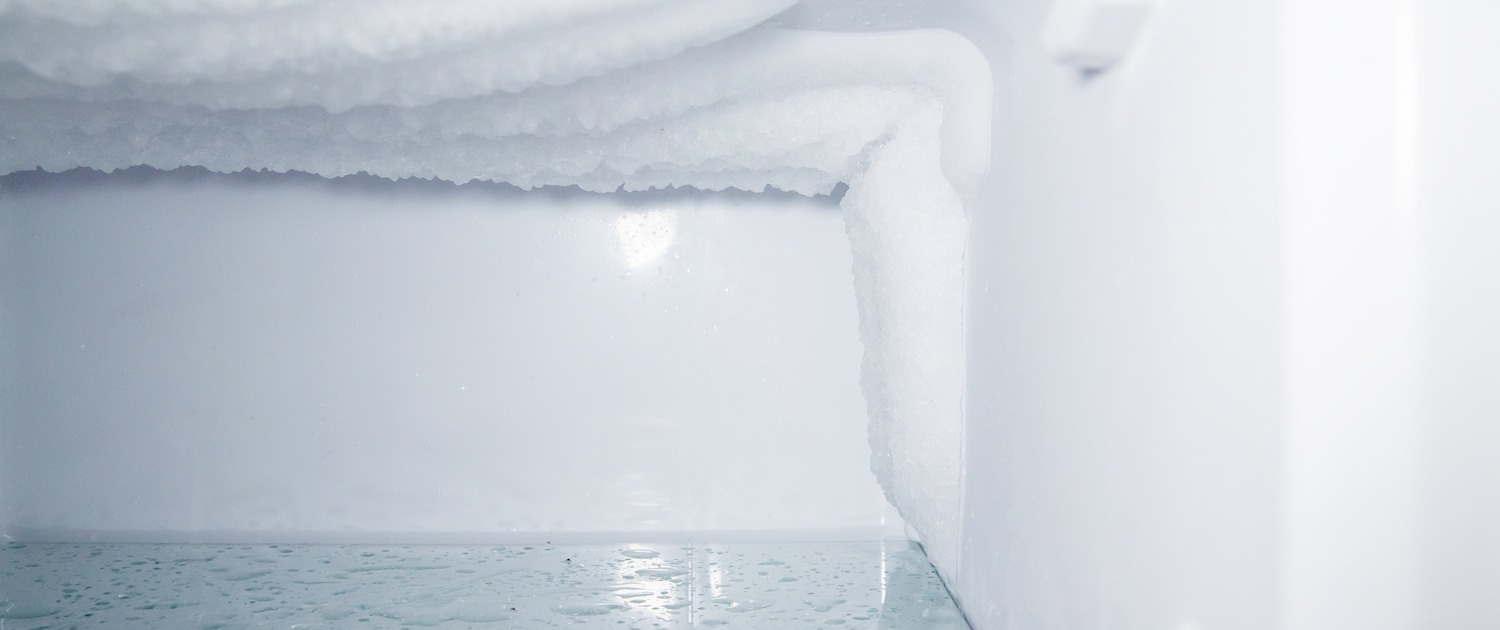
Is your freezer feeling more like a cool breeze than an icy chill? If you’re noticing temperature troubles or a defrost cycle gone haywire, the culprit might be a tiny but crucial component known as the defrost thermostat. Good news: you’re just a step away from a DIY solution, complete with an easy-to-follow how-to video right below!
Need a replacement defrost thermostat for your refrigerator? Search below using your specific fridge model number to identify the exact part needed:
Does it seem like your freezer is too warm? Is the defrost cycle running nonstop, or never running at all? There’s a good chance there’s one single, small part causing the problem – the defrost thermostat, or bimetal thermostat.This component, found behind the back panel of your freezer compartment, measures the temperature of the evaporator coils and signals for them to shut off if they grow too warm. So, if it goes bad, the whole defrost assembly can run into issues, which will disrupt the temperature in both the freezer and fresh food compartments of your refrigerator.
Luckily, this is a quick and easy fix. Swapping out the defrost thermostat yourself is much faster and cheaper than hiring a technician to come out for a professional repair. With the right replacement part, you can have your fridge back in working order in an hour or so.
Come on, we’ll walk you through it!
How To Tell If Your Defrost Thermostat Is Bad
If you want to be absolutely sure the defrost thermostat is bad, you’ll need to test it with a multimeter. Before you grab your wire cutters and start disassembling things, though, there are a few other symptoms you can watch out for.
When the defrost thermostat in your refrigerator is bad:
- The evaporator either will not run or will not stop running. Listen to your refrigerator when you’re in the kitchen. If it seems like your fridge is running a lot or never running, it could be that the thermostat has gone bad.
- The fresh food and freezer compartments will be warmer than they should be, with the refrigerator being warmer than the freezer. The FDA recommends you keep the temperature in your fridge below 40° F (4° C), and your freezer at or below 0° F (-18° C).
To test your defrost thermostat directly, you’ll need that multimeter we mentioned and potentially a pair of wire cutters. Your refrigerator should also be cold when you test:
- Unplug the refrigerator and gain access to the defrost thermostat. You can use the instructions in our how-to video to reach the defrost thermostat.
- Disconnect the thermostat. You may be able to unplug the thermostat for this, but on some models of refrigerator, the thermostat’s wires will need to be cut.
- While the refrigerator is cold, touch a multimeter probe to each terminal or wire. If the thermostat has continuity, then it’s not the issue. If it doesn’t have continuity, then the part has failed and needs to be replaced.
- If the thermostat is working, you can reconnect it with a pair of wire nuts or butt connectors. Need help diagnosing your problem? Check out our guide to diagnosing problems with a freezer that’s too warm.
Finding The Right Replacement Part
To ensure you’re getting a thermostat that’s properly calibrated for your fridge, you should opt for a genuine manufacturer-made, or OEM, part. Luckily, finding one is as simple as typing in your refrigerator’s model number on the AppliancePartsPros.com search bar! Once you’ve placed your order, you’ll have the part in just a couple of days.
Need help finding the model number? If you don’t have access to your manual, you can find the number on a label on the refrigerator. Check the following spots:
- On the exterior door or sides of the appliance
- Inside the door or on the door frame
- On the interior ceiling of the freezer or refrigerator compartment
- On the inside wall of either compartment
- On the fridge floor, beneath the crisper drawers
- Behind the kickplate at the bottom of the appliance
How To Replace A Defrost Thermostat
For our tutorial video, we completed this repair on a Whirlpool side-by-side refrigerator. Regardless of your refrigerator’s brand or style, the defrost thermostat is going to be found clipped to the evaporator coils behind the back panel of your refrigerator’s freezer compartment. While the steps to get behind that panel may be different from what we’ve laid out here, replacing the thermostat itself is the same, so you may find this guide helpful even if you don’t have the same brand or model of refrigerator.
That said, don’t forget to check out our YouTube channel. We have tons of video guides for a variety of refrigerator brands and models. If something in this guide isn’t lining up with your refrigerator, you may still be able to find assistance through one of our other videos!
Tools for the job
While you may not need all of these tools depending on your refrigerator’s style, it’ll still be handy to have the following tools ready before you start:
- Phillips & flathead screwdrivers
- Wire cutter or crimper
- Wire nuts or butt connectors; we used butt connectors in our tutorial video
- Work gloves
Before you begin…
For safety, be sure to disconnect your appliance from power either at the wall outlet or circuit breaker. Never do maintenance on an appliance that is receiving power! For this job, you may also want to temporarily shut off the water supply to the refrigerator, but it isn’t necessary.
The defrost thermostat is installed behind the back panel of your refrigerator’s freezer compartment. To remove that panel and reach the component, there’s some prep you’ll need to do:
- Move any frozen food you have in the freezer to the refrigerator’s fresh food compartment or a cooler.
- Remove the ice bucket. You may need to press a release tab to get it out, but it should come away by hand.
- Remove any bins and shelves. Shelves can usually be removed by lifting up before pulling them out. Bins are the opposite: pull them all the way out and then lift up to free them from their rails.
- Remove the bin rails on the freezer walls. They can be removed with a Phillips screwdriver. The rails are likely different sizes, so keep track of which side you removed each rail from so that you’ll install them on the correct side when you reassemble.
- Remove the shelf mounting clips. How you remove these will depend on your refrigerator model. Try pressing up on them from the bottom, but if they don’t slide up and release that way, don’t force it. You could break them. Instead, consult your manual.
- On some refrigerators you can’t take these clips out. That’s okay! You’ll just need to turn the panel and navigate it out of the freezer around them when you remove it.
Replacing a defrost thermostat
- Remove the screws holding the back panel in place. In our Whirlpool refrigerator, there were six Phillips screws total to remove.
- Remove the light cover toward the top of the freezer, under the ice maker. If your refrigerator has this, it can be removed by squeezing it and releasing the locking tabs holding it in place.
- Remove the back panel to gain access to the evaporator. Lift it up from the bottom. There are a couple of tabs near the top that you’ll need to free the panel from. Once the panel is free of the top tabs, tilt it out slightly from the bottom. The top of the panel will still likely be seated behind the ice maker, just pull down slightly to free it. Once the panel is free of all tabs, it can be removed. You may have to rotate it out if you weren’t able to remove the shelf tabs or bin rains.
- Locate the defrost thermostat. It is usually clipped onto the evaporator, on the top or one of the sides.
- Carefully remove the defrost thermostat from the evaporator. Any damage to the evaporator coils won’t just be expensive to fix – it could potentially be dangerous.
- Using a wire crimper or wire cutters, cut the defrost thermostat’s wires to remove it.
- Strip the ends of the wires still attached to the refrigerator. You’ll be connecting the new defrost thermostat to these.
- To prep the new defrost thermostat, strip the ends of its wires.
- Connect the new defrost thermostat to the refrigerator. You can use either wire nuts or butt connectors. When using wire nuts, simply twist the wires together and cap each new connection with the nut. For the butt connector: Start by putting one butt connector on one of the defrost thermostat’s wires and crimping it down. Now crimp the other butt connector down on the other wire. Attach each connector to the corresponding wire in the refrigerator and crimp them down.
- Reattach the new defrost thermostat onto the evaporator coil in the same place the old one was clipped. Then push the wires up and out of the way.
- Reinstall the back panel. You may need to press it or bend it slightly to get it seated properly. Use a flathead screwdriver to seat it beneath the ice maker properly. Make sure that it is resting on all tabs before reinstalling any mounting hardware.
- Reinstall the light cover. It just snaps back into place.
- Reinstall the rails, wall clips, bins and shelving. Make sure you put the rails on the correct sides. For the wall clips, the cups go in the back of the freezer and the pegs in the front.
- Reinstall the ice bin. It should just slide back into place.
- Plug the refrigerator back in and turn the water supply on if you shut it off. You’re almost done! Since you did all that work with the door open, the freezer compartment has likely warmed up, so the fridge should kick on and start cooling immediately. Put your frozen food away, but keep an eye on things. Make sure that the temperatures in the refrigerator aren’t climbing too high or dropping too low, and listen for the evaporator to make sure it’s running and stopping properly.
Wrapping Up
The hardest part of this job is taking all that food out and then putting it back in at the end. If getting your fridge’s defrost cycle back in working order is this easy, imagine what else you can maintain in your home! Looking for more to do? Check out AppliancePartsPros.com. We’ve got great tips, pro tutorials, and genuine replacement parts to help you fix and maintain your appliances yourself.
If you need any replacement parts for your appliances, you can enter your model number at AppliancePartsPros.com to locate and order them quickly. Most orders arrive in just two business days, and we have tons of great information in our repair help section and YouTube videos to help you troubleshoot.
Stay connected with the latest DIY tips, tutorial videos, and repair guides by following us on Facebook, Instagram, and Twitter. We love hearing about your repair stories and successes. If you need more help or want personalized guidance, feel free to contact or call us at 877-477-7278. We’re ready to help you take on your next project with confidence!
Since 1999, AppliancePartsPros.com has helped millions of people repair their broken appliances by providing high-quality original parts at well below retail prices, free support and troubleshooting, and award-winning customer service from an expert, friendly, US-based customer support team!
Hi! I’m Matt H., and I’m thrilled to be your guide through the world of appliance repair with over 25 years of invaluable experience in the industry.
From the early days of my career, I have been deeply passionate about appliances and their inner workings. Over the years, I’ve seen it all – from vintage models to the latest cutting-edge technology – and I’ve dedicated myself to mastering the art of repair. With a toolbox in one hand and a wealth of knowledge in the other, I’ve tackled every challenge that has come my way, learning and growing with each repair.
Join me as we dive into the intricacies of appliance repair. From step-by-step repair guides to explanations of common problems and their solutions, I’ll be here to simplify the repair process and empower you with the knowledge you need to keep your appliances running smoothly.
Feel free to explore our blog, ask questions, and leave comments – this platform is a space for learning, sharing, and growing together. Let’s work together to ensure that your appliances continue to serve you for years to come.
Thank you for joining me on this journey, and I look forward to being your go-to resource for all things related to appliance repair!


