How to replace a Whirlpool washer tub to pump hose
Steven E / Monday April 21, 2025
Is your Whirlpool washer leaving puddles instead of spinning smoothly? A damaged tub to pump hose might be the culprit, disrupting your laundry day with leaks and inefficient drainage. Luckily, with our step-by-step guide and a handy how-to video below, you’ll be back to clean clothes in no time!
Looking for the right part? Enter your appliance model number below to find the exact match and get your appliance running like new again!
On a Whirlpool washer, the tub to pump hose is responsible for transferring water from the tub to the pump, allowing your washer to effectively drain water during the wash and spin cycles.

Common signs that indicate the need for replacement include leaks, water not draining properly, or visible damage such as cracks or holes in the hose.
You can find a replacement tub to pump hose here. If you need other replacement parts for your Whirlpool washer, just enter your model number at AppliancePartsPros.com to find them. It’s that easy! Most orders arrive in just two business days, and we have thousands of guides to show you how to install your new parts.
Watch here: How To: Whirlpool/KitchenAid/Maytag Tub to Pump Hose WP22003285
The information in this article may not apply to your specific appliance model. We recommend consulting your manufacturer’s documentation or contact us with any questions.
Tools and materials
- Replacement part (make sure it’s compatible with your model before installing)
- Tape
- Putty knife
- 5/16″ nut driver
- Towel
- Pliers
- Flathead screwdriver
The specific tools required may vary depending on the model of your appliance and the type of fasteners used on it.
Safety precautions
When working on any appliance, remember to keep safety first. Here are some tips to keep in mind:
- Always power off and unplug your appliance or switch off the circuit breaker before attempting any maintenance or replacement work. This keeps you safe by preventing any risk of injury from electric shock.
- Turn off the water supply at the outlet before beginning repairs to any appliance parts that hold water. Have towels ready for any residual water in the system when removing parts.
- Wear insulated work gloves to protect your hands from sharp metal parts, pinching hazards and debris.
- Don’t test wiring with a multimeter for live voltage if you’re unfamiliar with how to prevent short circuiting when testing.
- When working with wires, avoid touching any exposed wires or terminals. If you need to touch a wire, use a non-conductive tool or wear insulating gloves to prevent electrical shock.
- Take your time and don’t rush while working to prevent accidents and personal injuries.
- Work in a well-lit area so you can clearly see and access the interior parts.
- Clear your workspace of clutter and other obstacles. Keep children and pets away from the work area.
- Never work on internal parts with bare wet hands. Make sure the work area is completely dry.
- Check your user manual to see if there are specific installation or safety instructions for your part or appliance.
- Be gentle when handling or removing parts. Excessive force might damage the appliance or cause injury.
- Wear safety glasses when working with chemicals, dust or cleaning large debris to prevent injury.
- If the appliance has recently been used, give it plenty of time for any heating parts to cool down before working on it.
- Take pictures or make a note of wiring connections before disconnecting to prevent any problems with reassembly.
Replacement steps
Step 1: Disassembly
- Tape the lid down to the cabinet to prevent it from opening during the repair process.
- Lift the top panel of the washer by inserting a putty knife or a similar flat tool into the gap between the top panel and the washer’s cabinet.
- Push down on the locking clip while lifting the top panel slightly.
- Slowly lower the top panel and repeat the previous step on the opposite side.
- This will release the locking clips and allow you to lift the top of the cabinet.
- Lean the top panel against the wall behind the washer or use a strap to secure it to the bottom frame to prevent it from falling completely back.
- Use a 5/16 inch nut driver to remove the two screws that hold the front panel to the cabinet.
- Push the top panel to the side to access the second screw and remove it as well.
- Tilt the front panel towards you at approximately a 45-degree angle and pull it up to remove it from the bottom hinges.
- Place a towel underneath the tub to catch any water that may be in the hose.
- Using pliers, squeeze the top hose clamp on the tub to pump hose and slide it down the hose.
- Squeeze the bottom hose clamp with the pliers and move it up the hose.
- If the hose doesn’t come off easily, use a flat-blade screwdriver to carefully pry it off the connection point.
- Remove the hose from the drain pump side.
- Remove the clamps from the old hose to reuse on the new hose.
Step 2: Reassembly
- Slide both hose clamps onto the new tub to pump hose using pliers.
- Install the new hose on the outer tub port and the drain pump port securely.
- Use pliers to tighten the hose clamps securely.
- Remove the towel from underneath the tub.
- Install the front panel back onto the bottom hinges.
- Match the cutouts on the panel with the hinges, push it down, and then push it forward to secure it in place.
- Secure the front panel to the cabinet using the 5/16 inch screws.
- Push the top panel to the side to access the screw holes, and repeat the procedure on the opposite side.
- Lower the top panel of the washer. Align it with the clips on the cabinet and push it down until it locks into place.
- Remove the tape that was used to secure the lid to the cabinet.
- Plug the washer back in and check that it runs without any problems.
Additional information
Thanks for reading! We hope this guide helped you replace the tub to pump hose on your Whirlpool washer.
If you still need some replacement parts, grab your model number and head over to AppliancePartsPros.com. We offer over two million parts and most orders arrive in two business days. If you need some help with finding the right part or placing an order, you can contact our team at 1 (877) 477-7278.
While you’re waiting for your new part to arrive, you can explore our DIY blog and watch thousands of video tutorials on our YouTube channel.
Be sure to follow us on Facebook, Twitter and Instagram to see our latest repair guides!
 https://www.appliancepartspros.com/b/wp-content/uploads/2025/05/20250508_1240_Laundry-Room-Error_simple_compose_01jtrc5xpnfptvxbpcjq598qf5.png
1024
1536
Steven E
https://www.appliancepartspros.com/b/wp-content/uploads/2020/11/app-logo-std.png
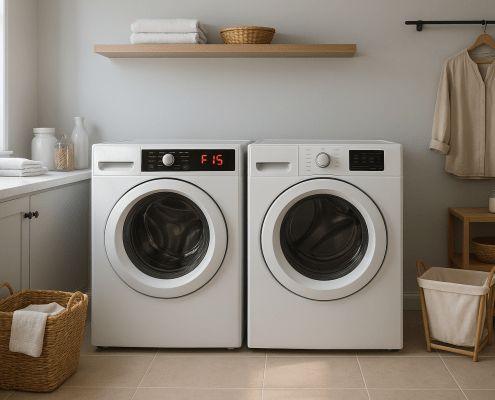
Steven E2025-05-09 06:11:252025-05-09 06:11:34What the F15 Error Code Means on Your Whirlpool Washer
https://www.appliancepartspros.com/b/wp-content/uploads/2025/05/20250508_1240_Laundry-Room-Error_simple_compose_01jtrc5xpnfptvxbpcjq598qf5.png
1024
1536
Steven E
https://www.appliancepartspros.com/b/wp-content/uploads/2020/11/app-logo-std.png
Steven E2025-05-09 06:11:252025-05-09 06:11:34What the F15 Error Code Means on Your Whirlpool Washer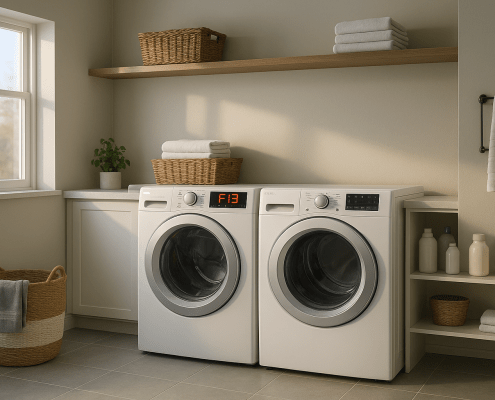 https://www.appliancepartspros.com/b/wp-content/uploads/2025/05/20250508_1159_Error-F13-Laundry-Setup_simple_compose_01jtr9t9w2fa98r2h0qdd7c9js.png
1024
1536
Steven E
https://www.appliancepartspros.com/b/wp-content/uploads/2020/11/app-logo-std.png
Steven E2025-05-08 09:01:382025-05-08 09:01:48How to Troubleshoot Whirlpool Washer Error Code F13
https://www.appliancepartspros.com/b/wp-content/uploads/2025/05/20250508_1159_Error-F13-Laundry-Setup_simple_compose_01jtr9t9w2fa98r2h0qdd7c9js.png
1024
1536
Steven E
https://www.appliancepartspros.com/b/wp-content/uploads/2020/11/app-logo-std.png
Steven E2025-05-08 09:01:382025-05-08 09:01:48How to Troubleshoot Whirlpool Washer Error Code F13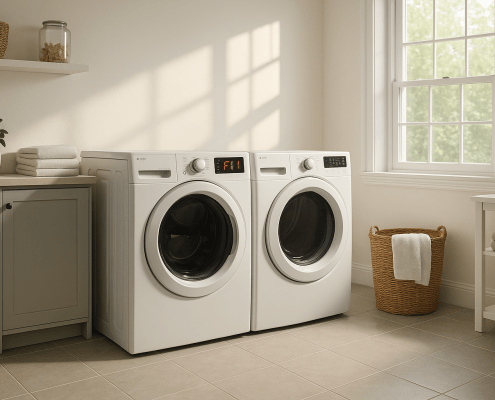 https://www.appliancepartspros.com/b/wp-content/uploads/2025/05/20250508_1149_Washer-Error-F11_simple_compose_01jtr9a4bxff0v43g5fe2fhyt8.png
1024
1536
Steven E
https://www.appliancepartspros.com/b/wp-content/uploads/2020/11/app-logo-std.png
Steven E2025-05-08 08:55:142025-05-08 08:55:24Easy Fixes for Error F11 on a Whirlpool Washing Machine
https://www.appliancepartspros.com/b/wp-content/uploads/2025/05/20250508_1149_Washer-Error-F11_simple_compose_01jtr9a4bxff0v43g5fe2fhyt8.png
1024
1536
Steven E
https://www.appliancepartspros.com/b/wp-content/uploads/2020/11/app-logo-std.png
Steven E2025-05-08 08:55:142025-05-08 08:55:24Easy Fixes for Error F11 on a Whirlpool Washing MachineWith nearly a decade of experience in providing top-notch customer service regarding appliance parts and repair, Steven enjoys sharing practical advice, troubleshooting tips, and interesting information to help readers stay informed.