How to replace acoustic fiber 67003796 on a Whirlpool, Maytag or KitchenAid fridge
Steven E / Wednesday January 24, 2024
Is the back of your fridge suddenly louder? The culprit could be worn acoustic fiber, making your Whirlpool, Maytag, or KitchenAid refrigerator a noisy distraction. Discover how you can easily swap out this part at home—grab your tools and watch the step-by-step video just below!
The acoustic fiber found at the back of your Whirlpool, Maytag or KitchenAid refrigerator reduces vibration and noise from the compressor. Over time it can deteriorate or become damaged. If your fridge has started to sound louder from the back or the acoustic fiber looks damaged, it’s time to replace it.
Replacing this part yourself is a straightforward repair. With some basic tools and steps, you can complete this repair in just a few minutes. Let’s walk through removing the old fiber and installing the new one.

If you need acoustic fiber 67003796, you can order it here. If you need other replacement parts for your fridge, you can enter your model number at AppliancePartsPros.com to find them.
Check part compatibility
Before you replace the acoustic fiber, double-check that you have an OEM part that’s compatible with your specific appliance model. To do this, you’ll need to locate the appliance model number.
The model number is typically found on a sticker or a metal plate in one of the following locations:
- Inside the refrigerator, either on the side wall or the ceiling.
- On the back of the refrigerator, near the bottom.
- On the side or bottom of the refrigerator door.
Once you have located the model number, write it down or take a clear photo of it for reference.
Read more: How To Find Your Appliance’s Model Number
What you need
- Putty knife or flat blade tool
- Alcohol or adhesive residue remover
- Nut drivers, including 1/4-inch one
Read more: How To Clean Refrigerator Coils In 5 Easy Steps & Why To Do It
Safety precautions
- Always power off and unplug your appliance or switch off the circuit breaker before attempting any maintenance or replacement work. This keeps you safe by preventing any risk of injury from electric shock.
- Take your time and don’t rush while working to prevent accidents and personal injuries.
- Work in a well-lit area so you can clearly see and access the interior parts.
- Clear your workspace of clutter and other obstacles. Keep children and pets away from the work area.
- Never work on internal parts with bare wet hands. Make sure the work area is completely dry.
- Check your user manual to see if there are specific installation or safety instructions for your part or appliance.
- Be gentle when handling or removing parts. Excessive force might damage the appliance or cause injury.
- Wear insulated work gloves to protect your hands from sharp metal parts, pinching hazards and debris.
- Wear safety glasses when working with chemicals, dust or cleaning large debris to prevent injury.
Read more: Cool Savings: 6 Fridge Energy Saving Tips

Replacement steps
Step 1 – Remove the old acoustic fiber
- Use the 1/4-inch nut driver to remove the screws that hold the access panel in place at the back of the refrigerator.
- Find the power cord, which is held in place by a small plastic fitting. Carefully lift the power cord out of the plastic fitting.
- With the power cord out of the way, remove the access panel from the refrigerator.
- Inspect the area and use a putty knife to clean off any residue or adhesive from the previous acoustic fiber.
- Wipe down the area with alcohol or a gentle cleaning solution to make sure that no residue remains.
Step 2 – Install the new fiber
- Prepare the new acoustic fiber for installation by peeling off the backing from the sticky part.
- Center the new acoustic fiber and stick it onto the cleaned area.
- Once the new acoustic fiber is in place, reattach the access panel to the refrigerator.
- Lift up the cord and align it with the cutout designed for it on the panel.
- There’s a small slot on the panel that surrounds the power cord; make sure to align it properly.
- Press down on the panel to secure it in place.
- Use the nut driver to loosely install the screws. Make sure to correctly align all the screw holes.
- Once all the screws are in place, tighten them securely. Be careful to not overtighten them.
- Plug the refrigerator back into the power source.
Read more: Top 5 Tips for Troubleshooting Appliance Problems
Fridge maintenance tips
- Deep-clean your fridge by checking the expiration dates of any perishable items at least once a month. Dispose of them if they are past their expiration date.
- Check the seals and gaskets around the refrigerator doors for any signs of wear or damage. If you notice any gaps or tears, replace them.
- Check the temperature setting and adjust it if needed. The ideal temperature range for a refrigerator is 37-40°F. The freezer should be set at 0°F.
- If your refrigerator has an ice maker and water dispenser, replace the water filter every six months to a year depending on how much you use it.
- Remove food items and clean the interior surfaces of the refrigerator, including shelves, drawers, and door bins. Use a mixture of mild soap and warm water, and dry the surfaces before returning items to their places. Sanitize the handles, dispenser control pad and drip tray.
- Clean the condenser coils at the back or bottom of the refrigerator at least once every six months to improve airflow and reduce the risk of overheating. Use a soft brush or a vacuum cleaner with a narrow nozzle to gently remove dust and debris.
Additional information
Thanks for reading! We hope this article helped you replace the acoustic fiber on your Whirlpool, Maytag or KitchenAid refrigerator.
If you still need some replacement parts, grab your model number and head over to AppliancePartsPros.com. We offer over two million parts and most orders arrive in two business days. If you need some help with finding the right part or placing an order, you can contact our team at 1 (877) 477-7278. We can also help you troubleshoot common fridge problems here.
While you’re waiting for your new part to arrive, you can explore our DIY blog and watch thousands of video tutorials on our YouTube channel.
Be sure to follow us on Facebook, Twitter and Instagram to see our latest repair guides!
 https://www.appliancepartspros.com/b/wp-content/uploads/2025/06/20250618_1057_Refrigerator-Control-Panel_simple_compose_01jy1rkhd5fzgb4n1cr7rbcgkp.png
1024
1536
Steven E
https://www.appliancepartspros.com/b/wp-content/uploads/2020/11/app-logo-std.png
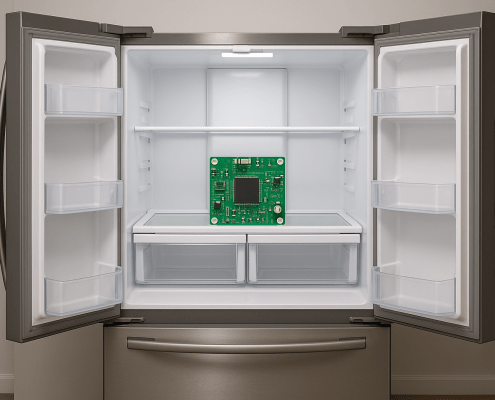
Steven E2025-06-19 05:43:592025-08-20 09:58:31How to Replace GE Fridge Main Control Board WR55X10942C
https://www.appliancepartspros.com/b/wp-content/uploads/2025/06/20250618_1057_Refrigerator-Control-Panel_simple_compose_01jy1rkhd5fzgb4n1cr7rbcgkp.png
1024
1536
Steven E
https://www.appliancepartspros.com/b/wp-content/uploads/2020/11/app-logo-std.png
Steven E2025-06-19 05:43:592025-08-20 09:58:31How to Replace GE Fridge Main Control Board WR55X10942C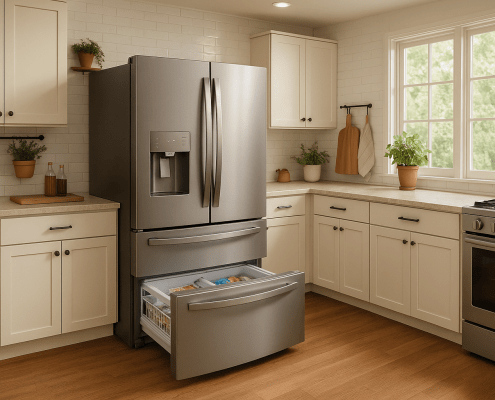 https://www.appliancepartspros.com/b/wp-content/uploads/2025/06/20250602_1036_Modern-Kitchen-Fridge_simple_compose_01jwrh1dh6efb8dyks4ttypqpp.png
1024
1536
Steven E
https://www.appliancepartspros.com/b/wp-content/uploads/2020/11/app-logo-std.png
Steven E2025-06-19 05:34:432025-08-20 09:39:43Guide to Replace Freezer Rail 241514601 on a Frigidaire Fridge
https://www.appliancepartspros.com/b/wp-content/uploads/2025/06/20250602_1036_Modern-Kitchen-Fridge_simple_compose_01jwrh1dh6efb8dyks4ttypqpp.png
1024
1536
Steven E
https://www.appliancepartspros.com/b/wp-content/uploads/2020/11/app-logo-std.png
Steven E2025-06-19 05:34:432025-08-20 09:39:43Guide to Replace Freezer Rail 241514601 on a Frigidaire Fridge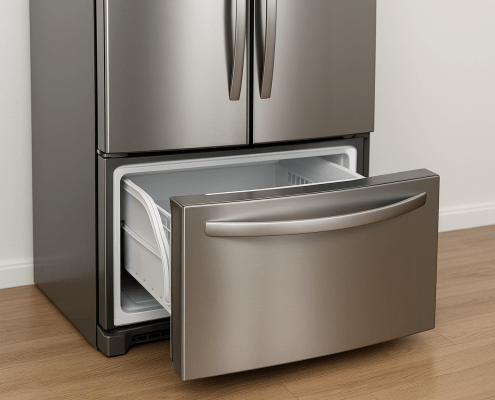 https://www.appliancepartspros.com/b/wp-content/uploads/2025/06/20250617_1528_Refrigerator-Freezer-Open_simple_compose_01jxznrehvfn38yba21fgqxcnd.png
1024
1536
Steven E
https://www.appliancepartspros.com/b/wp-content/uploads/2020/11/app-logo-std.png
Steven E2025-06-19 05:31:482025-08-20 09:32:39How to Replace LG Fridge Freezer Rail Guide AEC73337402
https://www.appliancepartspros.com/b/wp-content/uploads/2025/06/20250617_1528_Refrigerator-Freezer-Open_simple_compose_01jxznrehvfn38yba21fgqxcnd.png
1024
1536
Steven E
https://www.appliancepartspros.com/b/wp-content/uploads/2020/11/app-logo-std.png
Steven E2025-06-19 05:31:482025-08-20 09:32:39How to Replace LG Fridge Freezer Rail Guide AEC73337402With nearly a decade of experience in providing top-notch customer service regarding appliance parts and repair, Steven enjoys sharing practical advice, troubleshooting tips, and interesting information to help readers stay informed.