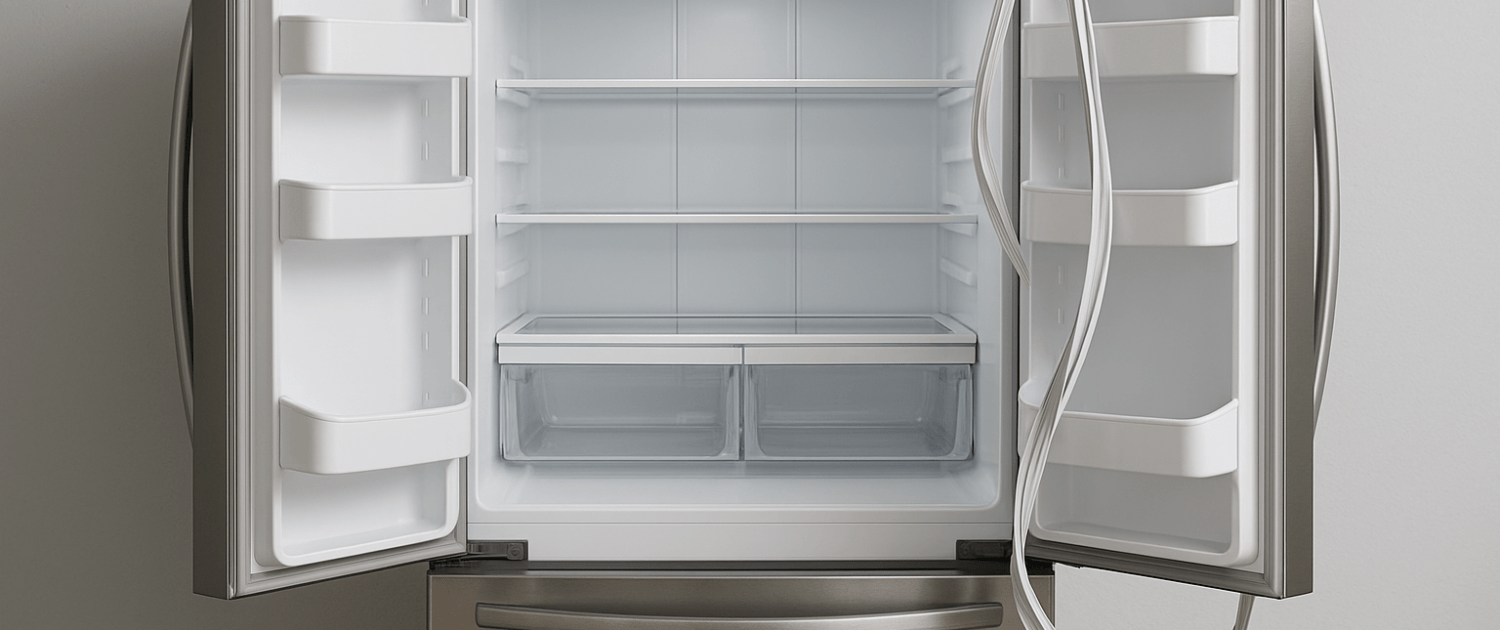
How to Replace Door Gasket W10355582 on a Whirlpool Fridge
Steven E / Friday June 20, 2025
Are you tired of your refrigerator door not sealing properly and seeing pesky condensation pooling around the edges? If so, you’re in the right place! We’ve got the perfect DIY solution to replace your Whirlpool refrigerator door gasket efficiently and effectively. With our step-by-step guide and an easy-to-follow video tutorial just below, you’ll have your fridge running like new in no time.
Looking for the right part? Enter your appliance model number below to find the exact match and get your appliance running like new again!
If your Whirlpool refrigerator door isn’t sealing like it used to or you’re spotting condensation around the edges, the door gasket might be the issue. This rubber seal, part number W10355582, keeps cold air inside and helps your fridge run efficiently. When it gets cracked, warped, or worn out, it can let warm air in and make your fridge work harder than it should. The good news is that replacing the gasket is a quick and simple DIY fix. In this guide, we’ll show you how to remove the old gasket and install a new one to keep things sealed up tight. Let’s get started.
Watch here: How to replace a door gasket on a refrigerator
The information in this article may not apply to your specific appliance model. We recommend consulting your manufacturer’s documentation or contact us with any questions.
Safety first
When working on any appliance, always keep safety first to avoid personal injury or damage to the appliance or parts. Here are some safety tips to keep in mind:
- If the appliance has recently been used, give it plenty of time to cool down before working on it.
- Take your time while working to prevent accidents and personal injuries. Rushing is the enemy of precision.
- Work in a well-lit area so you can clearly see and access appliance parts.
- Keep your workspace free of clutter and other obstacles. Keep children and pets away from the work area.
- Never work on internal parts with wet hands. Make sure the work area is completely dry.
- Check the user manual to see if there are specific installation or safety instructions related to your appliance or replacement part.
- Be gentle when handling or removing parts. Excessive force might damage the appliance or cause personal injury.
- Wear insulated work gloves to protect your hands from sharp metal parts and debris.
- Consider wearing safety glasses and/or a dust mask when working with chemicals, dust or a large amount of debris to prevent irritation or injury.
Tools and materials needed
Before we get our hands dirty, let’s gather the necessary tools and materials:
- Putty Knife
- Heat Gun
- Replacement Door Gasket (Part # W10355582)-Take your model number to AppliancePartsPros.com to locate the correct part.
Additionally, you might want to have a few clean rags or paper towels on hand for wiping down surfaces and a stable work area where you can lay out the new gasket.
Step 1: Remove the old gasket
Always power off and unplug your appliance or switch off the circuit breaker before you attempt any maintenance or replacement work. This keeps you safe by preventing any risk of electric shock.
- Open the refrigerator door to create space for work and inspect the gasket thoroughly from all angles.
- Before moving forward, measure the existing gasket to verify the replacement part’s correct size.
- The gasket is held in place by a strip of expandable foam that was injected during the manufacturing process. To release the gasket, you’ll need to carefully cut through this foam seal using your putty knife.
- Gently insert the putty knife between the gasket and the door frame, then slice along the top, sides, and bottom of the gasket. Take care not to cut too deeply, as you only want to sever the foam seal, not the door frame or interior lining.
- With the foam seal cut, you should be able to pry the old gasket away from the door frame gently. Pull it out slowly and carefully to avoid damaging any surrounding components.
Pro Tip: As you remove the old gasket, pay close attention to how it’s positioned and oriented. This will come in handy when installing the new one.
Step 2: Prepare the door for the new gasket
- Use a damp cloth or sponge to wipe down the door frame and interior lining, removing any dirt, grime, or debris that may have accumulated.
- Chances are, some remnants of the expandable foam seal are still clinging to the door frame. Use your putty knife to scrape away any lingering foam residue, making sure you have a clean and smooth surface for the new gasket.
Step 3: Prep the new gasket
Before installation, you may need to do a bit of preparation work on the new gasket itself:
- Fresh out of the box, the gasket might not be perfectly straight. This can make installation a bit tricky.
- To help straighten the gasket, submerge it in a tub or sink filled with hot water for several minutes. The heat will make the gasket more pliable and easier to manipulate.
- After the hot water bath, carefully remove the gasket and lay it flat on a hard, level surface. Use your hands to gently straighten and flatten it, making sure it has a consistent, parallel shape.
- Allow the straightened gasket to cool and set in its new shape for 20-30 minutes. This will help it retain its straight form during installation.
Step 4: Install the new gasket
- Begin by separating the interior lining from the door frame slightly at the top of the refrigerator. Use your putty knife to create a small gap, just large enough to slide in the gasket.
- Carefully feed the top corner of the gasket into the gap you’ve created, tucking it snugly between the lining and the door frame.
- With the top corner securely in place, continue working your way around the perimeter of the door frame. Use the putty knife to gently pry and tuck the gasket into the gap as you go.
- Take your time and make sure the gasket is seated properly as you progress. Rushing through this step could lead to gaps or kinks in the seal.
- As you approach the starting point, you’ll likely have a section of loose gasket left. Use the putty knife to tuck this final stretch into the gap, completing the installation.
Step 5: Adjust the gasket
- Close the refrigerator door and take a close look at how the gasket is lining up with the cabinet. Ideally, it should be flush against the cabinet surface all the way around.
- If you notice any gaps, waves, or imperfections in the seal, it’s time to break out the heat gun or hairdryer. Set the gun to a temperature of around 650°F (343°C).
- Wave the heat gun back and forth along the problematic areas of the gasket, being careful not to hold it in one spot for too long (to avoid damaging the material). The gentle heat will make the gasket more pliable, allowing you to reshape and mold it for a better fit.
- As you apply heat, use your fingers to press and shape the gasket against the cabinet surface, eliminating any gaps or imperfections. Once you’re satisfied with the fit, allow the gasket to cool and set in its new shape.
- Take your time with this step. A properly sealed gasket is important for maintaining the desired temperature and preventing air leaks.
Step 6: Finish up
After all that hard work, it’s time to put your handiwork to the test:
- Once the gasket has cooled and set, go ahead and plug your refrigerator back in (or flip the circuit breaker back on if you have turned it off).
- Keep an eye on the temperature inside the fridge over the next few hours. The new gasket should help maintain a consistent, cool environment – no more fluctuations or warming issues.
- Don’t forget to open and close the door a few times, making sure the new gasket seals properly and doesn’t interfere with the door’s operation.
More information
Thanks for reading! We hope this guide helped you replace the door gasket in your Whirlpool refrigerator.
If you still need some replacement parts, grab your model number and head over to AppliancePartsPros.com. We offer over two million parts and most orders arrive in two business days. If you need some help with finding the right part or placing an order, you can contact our team at 1 (877) 477-7278.
While you’re waiting for your new part to arrive, you can explore our DIY blog and watch thousands of video tutorials on our YouTube channel.
Be sure to follow us on Facebook, Twitter and Instagram to see our latest repair guides!
With nearly a decade of experience in providing top-notch customer service regarding appliance parts and repair, Steven enjoys sharing practical advice, troubleshooting tips, and interesting information to help readers stay informed.


