How to Replace Frigidaire Fridge Defrost Drain Tube 241697603
Steven E / Monday June 16, 2025
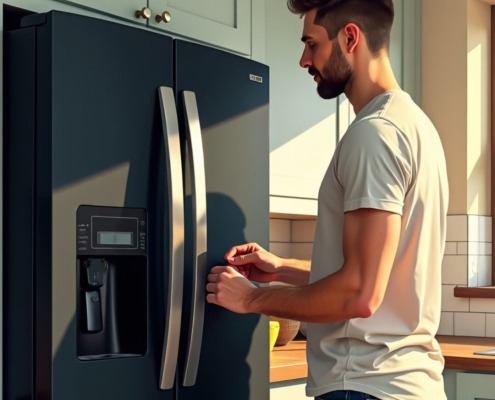
Are mysterious puddles appearing under your Frigidaire fridge? A blocked defrost drain tube could be the culprit, causing excess water to leak and damage your floor. Dive into our step-by-step guide, complete with an easy-to-follow video tutorial below, and learn how to replace the troublesome drain tube yourself, saving you from further water woes.
Looking for the right part? Enter your appliance model number below to find the exact match and get your appliance running like new again!
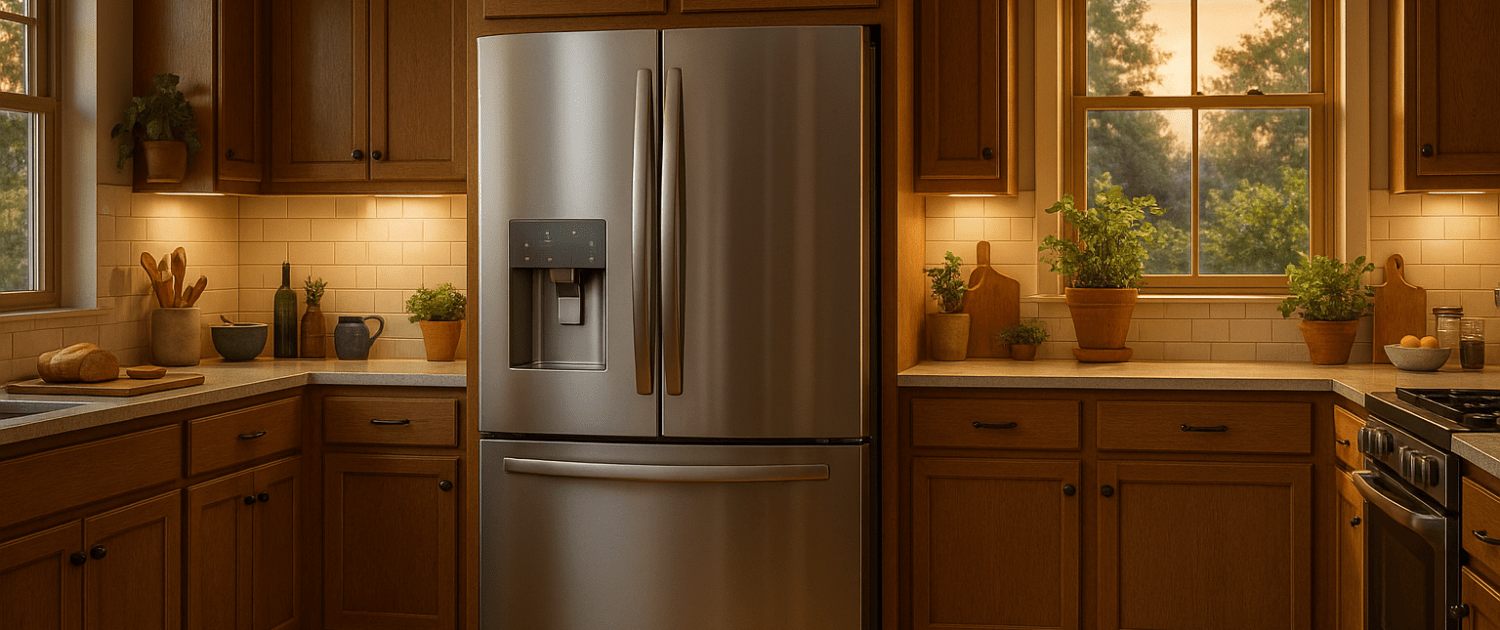
Noticed water pooling at the bottom of your Frigidaire fridge or leaking onto the floor? Chances are the defrost drain tube is clogged or damaged. The 241697603 drain tube is supposed to channel defrost water down to the drain pan, but when it gets blocked, that water has nowhere to go. Thankfully, replacing it is a fairly simple fix that can prevent future leaks and water damage. In this guide, we’ll walk you through how to remove the old drain tube and install a new one the right way. Let’s dry things up and get started!

Watch here: How to replace refrigerator drain tube
The information in this article may not apply to your specific appliance model. We recommend consulting your manufacturer’s documentation or contact us with any questions.
Tools and Materials Needed
- Putty knife
- Phillips screwdriver
- 1/4-inch nut driver
- 5/8-inch wrench
- 1/4-inch socket wrench with extension
- Strap with hooks
- Flashlight
Safety first
Your safety should always be the top priority when performing any appliance repair:
- Always power off and unplug your appliance or switch off the circuit breaker before attempting any maintenance or replacement work. This keeps you safe by preventing any risk of electric shock.
- If the appliance has recently been used, give it plenty of time to cool down before working on it.
- Take your time and don’t rush while working to prevent accidents and personal injuries.
- Work in a well-lit area so you can clearly see and access appliance parts.
- Keep your workspace free of clutter and other obstacles. Keep children and pets away from the work area.
- Be gentle when handling or removing parts. Excessive force might damage the appliance or cause personal injury.
- Wear insulated work gloves to protect your hands from sharp metal parts and debris.
- When working with wires, avoid touching any exposed wires or terminals. If you need to touch a wire, use a non-conductive tool or wear insulating gloves to prevent electrical shock.
Disassembly and Removal Steps
- Open the freezer door.
- Remove the ice bin by sliding it out.
- Turn off the ice maker by lifting the arm up.
- Remove the upper shelves by lifting the left side, pushing inward, and pulling out the right side.
- Remove the rear shelf stoppers by pushing down and sliding them out.
- Remove the bottom shelf and bottom bin in the same manner.
- Use a 1/4-inch nut driver to remove the screws securing the rear freezer panel.
- Carefully lift off the top section of the rear panel and bend it upward, securing it out of the way.
- Carefully tilt the refrigerator forward.
- Place a soft pad or towel between the fridge and the wall to protect the surfaces.
- Place a non-slip stopper behind the unit to prevent it from sliding.
- At the bottom rear of the unit, use a socket wrench to remove the two screws securing the drip pan.
- Slide the drip pan out to access the drain tube.
- Gently lower the refrigerator onto its back or side using towels for protection.
- Open the freezer.
- Remove the left and right drawer rails by unscrewing two 1/4-inch screws on each.
- Use a Phillips and nut driver to remove the screws securing the evaporator assembly.
- Carefully lift and bend the copper line slightly to access the bottom pan area.
- Use a strap with hooks to lift and suspend the evaporator coil.
- Hook into the evaporator frame holes.
- Secure the strap to an overhead bar or freezer rail.
- Pull gently to lift and tie off to keep it in place.
- Use a putty knife to begin loosening the tube from inside.
- Move to the rear of the fridge.
- Remove the rear access panel using a nut driver (4 screws).
- Unscrew and slide out the water valve for clearance.
- Locate the black drain tube near the condenser coil.
- Gently pull and free the tube using your hands or pliers.
- If needed, push from the inside while pulling from the rear.
Installation and Reassembly Steps
- Insert the new drain tube through the opening inside the freezer.
- Feed it downward and ensure it routes properly toward the drip pan.
- Do not force the tube—guide it gently into place.
- Ensure the drain tube reaches the cutout slot in the drip pan.
- Position the right side of the drip pan over the mounting lip.
- Guide the drain tube into its designated cutout.
- Align holes and secure the pan with two 1/4-inch screws.
- Slowly lower the evaporator coil by unwrapping the strap.
- Bend the copper tube back into position carefully.
- Re-secure the evaporator with a Phillips screw at the top and a 1/4-inch screw at the bottom.
- Attach the left and right rails using two screws each.
- Reinstall the bottom bin and shelf.
- Reinstall the middle and upper shelves in reverse order.
- Insert all stoppers back in place.
- Reinstall the shelf trim (groove aligns with wire rail).
- Lower the ice maker arm to turn it back on.
- Slide the ice bin back onto the rails.
- Slide the water valve back into place.
- Align holes and secure it with two 1/4-inch screws.
- Replace the rear access panel and secure it with four screws.
- Plug the refrigerator back in.
- Turn the water supply back on.
- Check for leaks around the new drain tube and water connections.
- Close the freezer door and observe normal operation.
More information
Thanks for reading! We hope this guide helped you replace the drain tube in your Frigidaire refrigerator.
If you still need some replacement parts, grab your model number and head over to AppliancePartsPros.com. We offer over two million parts and most orders arrive in two business days. If you need some help with finding the right part or placing an order, you can contact our team at 1 (877) 477-7278.
While you’re waiting for your new part to arrive, you can explore our DIY blog and watch thousands of video tutorials on our YouTube channel.
Be sure to follow us on Facebook, Twitter and Instagram to see our latest repair guides!
 https://www.appliancepartspros.com/b/wp-content/uploads/2025/03/APP-blog-square-2024-09-16T153228.297.jpg
1080
1080
Steven E
https://www.appliancepartspros.com/b/wp-content/uploads/2020/11/app-logo-std.png
Steven E2025-03-12 10:18:332025-08-06 12:57:29How to replace a Samsung refrigerator temperature sensor
https://www.appliancepartspros.com/b/wp-content/uploads/2025/03/APP-blog-square-2024-09-16T153228.297.jpg
1080
1080
Steven E
https://www.appliancepartspros.com/b/wp-content/uploads/2020/11/app-logo-std.png
Steven E2025-03-12 10:18:332025-08-06 12:57:29How to replace a Samsung refrigerator temperature sensor https://www.appliancepartspros.com/b/wp-content/uploads/2024/10/APP-blog-square-2024-09-16T153403.696.jpg
1080
1080
Steven E
https://www.appliancepartspros.com/b/wp-content/uploads/2020/11/app-logo-std.png
Steven E2025-03-12 07:24:582025-08-06 11:52:33How to replace a Frigidaire refrigerator ice maker fill tube
https://www.appliancepartspros.com/b/wp-content/uploads/2024/10/APP-blog-square-2024-09-16T153403.696.jpg
1080
1080
Steven E
https://www.appliancepartspros.com/b/wp-content/uploads/2020/11/app-logo-std.png
Steven E2025-03-12 07:24:582025-08-06 11:52:33How to replace a Frigidaire refrigerator ice maker fill tube https://www.appliancepartspros.com/b/wp-content/uploads/2024/10/APP-blog-square-19-1.jpg
1080
1080
Steven E
https://www.appliancepartspros.com/b/wp-content/uploads/2020/11/app-logo-std.png
Steven E2025-03-07 07:50:492025-03-07 07:50:58Troubleshooting GE refrigerator error code F3
https://www.appliancepartspros.com/b/wp-content/uploads/2024/10/APP-blog-square-19-1.jpg
1080
1080
Steven E
https://www.appliancepartspros.com/b/wp-content/uploads/2020/11/app-logo-std.png
Steven E2025-03-07 07:50:492025-03-07 07:50:58Troubleshooting GE refrigerator error code F3With nearly a decade of experience in providing top-notch customer service regarding appliance parts and repair, Steven enjoys sharing practical advice, troubleshooting tips, and interesting information to help readers stay informed.