How to Replace GE Fridge Main Control Board WR55X10942C
Steven E / Thursday June 19, 2025
Struggling with a GE refrigerator that’s on the fritz? Whether it’s failing to cool, running non-stop, or flashing confusing error codes, the main control board might be at fault. The great news is that you can fix it yourself! Scroll down to watch our simple how-to video and learn how to replace the control board and breathe new life into your fridge.
Looking for the right part? Enter your appliance model number below to find the exact match and get your appliance running like new again!
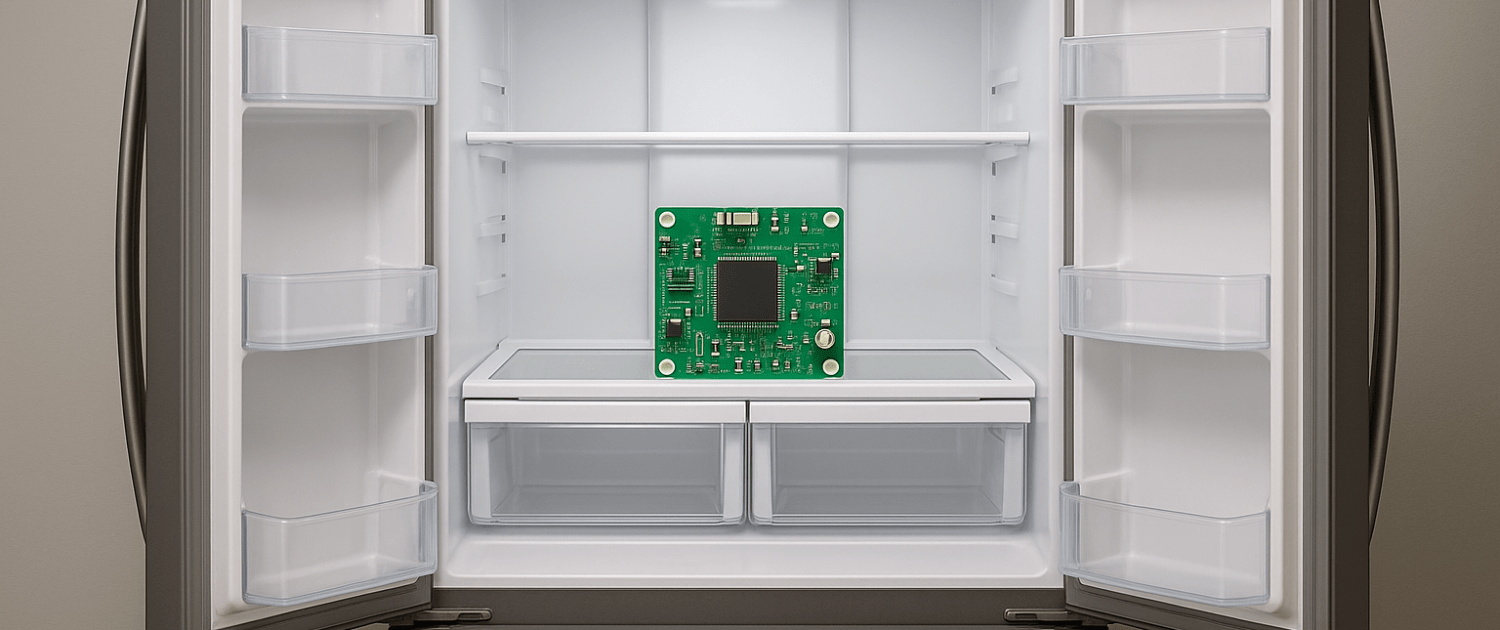
If your GE refrigerator is acting up, maybe it’s not cooling properly, running constantly, or showing error codes, the main control board could be the culprit. This part, WR55X10942C, serves as the brain of your fridge, managing everything from temperature regulation to defrost cycles. When it malfunctions, all kinds of strange behaviors can pop up. The good news is that replacing the control board is a doable repair for most DIYers. In this guide, we’ll show you how to safely remove the old board and install the new one to get your fridge back on track. Let’s get started.

Watch here: How to replace the main control board on a refrigerator
The information in this article may not apply to your specific appliance model. We recommend consulting your manufacturer’s documentation or contact us with any questions.
When should you replace the main control board?
The main control board is the brains of the refrigerator and controls all of the major functions and parts like the compressor, fan, defrost cycle, icemaker, and temperature settings.
Here are some signs that typically indicate there is an issue with the control board and it likely needs to be replaced:
- The refrigerator does not turn on at all
- Fridge or freezer interior is too warm or too cold
- The refrigerator runs constantly or for very long cycles
- Problems with the automatic defrost function lead to frost build-up
- The icemaker stops making ice unexpectedly
If your refrigerator is exhibiting any of those common symptoms, replacing the main control board will likely resolve the problem. Check the user manual for your specific model number to confirm the control board is failing before ordering a replacement part.
Safety first
When working on any appliance, remember to keep safety first. Here are some tips to keep in mind:
- Unplug the refrigerator or turn off the circuit breaker to avoid the risk of electric shock.
- Make sure you have good lighting and enough space to work behind the fridge.
- Take your time while working to prevent accidents and personal injuries. Rushing is the enemy of precision.
- Keep your workspace free of clutter and other obstacles. Keep children and pets away from the work area.
- Be gentle when handling or removing parts. Excessive force might damage the appliance or cause personal injury.
- Wear insulated work gloves to protect your hands from sharp metal parts and debris.
- When working with wires, avoid touching any exposed wires or terminals. If you need to touch a wire, use a non-conductive tool or wear insulating gloves to prevent electrical shock.
Tools and materials needed
Before we dig into the repair process itself, let’s go over the tools and supplies you’ll need to successfully replace the main control board in a GE refrigerator.
- 1/4-inch nut driver
- Flatblade screwdriver
- Needle nose pliers
- Camera phone (optional but recommended)
- GE main control board part number WR55X10942C– Take your model number to AppliancePartsPros.com to locate the correct part for your unit.
- Headlamp or flashlight
Replacement Steps
Step 1: Access the Control Board
- Pull the refrigerator away from the wall to access the back.
- Locate the rear panel near the bottom—this covers the control board.
- Use a 1/4-inch nut driver to remove the two bolts holding the panel in place.
- Set the panel aside—you’ll now see the main control board.
Step 2: Document the Wiring
Before disconnecting anything:
- Take a picture of all the wiring harnesses connected to the control board.
- This will help you reconnect everything later without confusion.
Step 3: Disconnect the Wiring
- Use your flat-blade screwdriver to release the ground wire from its connector.
- Next, disconnect the two wiring harnesses at the bottom of the board.
- Then, remove the four harnesses at the top.
- Set the wires aside gently so they don’t get tangled.
Step 4: Remove the Old Control Board
- Use needle-nose pliers to press in the plastic locking tab that holds the board in place.
- Once released, carefully pull the control board out from its mounting position.
Step 5: Install the New Control Board
- If your new board came with an updated ground strap, it should be connected directly to the metal cabinet of the fridge.
- If your wire doesn’t reach the new location, you can flip or reroute the wiring harness so it does.
- Position the left side of the new board into the mounting slot.
- Tilt it back until the retaining tab clicks into place.
- Reconnect the wiring harnesses using your earlier photo as a guide.
Step 6: Reassemble the Back Panel
- Position the left mounting bolt to go through the back panel, the new ground strap, and into the cabinet frame.
- Use your nut driver to thread and tighten it down.
- Repeat with the right-side bolt, this one just goes through the panel into the cabinet.
- Double-check that the ground strap is securely mounted under the left screw.
Step 7: Power On and Test
- Plug the refrigerator back in or restore power at the breaker.
- Listen for the fridge to start running and check the display panel or interior lights.
- Allow a few hours for cooling to stabilize and check that the ice maker and temperatures are working properly.
More information
Thanks for reading! We hope this guide helped you replace the main control board in your GE refrigerator.
If you still need some replacement parts, grab your model number and head over to AppliancePartsPros.com. We offer over two million parts and most orders arrive in two business days. If you need some help with finding the right part or placing an order, you can contact our team at 1 (877) 477-7278.
While you’re waiting for your new part to arrive, you can explore our DIY blog and watch thousands of video tutorials on our YouTube channel.
Be sure to follow us on Facebook, Twitter and Instagram to see our latest repair guides!
 https://www.appliancepartspros.com/b/wp-content/uploads/2024/10/APP-blog-square-12-1.jpg
1080
1080
Steven E
https://www.appliancepartspros.com/b/wp-content/uploads/2020/11/app-logo-std.png
Steven E2025-03-06 11:55:442025-03-06 11:55:54Troubleshooting GE refrigerator error code F112
https://www.appliancepartspros.com/b/wp-content/uploads/2024/10/APP-blog-square-12-1.jpg
1080
1080
Steven E
https://www.appliancepartspros.com/b/wp-content/uploads/2020/11/app-logo-std.png
Steven E2025-03-06 11:55:442025-03-06 11:55:54Troubleshooting GE refrigerator error code F112 https://www.appliancepartspros.com/b/wp-content/uploads/2024/10/APP-blog-square-21.jpg
1080
1080
Steven E
https://www.appliancepartspros.com/b/wp-content/uploads/2020/11/app-logo-std.png
Steven E2025-03-06 11:14:592025-03-06 11:15:09Troubleshooting GE refrigerator error code F202
https://www.appliancepartspros.com/b/wp-content/uploads/2024/10/APP-blog-square-21.jpg
1080
1080
Steven E
https://www.appliancepartspros.com/b/wp-content/uploads/2020/11/app-logo-std.png
Steven E2025-03-06 11:14:592025-03-06 11:15:09Troubleshooting GE refrigerator error code F202 https://www.appliancepartspros.com/b/wp-content/uploads/2024/10/APP-blog-square-19.jpg
1080
1080
Steven E
https://www.appliancepartspros.com/b/wp-content/uploads/2020/11/app-logo-std.png
Steven E2025-03-06 11:11:062025-03-06 11:11:15Troubleshooting GE refrigerator error code F507
https://www.appliancepartspros.com/b/wp-content/uploads/2024/10/APP-blog-square-19.jpg
1080
1080
Steven E
https://www.appliancepartspros.com/b/wp-content/uploads/2020/11/app-logo-std.png
Steven E2025-03-06 11:11:062025-03-06 11:11:15Troubleshooting GE refrigerator error code F507With nearly a decade of experience in providing top-notch customer service regarding appliance parts and repair, Steven enjoys sharing practical advice, troubleshooting tips, and interesting information to help readers stay informed.