How to replace GE Refrigerator water reservoir WR17X11324
Steven E / Tuesday May 27, 2025
Is your GE refrigerator leaving you high and dry with water supply issues or a pesky leak behind the crisper drawer? Don’t worry; a faulty water reservoir could be the culprit, and we’ve got you covered with a step-by-step guide to replace it yourself. Plus, check out our handy how-to video just below to make the process even easier!
Looking for the right part? Enter your appliance model number below to find the exact match and get your appliance running like new again!

Not getting water from your GE fridge like you used to? Or maybe you’ve spotted a leak behind the crisper drawer? Sounds like your water reservoir, part WR17X11324, might need a replacement. The good news is, replacing it yourself isn’t hard at all. With a few tools and a little patience, you’ll have your fridge back in working order in no time. Let’s walk through how to get it done!

The information in this article may not apply to your specific appliance model. We recommend consulting your manufacturer’s documentation or contact us with any questions.
WATCH: How to install water reservoir
Tools and materials needed
- Wrenches
- Pliers
- Nut drivers
- Water reservoir WR17X11324- Take your model number to AppliancePartsPros.com to locate the correct part for your model.
Safety first
As with any appliance repair job, you’ll want to take a few safety precautions before getting started:
- Turn off the power to the appliance by unplugging it or switching off the circuit breaker before starting any maintenance or repairs. This protects you from the risk of electric shock.
- Wear insulated gloves to shield your hands from sharp edges, pinching hazards, or debris.
- Work at a steady pace and take your time to avoid accidents or injuries.
- Make sure your workspace is well-lit so you can clearly see and access the parts you’re working on.
- Keep the area clear of clutter, and ensure children and pets stay out of the workspace.
- Never handle internal parts with wet hands. Check that both your hands and the work area are completely dry.
- Refer to your appliance’s user manual for any specific instructions or safety guidelines related to the part or repair.
- Handle parts gently to avoid damage to the appliance or potential injuries from applying too much force.
- Use safety glasses when dealing with chemicals, dust, or large debris to protect your eyes from harm.
- If the appliance was recently used, give it enough time to cool down before working on any heated components.
- Take photos or notes of wiring connections and terminals before disconnecting anything to make reassembly easier.
- Avoid touching exposed wires or terminals. If you must handle wires, use non-conductive tools or wear insulated gloves to minimize the risk of electrical shock.
Remove the old water reservoir
- Unplug the refrigerator – This helps make sure the power is off so there is no risk of electrocution while you work.
- Turn off the water supply – Locate the shut-off valve for the refrigerator’s water line and turn it off. This prevents water from spraying out when you disconnect the lines.
- On the back of the refrigerator, use the 5/16-inch nut driver to remove the six screws holding the rear access panel in place. Carefully pull off the panel.
- Behind the panel, you’ll see the water inlet tube that feeds water from the main valve into the reservoir. Place a towel beneath it to catch any drips.
- Use the 5/16-inch nut driver again to detach the water inlet valve where the tubing connects.
- Grab the tube with pliers and gently twist the collar while pulling to detach it from the valve.
- Set the access panel aside and wrap the end of the tubing in the towel to absorb dripping water.
Now that the water line is disconnected, let’s move to the front:
- Open both fridge doors. At the top, firmly pull up on the plastic panel covering the water dispenser and ice maker. The clips will release allowing you to remove it.
- Use the 1/4-inch nut driver to remove the two corner screws holding the bar below the freezer. Take off the bar.
- Beneath the freezer is a gray coupling connecting the two water lines. Carefully pull the lines apart to detach.
- Wrap the end of the dispenser tubing in a towel as well to catch water.
With access cleared, we can now fully remove the old reservoir:
- Close the freezer door to avoid temperature loss. Below the fridge shelves, remove the lower storage drawer by lifting it up and pulling it out.
- The crisper drawer light shield can be taken out by gently releasing the side pins and pulling them down to detach them from the gasket.
- Lift out the clear crisper drawer storage tray.
- Pull the glass refrigerator shelf forward, raise up the back end, and slide it out.
- You should now see the rectangular plastic reservoir mounted to the back wall. Remove the single 1/4 inch screw using the nut driver.
- At the top of the reservoir, release the locking clip.
- Gently pull on both water tubes, working them out of the reservoir fittings.
- Once detached, you can fully remove the old cracked or leaking reservoir.
Install the new GE water reservoir
- Feed the short inlet tube into the opening marked with a dot. This will connect to the water valve.
- Feed the longer dispenser tube into the opening marked with an X.
- Align the reservoir and secure it with the 1/4-inch screw. Lock the clip at the top.
- Route the long dispenser tube through the fridge compartment and feed it through the hole at the back.
- Connect the short inlet valve tube to the water valve port and use the 5/16 inch nut driver to reattach the valve.
- At the front, push the dispenser tube firmly into the plastic coupler to reconnect the lines.
- Position both tubes back into the retaining clips.
- Turn the water supply back on and plug in the refrigerator power cord.
- Dispense some water to check for leaks. If there are no leaks, continue reassembling.
- Place the glass shelf, crisper drawers, and lower storage bin back in place.
- Reattach the light shield, the bar below the freezer, and the top access panel.
- Install the rear access panel, making sure the tabs interlock properly.
- Dispense and discard the first few cups of water to flush out the reservoir before drinking.
More Information
Thanks for reading! We hope this article helped you replace the cold water reservoir in your GE refrigerator.
If you still need some replacement parts, grab your model number and head over to AppliancePartsPros.com. We offer over two million parts and most orders arrive in two business days. If you need some help with finding the right part or placing an order, you can contact our team at 1 (877) 477-7278.
While you’re waiting for your new part to arrive, you can explore our DIY blog and watch thousands of video tutorials on our YouTube channel.
Be sure to follow us on Facebook, Twitter, and Instagram to see our latest repair guides!
 https://www.appliancepartspros.com/b/wp-content/uploads/2021/06/shutterstock_1655474032.jpg
1009
1500
APP Expert
https://www.appliancepartspros.com/b/wp-content/uploads/2020/11/app-logo-std.png
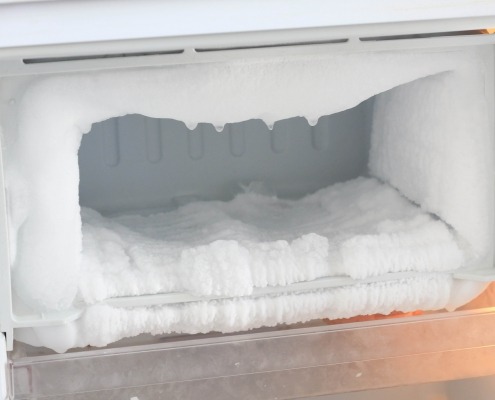
APP Expert2021-06-14 16:31:522025-07-16 07:28:46Refrigerator Not Defrosting: Top 6 Reasons & How to Fix (With Video!)
https://www.appliancepartspros.com/b/wp-content/uploads/2021/06/shutterstock_1655474032.jpg
1009
1500
APP Expert
https://www.appliancepartspros.com/b/wp-content/uploads/2020/11/app-logo-std.png
APP Expert2021-06-14 16:31:522025-07-16 07:28:46Refrigerator Not Defrosting: Top 6 Reasons & How to Fix (With Video!)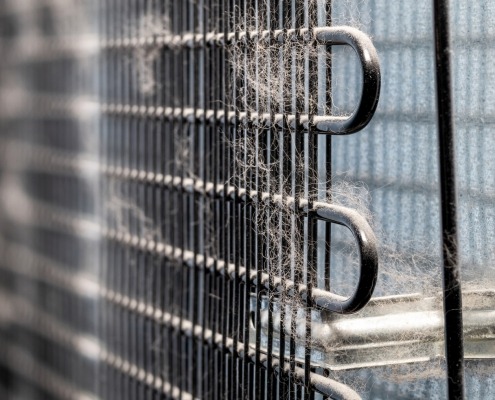 https://www.appliancepartspros.com/b/wp-content/uploads/2021/03/shutterstock_1878792160.jpg
1017
1300
Steven E
https://www.appliancepartspros.com/b/wp-content/uploads/2020/11/app-logo-std.png
Steven E2021-03-17 10:27:362025-07-16 05:30:05How To Clean Refrigerator Coils In 5 Easy Steps & Why To Do It
https://www.appliancepartspros.com/b/wp-content/uploads/2021/03/shutterstock_1878792160.jpg
1017
1300
Steven E
https://www.appliancepartspros.com/b/wp-content/uploads/2020/11/app-logo-std.png
Steven E2021-03-17 10:27:362025-07-16 05:30:05How To Clean Refrigerator Coils In 5 Easy Steps & Why To Do ItWith nearly a decade of experience in providing top-notch customer service regarding appliance parts and repair, Steven enjoys sharing practical advice, troubleshooting tips, and interesting information to help readers stay informed.