How To Replace Samsung Washer Door Switch DC64-00519B
Steven E / Tuesday May 27, 2025
Is your Samsung washer stuck due to a pesky door lock error? Worry no more! Our step-by-step guide, complete with a helpful how-to video, will show you exactly how to replace the faulty door switch assembly and get your laundry routine back on track in no time.
Looking for the right part? Enter your appliance model number below to find the exact match and get your appliance running like new again!
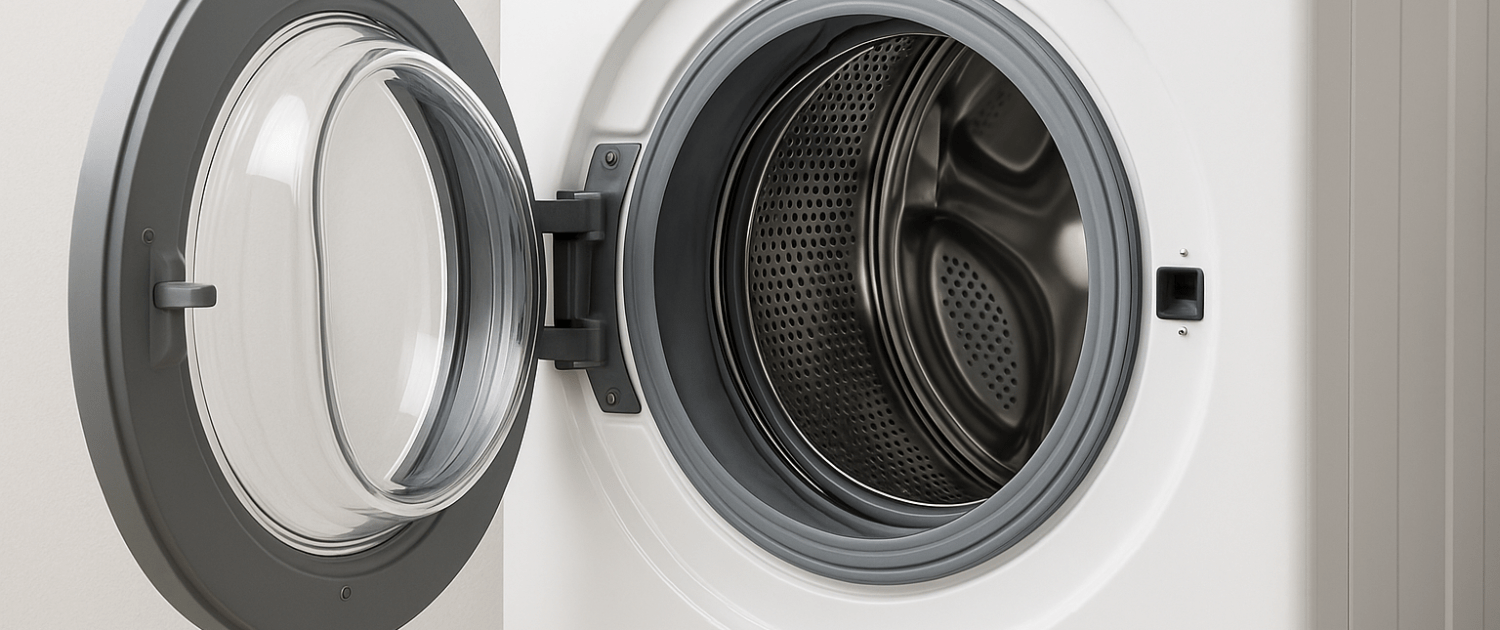
If your Samsung washer isn’t starting or shows a door lock error, the door switch assembly (part #DC64-00519B) may be the issue. This switch ensures the door is securely locked before the washer starts a cycle, when it fails, your machine might refuse to run. Thankfully, replacing this part is simple and requires just a few basic tools. I’ll walk you through exactly how to remove the old door lock and install the new one so your washer gets back to business.

Watch: How to install Samsung door switch
The information in this article may not apply to your specific appliance model. We recommend consulting your manufacturer’s documentation or contact us with any questions.
Gather the Necessary Tools and Parts
Before getting started, make sure you have the right tools for the job:
- Phillips screwdriver
- Flathead screwdriver
- New Samsung door switch assembly (part #DC64-00519B) – Locate your model number to find the correct part for your unit.
- Gloves
Safety precautions
Safety should always be a priority when working on any appliance. Here are a few practical tips to help you stay safe:
- Turn off the power to the appliance by unplugging it or switching off the circuit breaker before starting any maintenance or repairs. This protects you from the risk of electric shock.
- Wear insulated gloves to shield your hands from sharp edges, pinching hazards, or debris.
- Work at a steady pace and take your time to avoid accidents or injuries.
- Make sure your workspace is well-lit so you can clearly see and access the parts you’re working on.
- Keep the area clear of clutter, and ensure children and pets stay out of the workspace.
- Never handle internal parts with wet hands. Check that both your hands and the work area are completely dry.
- Refer to your appliance’s user manual for any specific instructions or safety guidelines related to the part or repair.
- Handle parts gently to avoid damage to the appliance or potential injuries from applying too much force.
- Use safety glasses when dealing with chemicals, dust, or large debris to protect your eyes from harm.
- If the appliance was recently used, give it enough time to cool down before working on any heated components.
- Take photos or notes of wiring connections and terminals before disconnecting anything to make reassembly easier.
- Avoid touching exposed wires or terminals. If you must handle wires, use non-conductive tools or wear insulated gloves to minimize the risk of electrical shock.
Access the Door Switch Assembly
The first step is to open up the washer to access the door switch assembly housing:
- Unplug the washing machine from the power source or turn off the circuit breaker. Safety first!
- Open the washer door fully.
- Locate the door boot seal running along the outer rim of the door opening. This flexible seal attaches the outer door panel to the front panel of the washer.
- Use the flathead screwdriver to gently pry and detach the door boot seal from the front panel lip. Peel it back several inches to expose the interior panel.
- With the seal peeled back, you should now see the plastic housing that contains the door switch assembly mounted to the front panel.
Remove the Old Door Switch
Now that you can access the door switch housing, it’s time to remove the old switch:
- Using the Phillips screwdriver, remove the three screws securing the rectangular switch housing to the front panel. Caution – there may be wires still attached.
- Gently maneuver the housing to release it. Be careful not to tug any attached wires.
- Once detached, lay the housing on a flat surface and inspect the door switch wiring harness connections.
- Use the flathead screwdriver to gently pry and disconnect the wire harness plugs from the faulty door switch.
- Remove the final screw holding the defective door switch in place and take it out. The old switch can now be discarded.
Install the Replacement Door Switch
With the old switch removed, installation of the new Samsung door switch assembly is straightforward:
- First, position the new door switch assembly in place and insert/tighten the screw to secure it.
- Reconnect the wiring harness plugs to the corresponding ports on the replacement door switch. Push firmly until they click into place.
- Place the plastic door switch housing back into position on the washer front panel.
- Reinsert and tighten the three screws with your Phillips screwdriver to remount the housing securely.
- Finally, peel the door boot seal back over the opening and firmly press it back onto the front panel lip around the full perimeter of the door.
Reconnect Power and Test Operation
You’re almost done! Follow these last steps to safely reactivate your Samsung washer:
- Verify that all wires and components are securely in place within the door switch housing.
- Carefully close the washer door and inspect the seal placement. Adjust as needed until the door is completely sealed.
- Reconnect power to the washer and turn it on.
- Run a test cycle and listen/look closely as the cycle starts. The door should lock securely once the cycle begins.
- If the door fails to lock, quickly power the unit down and double check your repair work.
- All good? Congratulations! Enjoy your working Samsung washing machine.
Troubleshooting Tips
Thanks for reading! We hope this article helped you replace the door switch in your Samsung washer.
If you still need some replacement parts, grab your model number and head over to AppliancePartsPros.com. We offer over 2 million parts and most orders arrive in 2-3 business days. If you need some help with finding the right part or placing an order, you can contact our team at 1 (877) 477-7278.
While you’re waiting for your new part to arrive, you can explore our DIY blog and watch thousands of video tutorials on our YouTube channel.
Be sure to follow us on Facebook, Twitter and Instagram to see our latest repair guides!
 https://www.appliancepartspros.com/b/wp-content/uploads/2025/06/20250618_1421_Colonial-Laundry-Room-Scene_simple_compose_01jy2489zkepn95a5gddh78fw4.png
1024
1536
Steven E
https://www.appliancepartspros.com/b/wp-content/uploads/2020/11/app-logo-std.png
Steven E2025-06-20 05:36:112025-06-20 05:36:19LG Front Load Washer Leaking? Find and Fix the Cause Yourself
https://www.appliancepartspros.com/b/wp-content/uploads/2025/06/20250618_1421_Colonial-Laundry-Room-Scene_simple_compose_01jy2489zkepn95a5gddh78fw4.png
1024
1536
Steven E
https://www.appliancepartspros.com/b/wp-content/uploads/2020/11/app-logo-std.png
Steven E2025-06-20 05:36:112025-06-20 05:36:19LG Front Load Washer Leaking? Find and Fix the Cause Yourself https://www.appliancepartspros.com/b/wp-content/uploads/2025/06/20250618_1408_Colonial-Laundry-Room-Scene_simple_compose_01jy23fzmmetraxehbwqa2pq0d.png
1024
1536
Steven E
https://www.appliancepartspros.com/b/wp-content/uploads/2020/11/app-logo-std.png
Steven E2025-06-20 05:29:392025-06-20 05:29:46How To Check And Replace the Drain Hose On An LG Washer
https://www.appliancepartspros.com/b/wp-content/uploads/2025/06/20250618_1408_Colonial-Laundry-Room-Scene_simple_compose_01jy23fzmmetraxehbwqa2pq0d.png
1024
1536
Steven E
https://www.appliancepartspros.com/b/wp-content/uploads/2020/11/app-logo-std.png
Steven E2025-06-20 05:29:392025-06-20 05:29:46How To Check And Replace the Drain Hose On An LG Washer https://www.appliancepartspros.com/b/wp-content/uploads/2025/06/20250522_1111_Industrial-Laundry-Setup_simple_compose_01jvw8n704e4m8p8rzf49ajzwh.png
1024
1536
Steven E
https://www.appliancepartspros.com/b/wp-content/uploads/2020/11/app-logo-std.png
Steven E2025-06-20 05:25:582025-06-20 05:26:30How to Test and Replace the Cold Water Valve on an LG Washer
https://www.appliancepartspros.com/b/wp-content/uploads/2025/06/20250522_1111_Industrial-Laundry-Setup_simple_compose_01jvw8n704e4m8p8rzf49ajzwh.png
1024
1536
Steven E
https://www.appliancepartspros.com/b/wp-content/uploads/2020/11/app-logo-std.png
Steven E2025-06-20 05:25:582025-06-20 05:26:30How to Test and Replace the Cold Water Valve on an LG WasherWith nearly a decade of experience in providing top-notch customer service regarding appliance parts and repair, Steven enjoys sharing practical advice, troubleshooting tips, and interesting information to help readers stay informed.