How to Replace the Door Handle WP3405184 on a Whirlpool Dryer
Steven E / Wednesday June 18, 2025
Tired of wrestling with a busted dryer door handle every time you need to do laundry? You’re not alone. If your Whirlpool dryer’s handle is causing you headaches, we’ve got the perfect DIY solution. Dive into our step-by-step guide below, complete with a how-to video, and learn how you can replace the handle in no time!
Looking for the right part? Enter your appliance model number below to find the exact match and get your appliance running like new again!
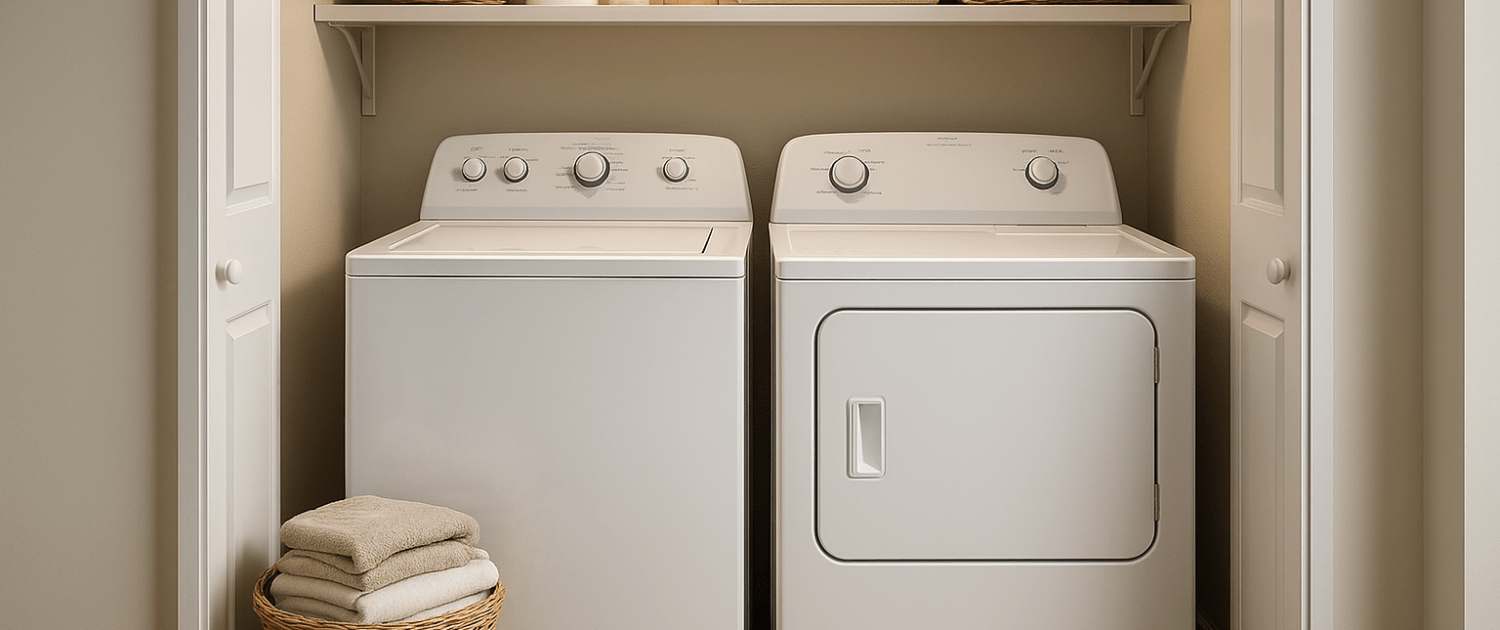
If your Whirlpool dryer door handle is cracked, loose, or completely broken off, it’s probably time for a new one. The handle, part number WP3405184, is what lets you easily open and close the dryer door, and replacing it is a simple fix that doesn’t take much time or effort. In this guide, we’ll show you how to remove the old handle and install the new one so your dryer is back to working like it should. Let’s get started.

Watch here: How to replace a dryer door handle
The information in this article may not apply to your specific appliance model. We recommend consulting your manufacturer’s documentation or contact us with any questions.
Tools and materials needed
Before getting started, make sure you have the following required materials on hand:
- Putty knife
- Door handle part #WP3405184– Take your model number to AppliancePartsPros.com to locate the correct part for your unit.
- Towel
- Hammer
Safety first
Your safety should always be the top priority when performing any appliance repair.
- Always power off and unplug your appliance or switch off the circuit breaker before you attempt any maintenance or replacement work. This keeps you safe by preventing any risk of electric shock.
- If the appliance has recently been used, give it plenty of time to cool down before working on it.
- Take your time while working to prevent accidents and personal injuries. Rushing is the enemy of precision.
- Work in a well-lit area so you can clearly see and access appliance parts.
- Keep your workspace free of clutter and other obstacles. Keep children and pets away from the work area.
- Check the user manual to see if there are specific installation or safety instructions related to your appliance or replacement part.
- Be gentle when handling or removing parts. Excessive force might damage the appliance or cause personal injury.
- Wear insulated work gloves to protect your hands from sharp metal parts and debris.
- Consider wearing safety glasses and/or a dust mask when working with chemicals, dust or a large amount of debris to prevent irritation or injury.
Replacement Steps
- Grab your putty knife and carefully slide it underneath the center of the handle.
- Be gentle here, you don’t want to scratch the dryer’s finish.
- There’s a locking tab in the middle of the handle. Press against it using the putty knife to release the tab.
- While doing that, give the handle a slight flex or twist, just enough to help it pop free.
- Once the center tab is loose, gently pull the handle off the door.
- Don’t yank or pull too hard, especially on older plastic handles, they can crack!
- Grab your new door handle and line it up.
- Slide in one side of the handle first, this is the side without the locking tab.
- Now, you’ll need to get that center tab to lock in. Since you can’t really push it from behind, wrap your putty knife in a towel to avoid damaging the finish.
- Place the padded knife on the front of the handle, right over where the tab should click in.
- Use a hammer to gently tap the knife, just enough to pop the locking tab into place.
- Give the handle a firm tug to make sure it’s securely installed.
- Plug your dryer back in or flip the breaker back on.
- Open and close the door a few times to test the handle, it should feel snug and secure.
Congrats, you just completed a successful DIY repair!
More information
Thanks for reading! We hope this guide helped you replace the door handle in your Whirlpool dryer.
If you still need some replacement parts, grab your model number and head over to AppliancePartsPros.com. We offer over two million parts and most orders arrive in two business days. If you need some help with finding the right part or placing an order, you can contact our team at 1 (877) 477-7278.
While you’re waiting for your new part to arrive, you can explore our DIY blog and watch thousands of video tutorials on our YouTube channel.
Be sure to follow us on Facebook, Twitter and Instagram to see our latest repair guides!
 https://www.appliancepartspros.com/b/wp-content/uploads/2024/06/Copy-of-Copy-of-Copy-of-Copy-of-app-blog-square.jpg
1080
1080
Steven E
https://www.appliancepartspros.com/b/wp-content/uploads/2020/11/app-logo-std.png
Steven E2024-06-04 13:02:092025-07-31 10:59:33How to replace Frigidaire dryer control thermistor 134587700
https://www.appliancepartspros.com/b/wp-content/uploads/2024/06/Copy-of-Copy-of-Copy-of-Copy-of-app-blog-square.jpg
1080
1080
Steven E
https://www.appliancepartspros.com/b/wp-content/uploads/2020/11/app-logo-std.png
Steven E2024-06-04 13:02:092025-07-31 10:59:33How to replace Frigidaire dryer control thermistor 134587700 https://www.appliancepartspros.com/b/wp-content/uploads/2024/05/Copy-of-Copy-of-Copy-of-app-blog-square-1.jpg
1080
1080
Steven E
https://www.appliancepartspros.com/b/wp-content/uploads/2020/11/app-logo-std.png
Steven E2024-05-30 13:56:562025-07-31 08:42:13How to replace LG / Kenmore dryer light bulb 6913EL3001E
https://www.appliancepartspros.com/b/wp-content/uploads/2024/05/Copy-of-Copy-of-Copy-of-app-blog-square-1.jpg
1080
1080
Steven E
https://www.appliancepartspros.com/b/wp-content/uploads/2020/11/app-logo-std.png
Steven E2024-05-30 13:56:562025-07-31 08:42:13How to replace LG / Kenmore dryer light bulb 6913EL3001E https://www.appliancepartspros.com/b/wp-content/uploads/2024/05/Copy-of-app-blog-square-16.jpg
1080
1080
Steven E
https://www.appliancepartspros.com/b/wp-content/uploads/2020/11/app-logo-std.png
Steven E2024-05-24 13:50:062024-05-24 13:50:13F3E2 error on a Maytag dryer: A troubleshooting guide
https://www.appliancepartspros.com/b/wp-content/uploads/2024/05/Copy-of-app-blog-square-16.jpg
1080
1080
Steven E
https://www.appliancepartspros.com/b/wp-content/uploads/2020/11/app-logo-std.png
Steven E2024-05-24 13:50:062024-05-24 13:50:13F3E2 error on a Maytag dryer: A troubleshooting guideWith nearly a decade of experience in providing top-notch customer service regarding appliance parts and repair, Steven enjoys sharing practical advice, troubleshooting tips, and interesting information to help readers stay informed.