How to Replace the Fan Blades in a Bathroom Exhaust Fan
Steven E / Wednesday June 25, 2025
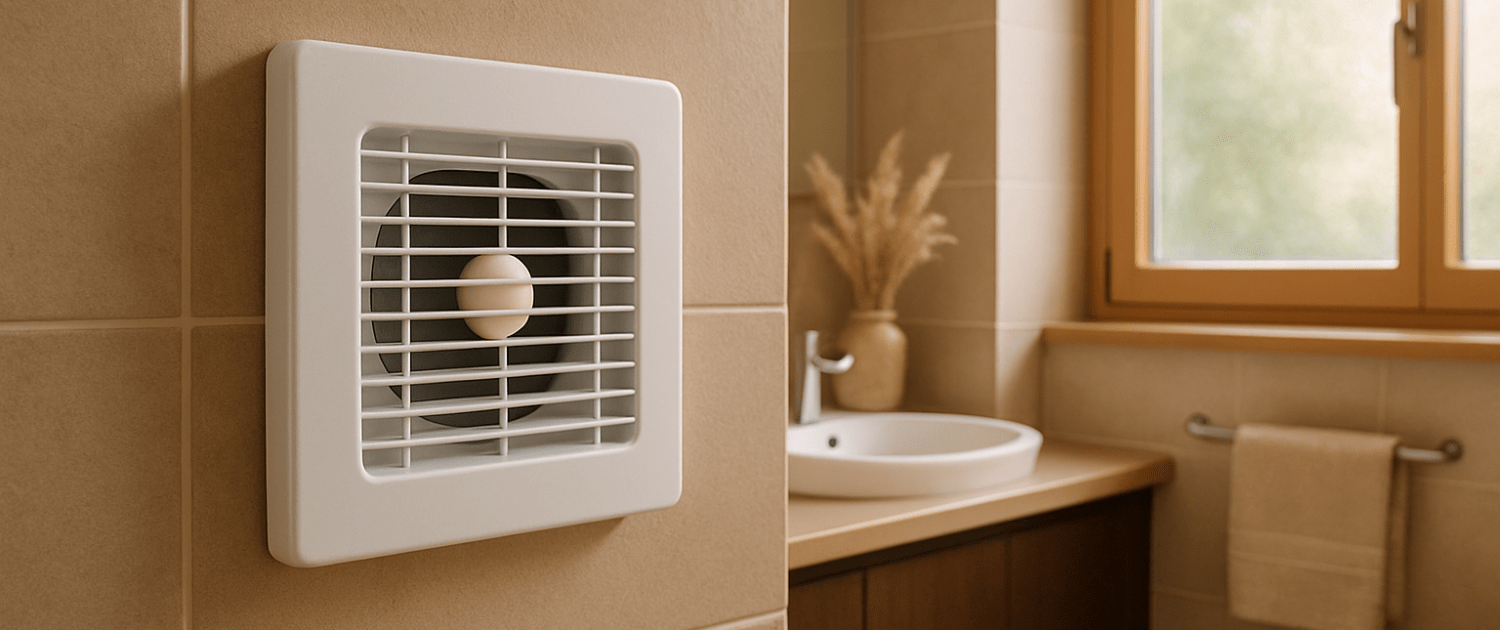
If your bathroom fan is making weird noises, not ventilating as it should, or has stopped spinning altogether, don’t rush to replace the entire unit. Often, the issue comes down to something simple: worn-out or broken fan blades. The good news? Replacing the fan blades yourself is not only budget-friendly but also an achievable weekend project, even for beginners.
This step-by-step guide will walk you through everything you need to know to replace your bathroom fan blades like a pro, from tools and safety tips to the actual blade swap. So, grab your toolbox, and let’s get that bathroom air flowing again.
Why Replace Bathroom Fan Blades?
Before we dive into the how, let’s touch on the why. Fan blades in a bathroom exhaust system are exposed to moisture, dust, and humidity daily. Over time, these factors can lead to:
- Warping or cracking of the blades
- Imbalance causing noise or vibration
- Reduced airflow efficiency
- Motor strain or premature burnout
If you notice strange noises (rattling, scraping), reduced suction, or the fan failing to spin properly, replacing the fan blades could solve your problem without replacing the entire fan assembly.

Tools and Materials You’ll Need
You don’t need a huge toolbox or advanced DIY skills for this repair. Here’s a simple list of what you’ll need:
- Screwdrivers (usually Phillips and flat-head)
- A small socket wrench or nut driver (depending on your model)
- Replacement fan blade (model-specific)
- Flashlight or headlamp
- Vacuum or compressed air (for cleaning)
- Safety goggles
- Step stool or ladder
- Small container for screws
- Shop towel or rag
- WD-40 or light lubricant (in case of stuck parts)
Step 1: Turn Off the Power
Safety first!
Before doing anything, shut off the power to the bathroom fan at the breaker box. Don’t just switch off the fan at the wall, go to the circuit panel and make sure no current is running to the fan. Double-check by flipping the wall switch once power is off.
Step 2: Remove the Fan Cover
Climb up carefully on your step stool and inspect the fan grille or cover. Most covers are either:
- Clipped on – Gently pull down. You may find spring-loaded clips that you can squeeze to release the cover.
- Screwed on – Remove the screws using your screwdriver and set them aside.
Once the cover is off, use a flashlight to get a clear look at the fan blades and housing.
Step 3: Inspect the Fan and Housing
Take this moment to assess the fan assembly. Bathroom fans vary by brand, but most consist of:
- A plastic or metal fan blade (aka impeller)
- A motor shaft the blade connects to
- A mounting plate or housing
Look for signs of damage, cracks, warped blades, debris buildup, or wear around the motor shaft. Also, check if the blade wobbles when you spin it manually (it shouldn’t).
Step 4: Remove the Old Fan Blade
Now for the actual removal. Depending on your fan’s design, the fan blade might be press-fitted onto the motor shaft or secured with a small set screw or nut.
If there’s a screw or nut:
- Use a small socket wrench or screwdriver to loosen it.
- Be careful not to strip the screw head or drop it into the housing.
If it’s press-fit:
- Gently pull the blade straight off.
- Wiggle slightly if needed, but don’t yank too hard.
- If it’s stuck, a little WD-40 around the base and a few minutes of patience should help.
Step 5: Clean the Area (Optional but Smart)
Before installing the new blade, take this opportunity to clean the fan housing and motor. Over time, lint and dust collect and can hinder airflow or cause overheating.
- Use a small vacuum or can of compressed air
- Wipe the motor area gently with a rag
- Avoid getting moisture into the motor
This step helps your new fan blade operate more efficiently and can extend the life of your motor.
Step 6: Install the New Fan Blade
Align the replacement blade with the motor shaft:
- If it’s a press-fit model, push it on firmly but evenly.
- For screw-on blades, line it up and tighten the screw or nut securely (but don’t overtighten, you don’t want to crack plastic parts).
Once in place, manually spin the blade a few times. It should rotate freely and stay balanced. If it rubs against the housing or feels loose, adjust accordingly.
Step 7: Test the Fan (After Powering Back On)
Reattach the fan cover, flip the breaker back on, and switch on the bathroom fan.
Listen closely:
- The fan should start up smoothly
- No grinding, rattling, or wobbling sounds
- Strong airflow should be noticeable at the vent
If everything checks out, congrats! You’ve just repaired your bathroom fan for a fraction of the cost of a replacement.
Troubleshooting Tips
Fan blade still rattles after replacement?
- Double-check the blade is fully seated on the shaft
- Ensure there’s no debris in the housing
- Consider balancing the blade (some replacement blades come with adhesive weights)
Fan doesn’t turn on after replacement?
- Confirm power at the breaker
- Check the wire connections (if the motor was touched)
- Inspect the motor, if it’s still not spinning, you may have a bad motor
Still low airflow?
- Look for obstructions in the ductwork
- Make sure the new blade is the correct model and size
- Clean the vent cover and duct grille
Final Thoughts: DIY That Makes a Difference
Replacing a bathroom fan blade might seem like a small repair, but it can have a big impact on your home’s comfort and air quality. Whether you’re dealing with post-shower fog, stale odors, or just an annoying hum, a fresh fan blade often does the trick.
And the best part? You didn’t have to call an electrician or spend big bucks on a whole new exhaust system.
Just remember: always match the new fan blade to your fan model, follow safety precautions, and take your time. The job might only take 30-45 minutes, but the results last for years.
So next time you hear that old fan groaning above your head, don’t ignore it, grab your screwdriver and show it who’s boss.
Where To Find Us
If you need any replacement parts for your appliances, you can enter your model number at AppliancePartsPros.com to locate and order them quickly. Most orders arrive in just two business days, and we have tons of great information in our repair help section and YouTube videos to help you troubleshoot.
Stay connected with the latest DIY tips, tutorial videos, and repair guides by following us on Facebook, Instagram, and Twitter. We love hearing about your repair stories and successes. If you need more help or want personalized guidance, feel free to reach out. We’re ready to help you take on your next project with confidence!
The information in this article may not apply to your specific appliance model. We recommend consulting your manufacturer’s documentation or contact us with any questions.
 https://www.appliancepartspros.com/b/wp-content/uploads/2025/07/20250703_1343_Ceiling-Shower-Fan_simple_compose_01jz8p4whmf01bjm2re0fb8vr4.png
1024
1536
Steven E
https://www.appliancepartspros.com/b/wp-content/uploads/2020/11/app-logo-std.png
Steven E2025-07-03 10:59:282025-07-03 10:59:38How to Replace Your Bathroom Fan Timer Switch Like a Pro
https://www.appliancepartspros.com/b/wp-content/uploads/2025/07/20250703_1343_Ceiling-Shower-Fan_simple_compose_01jz8p4whmf01bjm2re0fb8vr4.png
1024
1536
Steven E
https://www.appliancepartspros.com/b/wp-content/uploads/2020/11/app-logo-std.png
Steven E2025-07-03 10:59:282025-07-03 10:59:38How to Replace Your Bathroom Fan Timer Switch Like a Pro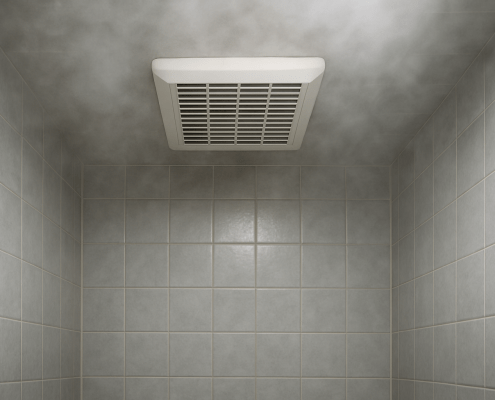 https://www.appliancepartspros.com/b/wp-content/uploads/2025/07/20250703_1343_Ceiling-Shower-Fan_simple_compose_01jz8p4whqehp9gxg4jy8nwe90.png
1024
1536
Steven E
https://www.appliancepartspros.com/b/wp-content/uploads/2020/11/app-logo-std.png
Steven E2025-07-03 10:46:532025-07-03 10:47:03Learn the 5 Causes of No Airflow With the Bathroom Fan Running
https://www.appliancepartspros.com/b/wp-content/uploads/2025/07/20250703_1343_Ceiling-Shower-Fan_simple_compose_01jz8p4whqehp9gxg4jy8nwe90.png
1024
1536
Steven E
https://www.appliancepartspros.com/b/wp-content/uploads/2020/11/app-logo-std.png
Steven E2025-07-03 10:46:532025-07-03 10:47:03Learn the 5 Causes of No Airflow With the Bathroom Fan Running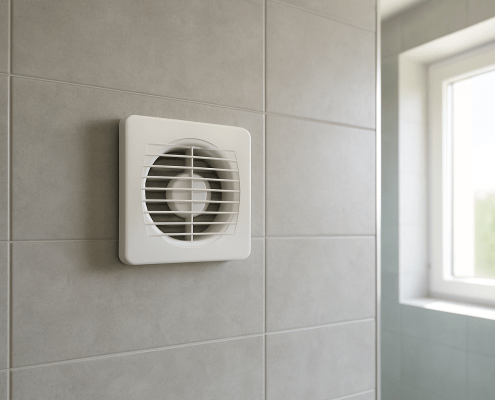 https://www.appliancepartspros.com/b/wp-content/uploads/2025/07/20250624_1407_Bathroom-Vent-Grille_simple_compose_01jyhhycebf2y9tw3csw9x7xf4.png
1024
1536
Steven E
https://www.appliancepartspros.com/b/wp-content/uploads/2020/11/app-logo-std.png
Steven E2025-07-03 10:32:022025-07-03 10:32:106 Things To Check For a Bathroom Fan That Turns On by Itself
https://www.appliancepartspros.com/b/wp-content/uploads/2025/07/20250624_1407_Bathroom-Vent-Grille_simple_compose_01jyhhycebf2y9tw3csw9x7xf4.png
1024
1536
Steven E
https://www.appliancepartspros.com/b/wp-content/uploads/2020/11/app-logo-std.png
Steven E2025-07-03 10:32:022025-07-03 10:32:106 Things To Check For a Bathroom Fan That Turns On by ItselfWith nearly a decade of experience in providing top-notch customer service regarding appliance parts and repair, Steven enjoys sharing practical advice, troubleshooting tips, and interesting information to help readers stay informed.