How to replace Whirlpool dishwasher door balance link kit 8194001
Steven E / Wednesday May 28, 2025
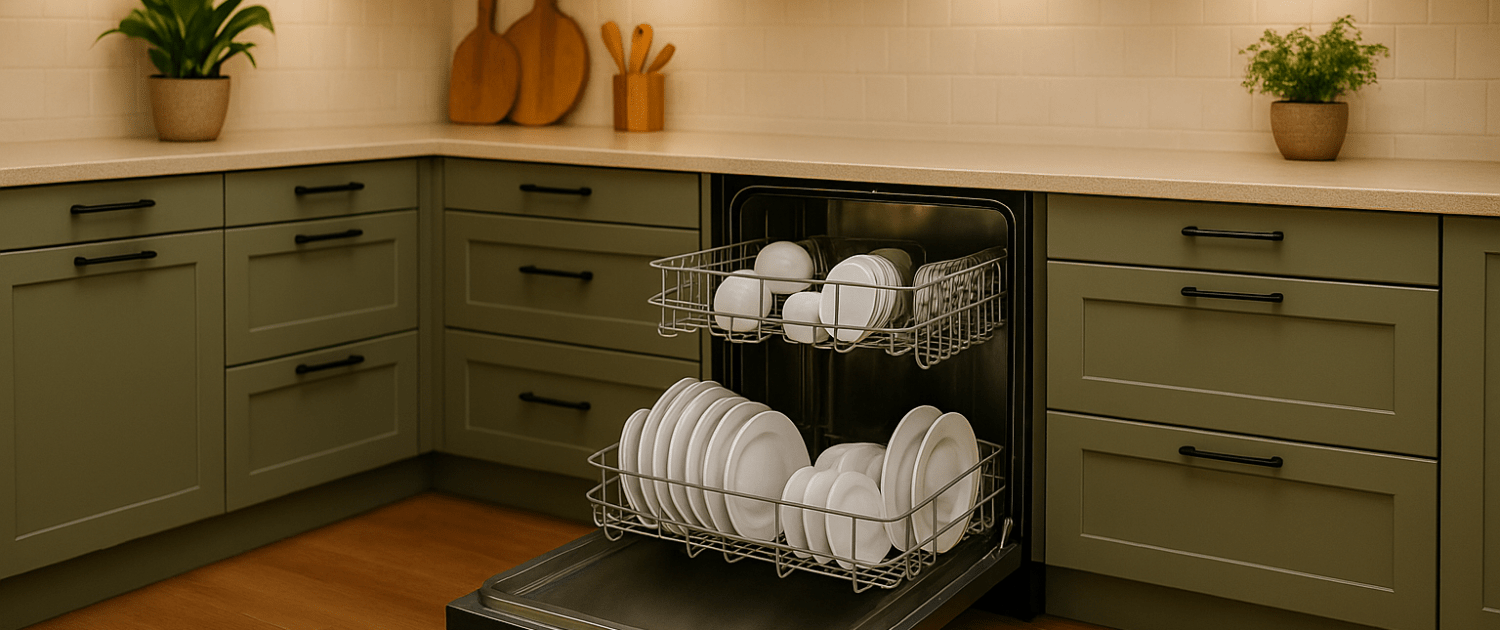
Is your Whirlpool dishwasher door suddenly giving you a workout? If it swings open too easily or feels like you’re lifting weights, the door balance link kit may be to blame. Fortunately, our step-by-step guide and how-to video below will show you how to fix this with ease, restoring your dishwasher door to smooth operation.
Looking for the right part? Enter your appliance model number below to find the exact match and get your appliance running like new again!
If your Whirlpool dishwasher door drops open or feels way too heavy, chances are the door balance link kit, part number 8194001, needs to be replaced. Don’t worry though, you can fix this one yourself with just a screwdriver and a little patience. Let’s go step-by-step and get your door working like new again!

WATCH: How to replace the door balance link kit
The information in this article may not apply to your specific appliance model. We recommend consulting your manufacturer’s documentation or contact us with any questions.
What you’ll need
Gather the following tools and supplies before starting:
- Replacement door balance link kit (#8194001) – Contains two roller wheel assemblies and two link cables. Take your model number to AppliancePartsPros.com to locate the correct part for your model.
- Phillips head screwdriver
- 5/16-inch nut driver
- Adjustable wrench or pair of pliers
- Small bucket or tray
- Towels or rags
Safety precautions
Safety comes first when working on any appliance. Here are some practical tips to help keep you safe:
- Always turn off the power by unplugging the appliance or switching off the circuit breaker before starting. This protects you from the risk of electric shock.
- Wear insulated gloves to protect your hands from sharp edges, pinching hazards, or debris.
- Take your time and work at a steady pace to avoid accidents or injuries.
- Make sure your workspace is well-lit so you can clearly see and access the parts you’re working on.
- Keep your area organized and free of clutter, and ensure children and pets are kept away from the workspace.
- Never handle internal parts with wet hands. Make sure both your hands and the work area are completely dry.
- Check your appliance’s user manual for specific instructions or safety guidelines related to your repair.
- Handle parts gently to prevent damaging the appliance or injuring yourself by using too much force.
- Wear safety glasses if you’re dealing with chemicals, dust, or large debris to protect your eyes.
- If the appliance was recently used, give it time to cool down before working on any heated components.
- Take photos or notes of wiring connections before disconnecting anything. This makes reassembly much easier.
- Avoid touching exposed wires or terminals. If you need to handle wires, use non-conductive tools or wear insulated gloves to reduce the risk of electrical shock.
Remove the dishwasher
- Place a small bucket or tray beneath the water supply and drain lines. Use towels or rags to soak up any water that leaks out when disconnected.
- Get underneath the sink and locate the water supply line connected to the dishwasher’s inlet valve. Loosen the compression nut or threaded connection using pliers or an adjustable wrench.
- Find the dishwasher drain hose higher up under the sink, typically connected to the garbage disposal or air gap. Loosen the drain clamp using a flathead screwdriver and disconnect the hose.
- With the hoses detached, slowly pull the dishwasher away from the cabinet using the opened door as a grip point. Pull carefully to avoid kinking or damaging lines.
- Once pulled out enough, grip the side frame to extract the dishwasher completely. Make sure not to lay it directly on the hoses.
Replace the door balance link kit
- Locate the door spring along the right or left side of the dishwasher frame. This provides counterbalance when opening the door.
- Grasp the spring and unhook it from the plastic clevis pin on the existing link cable. Be careful not to bend or overextend the spring.
- Find the link cables that run from the door spring to the roller wheel assemblies on either side. Remove any rubber bands or clips securing the cables.
- Use a 5/16-inch nut driver to remove the lower mounting screw from each roller assembly. This releases it from the dishwasher frame.
- Turn the roller assemblies 1/4 turn counterclockwise. There is a small locking tab that needs to align to remove the assembly.
- Install the new roller assemblies included in the kit by seating them into the frame cutouts and rotating clockwise 1/4 turn to lock in place. Replace the lower mounting screws.
- Thread the new link cables over the upper wheel and under the lower wheel on each side. Make sure cables route behind the retaining clips.
- Reconnect the door spring to the new link cable clevis pins on both sides. Use pliers to snap pins closed if needed.
Reinstall the dishwasher
- Push the dishwasher about halfway back into the cabinet, stopping before the hoses make contact.
- Get underneath and visually inspect that the drain hose and water line are not kinked, twisted, or snagged. Adjust as needed.
- Slide the dishwasher fully back into position, aligning the front bracket holes with the underside of the countertop.
- Replace the Phillips head screws through the bracket to anchor the dishwasher in place under the counter.
- Under the sink, realign the drain hose with the disposal/air gap connection. Tighten the drain clamp and any hose clamps if present.
- Similarly, realign the water supply line to the inlet valve. Tighten any compression nuts or threaded connections.
- With the dishwasher secured and connections tightened, recheck for leaks. Use additional towels or a pan to catch any water that may drip.
- Locate the circuit breaker and flip it back ON to restore power.
- Turn the hot water supply valve back ON. Check for any leaks under the sink. Tighten if needed.
- Run the dishwasher through a wash cycle. Verify the door opens and closes smoothly without any sticking or imbalance. Also, check for leaks or errors.
- If all checks out, the repair is complete! You’ve successfully replaced the door balance link kit.
More information
Thanks for reading! We hope this article helped you replace the door balance link kit in your dishwasher.
If you still need some replacement parts, grab your model number and head over to AppliancePartsPros.com. We offer over two million parts and most orders arrive in two business days. If you need some help with finding the right part or placing an order, you can contact our team at 1 (877) 477-7278.
While you’re waiting for your new part to arrive, you can explore our DIY blog and watch thousands of video tutorials on our YouTube channel.
Be sure to follow us on Facebook, Twitter and Instagram to see our latest repair guides!
 https://www.appliancepartspros.com/b/wp-content/uploads/2021/10/shutterstock_1711174159.jpg
1002
1500
APP Expert
https://www.appliancepartspros.com/b/wp-content/uploads/2020/11/app-logo-std.png
APP Expert2021-10-01 15:10:182025-07-17 06:47:46Dishwasher Not Fully Cleaning Dishes: Top 5 Reasons & Fixes (With Video!)
https://www.appliancepartspros.com/b/wp-content/uploads/2021/10/shutterstock_1711174159.jpg
1002
1500
APP Expert
https://www.appliancepartspros.com/b/wp-content/uploads/2020/11/app-logo-std.png
APP Expert2021-10-01 15:10:182025-07-17 06:47:46Dishwasher Not Fully Cleaning Dishes: Top 5 Reasons & Fixes (With Video!)With nearly a decade of experience in providing top-notch customer service regarding appliance parts and repair, Steven enjoys sharing practical advice, troubleshooting tips, and interesting information to help readers stay informed.