How to replace Whirlpool dryer drum felt seal WP314820
Steven E / Tuesday March 12, 2024
Is your dryer taking forever to dry clothes and driving up your energy bills? The culprit could be a worn-out drum felt seal that allows hot air to escape. Discover how to replace this crucial component with our step-by-step guide and watch the how-to video just below to ensure your dryer runs efficiently again!
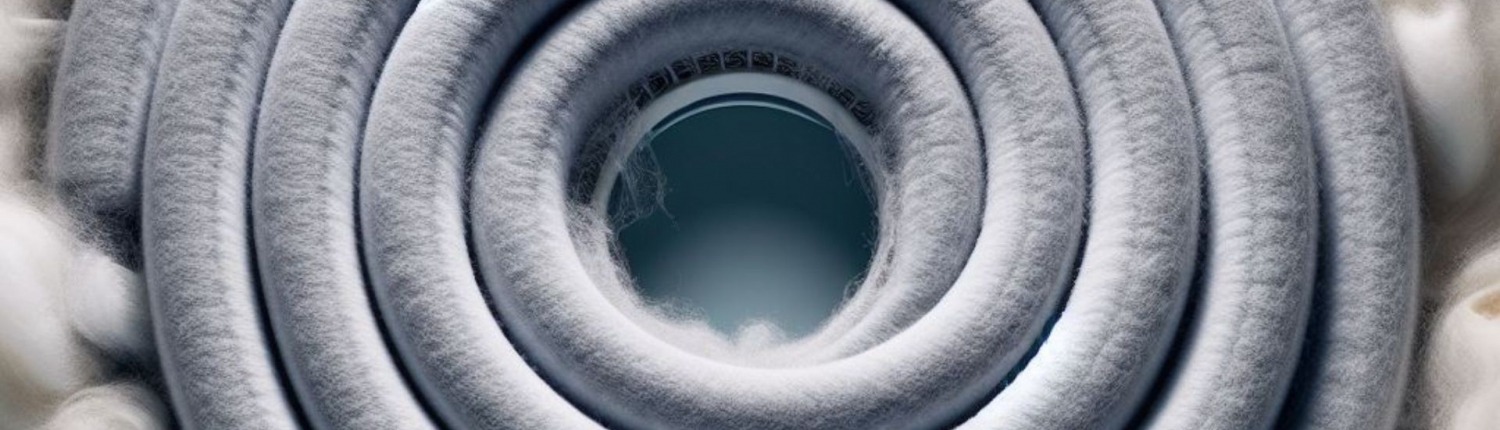
The drum felt seal surrounds the outer edge of the dryer drum and provides a tight seal that keeps hot air contained within the drum during the drying cycle. But with regular use over time, this seal can become worn, cracked, or damaged from the constant motion of the rotating drum. When this seal fails, hot air escapes from the drum, leading to longer drying times and increased energy consumption.
You can find a replacement dryer drum felt seal WP314820 here. If you need other replacement parts for your Whirlpool dryer, just enter your model number at AppliancePartsPros.com to find them. It’s that easy! Most orders arrive in just two business days, and we have thousands of guides to show you how to install your new parts.

NOTE: This repair requires the application of adhesive to the new felt seal, which should be allowed to dry and cure over 24 hours.
What you need
- New replacement dryer drum felt seal WP314820 (make sure it’s compatible with your specific dryer model before installing)
- Phillips head screwdriver
- 5/16-inch nut driver
- Ratchet with extension and 3/8-inch socket
- Flathead screwdriver
- High-temperature adhesive
Read more: DIY Dryer Troubleshooting: What Is Causing Slow Drying Times?
How to replace the drum felt seal
Step 1 – Remove the front panel
- Unplug the dryer from its power source.
- Use a Phillips head screwdriver to remove the screws that hold the front panel.
- Slightly lift the front panel to release the clips from the top of the cabinet.
- Carefully swing the front panel out and rest it on its side.
Step 2 – Remove the bulkhead
- Use a 5/16-inch nut driver to remove the four screws securing the bulkhead.
- Unclip the wiring harness holder and move it out of the way.
- Lift the bulkhead off the dryer and set it aside.
Step 3 – Lift and secure the top panel
- Use a ratchet with an extension and a 3/8-inch socket to remove the screws on each side of the top panel.
- Carefully lift the top panel and place a towel across the front. Lean the panel against the wall behind the dryer.
Step 4 – Remove the drive belt
- Reach into the dryer and pull the idler pulley towards the side of the dryer.
- Slip the drive belt off the idler pulley and motor pulley. Remove it from the dryer.
Step 5 – Lift out the drum
- Reach into the dryer and lift the drum belt to guide the drum out of the cabinet.
- Set the drum aside to access the back felt seal.
Read more: Tips for Caring for Your Dryer | Clothes Dryer Maintenance
Step 6 – Remove the old felt seal
- Use a flathead screwdriver to carefully pry up the tabs around the old felt seal and loosen them.
- Once all the tabs are released, pull the felt seal completely out of the dryer. Discard the old seal.
Step 7 – Install the new felt seal
- Align the new felt seal into position, about 1.5 inches into the opening.
- Press down on the tabs with a flathead screwdriver to secure the new seal in place.
- Push down around the entire seal and on each tab to lock it into place.
Step 8 – Apply adhesive and allow to cure
- Apply a small bead of high-temperature adhesive on the end of the new felt seal.
- Allow the adhesive to cure and dry for 24 hours before using the dryer.
Step 9 – Reinstall the drum
- Once the adhesive has cured for 24 hours, fold the end of the felt seal over on itself and crease it.
- Carefully guide the drum back into position. Make sure the felt seal rests evenly around the outside of the drum. Reach inside the drum to press the seal into the correct position as needed.
Read more: 9 Ways To Improve Your Dryer’s Performance
Step 10 – Reinstall the drive belt
- Loop the drive belt around the idler pulley and motor pulley into the correct grooves.
- Make sure the belt is aligned with the wear mark on the drum and that the smooth side faces the drum.
Step 11 – Reinstall the bulkhead
- Hold the felt seal in position and line up the bulkhead.
- Move the drum as needed to sit properly on the glides.
- Use the 5/16-inch nut driver to reinstall the bulkhead screws.
Step 12 – Reinstall the top panel
- Carefully lower the top panel back into place.
- Reinstall the screws on both sides to secure the top panel.
Step 13 – Reinstall the front panel
- Reclip the wiring harness into place.
- Swing the front panel back into position and make sure the tabs fit into the cabinet cutouts.
- Reinstall the front panel screws with a Phillips head screwdriver.
Finishing touches
- Plug the dryer back in and turn it on.
- Run a test cycle to check for any problems and/or escaping heat.
Read more: Dryer Settings: The Ultimate Guide to Understanding, Using, and Maintaining Your Appliance
More information
Thanks for reading! We hope this guide helped you replace the drum felt seal in your Whirlpool dryer.
If you have any other appliance repair needs or projects, you can find more resources including our DIY blog at AppliancePartsPros.com. There, you can enter your model number to order the exact parts you need. Most orders arrive in two business days.
You can also reach our award-winning customer service team at 1-877-477-7278, chat with a pro on our website and watch thousands of free video tutorials on our YouTube channel. We can also help you troubleshoot common dryer problems here.
 https://www.appliancepartspros.com/b/wp-content/uploads/2021/12/78_how-to-replace-a-dryer-heating-element_bottom.png
640
1536
APP Expert
https://www.appliancepartspros.com/b/wp-content/uploads/2020/11/app-logo-std.png
APP Expert2021-12-17 11:36:252026-01-21 12:38:42How to Replace a Dryer Heating Element
https://www.appliancepartspros.com/b/wp-content/uploads/2021/12/78_how-to-replace-a-dryer-heating-element_bottom.png
640
1536
APP Expert
https://www.appliancepartspros.com/b/wp-content/uploads/2020/11/app-logo-std.png
APP Expert2021-12-17 11:36:252026-01-21 12:38:42How to Replace a Dryer Heating Element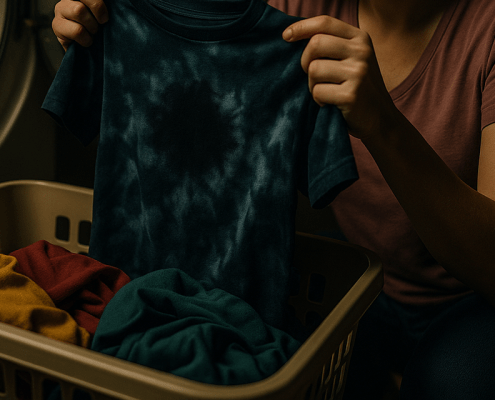 https://www.appliancepartspros.com/b/wp-content/uploads/2021/06/30_electric-dryer-leaving-black-marks-on-clothes-top_bottom.png
640
1536
Steven E
https://www.appliancepartspros.com/b/wp-content/uploads/2020/11/app-logo-std.png
Steven E2021-06-02 13:19:452026-01-16 11:10:25Electric Dryer Leaving Black Marks On Clothes: Top 5 Problems and Fixes (With Video!)
https://www.appliancepartspros.com/b/wp-content/uploads/2021/06/30_electric-dryer-leaving-black-marks-on-clothes-top_bottom.png
640
1536
Steven E
https://www.appliancepartspros.com/b/wp-content/uploads/2020/11/app-logo-std.png
Steven E2021-06-02 13:19:452026-01-16 11:10:25Electric Dryer Leaving Black Marks On Clothes: Top 5 Problems and Fixes (With Video!) https://www.appliancepartspros.com/b/wp-content/uploads/2021/05/27_how-to-replace-a-clothes-dryer-bearing-slide-with_middle.png
640
1536
APP Expert
https://www.appliancepartspros.com/b/wp-content/uploads/2020/11/app-logo-std.png
APP Expert2021-05-18 13:40:032026-01-16 10:36:16How to Replace a Clothes Dryer Bearing Slide (With Video!)
https://www.appliancepartspros.com/b/wp-content/uploads/2021/05/27_how-to-replace-a-clothes-dryer-bearing-slide-with_middle.png
640
1536
APP Expert
https://www.appliancepartspros.com/b/wp-content/uploads/2020/11/app-logo-std.png
APP Expert2021-05-18 13:40:032026-01-16 10:36:16How to Replace a Clothes Dryer Bearing Slide (With Video!)With nearly a decade of experience in providing top-notch customer service regarding appliance parts and repair, Steven enjoys sharing practical advice, troubleshooting tips, and interesting information to help readers stay informed.