How to Test and Replace the Control Board on a Whirlpool Range
Steven E / Friday June 6, 2025
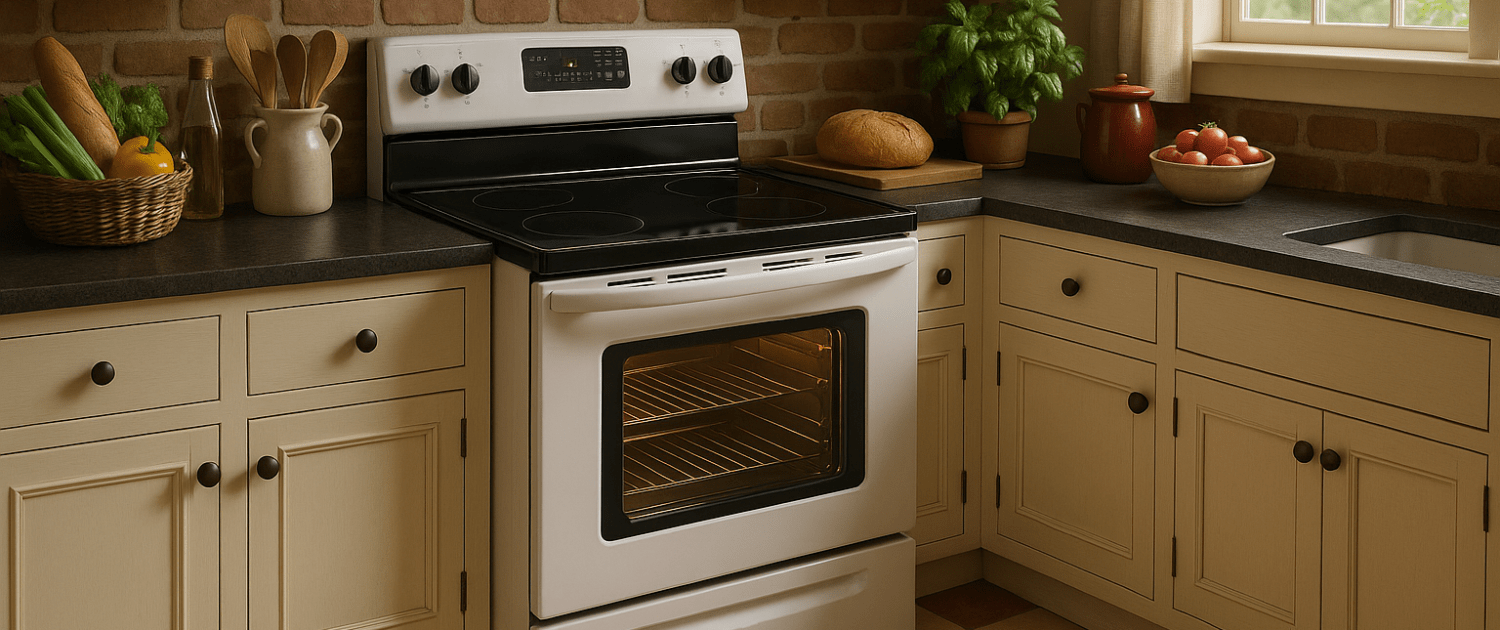
Is your Whirlpool-built electric range giving you trouble, like uneven heating or unresponsive controls? Don’t worry, we’ve got you covered! Often, the main control board is to blame, and with a little guidance, you can test and replace it yourself without calling in a pro.
If you need any replacement parts for your Whirlpool electric range, you can enter your model number at AppliancePartsPros.com to order them. Most orders arrive in just two business days, and we have thousands of free guides to show you how to install your new parts.
The information in this article may not apply to your specific appliance model. We recommend consulting your manufacturer’s documentation or contact us with any questions.
Materials you need
- Phillips head screwdriver
- 3/8″ nut driver
Safety tips
When working on any appliance, remember to keep safety first. Here are some tips to keep in mind:

- Always power off and unplug your appliance or switch off the circuit breaker before you attempt any maintenance or replacement work. This keeps you safe by eliminating any risk of electric shock.
- If the appliance has recently been used, give it plenty of time to cool down before working on it.
- Take your time while working to prevent accidents and personal injuries. Rushing is the enemy of precision.
- Work in a well-lit area so you can see and access appliance parts.
- Keep your workspace free of clutter and other obstacles. Keep children and pets away from the work area.
- Never work on internal parts with wet hands. Make sure the work area is completely dry.
- Check the user manual to see if there are specific installation or safety instructions related to your appliance or replacement part.
- Be gentle when handling or removing parts. Excessive force might damage the appliance or cause personal injury.
- Wear insulated work gloves to protect your hands from sharp metal parts and debris.
- When working with wires, avoid touching any exposed wires or terminals. If you need to touch a wire, use a non-conductive tool or wear insulating gloves to prevent electrical shock.
- Always take photos or make a note of wiring terminals or other connections before disconnecting them to make reassembly easier.
- Don’t test live voltage with a multimeter if you’re unfamiliar with how to prevent short-circuiting.
- Consider wearing safety glasses and/or a dust mask when working with chemicals, dust or a large amount of debris to prevent irritation or injury.
How to test and replace the Whirlpool-built electric range’s main control board
- Disconnect the range from power to start the process.
- Open the oven door fully.
- Flip up the hinge latches on both sides.
- Pull the door forward to release the hinges.
- Partially close the door and lift it off while holding both sides.
- Set the door aside.
- Use a Phillips head screwdriver to remove the screws securing the console beneath the cooktop.
- For models with a console trim panel, remove it to access two additional corner screws.
- Remove the corner screws.
- Lift the console off and flip it onto the cooktop.
- Locate the brace at the front center of the cooktop and remove the two screws holding it in place.
- Identify the main control board.
- Remove the single Phillips head screw on the right-hand side using a ratchet with a socket and bit.
- Slide the control board to the right to release it from the left-side tabs.
- Gently work the control board out until the connectors are accessible.
- Take a photo of the wiring connections for reference.
- Disconnect the wiring harnesses and fully remove the control board.
- Reconnect the wiring harnesses to the new control board using the reference photo for guidance.
- Slide the new control board into place and secure it with the Phillips head screw.
- Reinstall the brace and secure it with the two screws.
- Place the console back in position and reinstall the corner screws.
- Snap the front trim panel back into place and reinstall its screws.
- Align the door hanger arms with the frame notches.
- Fully open the door and lock the hinge latches back in place.
- Plug the range back in or flip the breaker back on.
Still need assistance?
Thanks for reading! We hope this guide helped you test and replace the main control board in your Whirlpool-built electric range.
If you still need some replacement parts, grab your model number and head over to AppliancePartsPros.com. We have over two million parts in stock and most orders arrive in two business days. If you need some help with finding the right part or placing an order, you can contact our team at 1 (877) 477-7278.
While you’re waiting for your new part to arrive, you can explore our DIY blog and watch thousands of video tutorials on our YouTube channel.
Follow us on Facebook, X and Instagram to see our latest repair guides!
 https://www.appliancepartspros.com/b/wp-content/uploads/2023/11/89ed4afa-802c-4640-acfc-1c7c37d7c5be.jpeg
1024
1024
Steven E
https://www.appliancepartspros.com/b/wp-content/uploads/2020/11/app-logo-std.png
Steven E2023-11-22 11:49:092023-11-22 11:49:18How to replace electric stove drip pans
https://www.appliancepartspros.com/b/wp-content/uploads/2023/11/89ed4afa-802c-4640-acfc-1c7c37d7c5be.jpeg
1024
1024
Steven E
https://www.appliancepartspros.com/b/wp-content/uploads/2020/11/app-logo-std.png
Steven E2023-11-22 11:49:092023-11-22 11:49:18How to replace electric stove drip pans https://www.appliancepartspros.com/b/wp-content/uploads/2023/11/6409aa50-415d-410c-a185-a8a39731fed8.jpeg
1024
1024
Samantha Bullington
https://www.appliancepartspros.com/b/wp-content/uploads/2020/11/app-logo-std.png
Samantha Bullington2023-11-20 13:22:152023-11-20 13:22:24How to troubleshoot an E24 error code on an electric Samsung range
https://www.appliancepartspros.com/b/wp-content/uploads/2023/11/6409aa50-415d-410c-a185-a8a39731fed8.jpeg
1024
1024
Samantha Bullington
https://www.appliancepartspros.com/b/wp-content/uploads/2020/11/app-logo-std.png
Samantha Bullington2023-11-20 13:22:152023-11-20 13:22:24How to troubleshoot an E24 error code on an electric Samsung range https://www.appliancepartspros.com/b/wp-content/uploads/2023/11/illustration-of-a-knob-over-an-infinite-switch-on-an-electric-range.jpg
844
1500
Steven E
https://www.appliancepartspros.com/b/wp-content/uploads/2020/11/app-logo-std.png
Steven E2023-11-20 12:56:532025-07-24 07:21:41How to replace a GE range infinite switch WB24T10119
https://www.appliancepartspros.com/b/wp-content/uploads/2023/11/illustration-of-a-knob-over-an-infinite-switch-on-an-electric-range.jpg
844
1500
Steven E
https://www.appliancepartspros.com/b/wp-content/uploads/2020/11/app-logo-std.png
Steven E2023-11-20 12:56:532025-07-24 07:21:41How to replace a GE range infinite switch WB24T10119With nearly a decade of experience in providing top-notch customer service regarding appliance parts and repair, Steven enjoys sharing practical advice, troubleshooting tips, and interesting information to help readers stay informed.