How to Test and Replace the Dispenser Drawer on an LG Washer
Steven E / Friday June 20, 2025
Is your LG front-load washer not dispensing detergent properly? If you’ve noticed leftover detergent, fabric softener, or bleach in the dispenser after a wash cycle, it may be time to replace the dispenser assembly.
Over time, clogs, residue buildup, or a faulty mechanism can prevent proper water flow, leading to ineffective cleaning. Here, we’ll guide you through testing and replacing the dispenser assembly to get your washer working like new again!
If you need any replacement parts for your LG front load washer, you can enter your model number at AppliancePartsPros.com to order them. Most orders arrive in just two business days, and we have thousands of free guides to show you how to install your new parts.
The information in this article may not apply to your specific appliance model. We recommend consulting your manufacturer’s documentation or contact us with any questions.
What you need
- Sponge
- Vinegar
Safety precautions
When working on any appliance, always keep safety first to avoid personal injury or damage to the appliance or its parts. Here are some tips to keep in mind:
- Always power off and unplug your appliance or switch off the circuit breaker before you attempt any maintenance or replacement work. This keeps you safe by eliminating any risk of electric shock.
- If the appliance has recently been used, give it plenty of time to cool down before working on it.
- Take your time while working to prevent accidents and personal injuries. Rushing is the enemy of precision.
- Work in a well-lit area so you can see and access appliance parts.
- Keep your workspace free of clutter and other obstacles. Keep children and pets away from the work area.
- Never work on internal parts with wet hands. Make sure the work area is completely dry.
- Check the user manual to see if there are specific installation or safety instructions related to your appliance or replacement part.
- Be gentle when handling or removing parts. Excessive force might damage the appliance or cause personal injury.
- Wear insulated work gloves to protect your hands from sharp metal parts and debris.
- When working with wires, avoid touching any exposed wires or terminals. If you need to touch a wire, use a non-conductive tool or wear insulating gloves to prevent electrical shock.
- Always take photos or make a note of wiring terminals or other connections before disconnecting them to make reassembly easier.
- Consider wearing safety glasses and/or a dust mask when working with chemicals, dust or a large amount of debris to prevent irritation or injury.
- Turn off the water supply at the outlet before beginning repairs. Keep towels ready to catch any residual water in the system when removing parts.
How to test and replace the LG washer’s dispenser assembly
Below are the steps to access, test, clean, and replace the dispenser assembly in an LG washer.
Step 1. Prepare the dispenser assembly
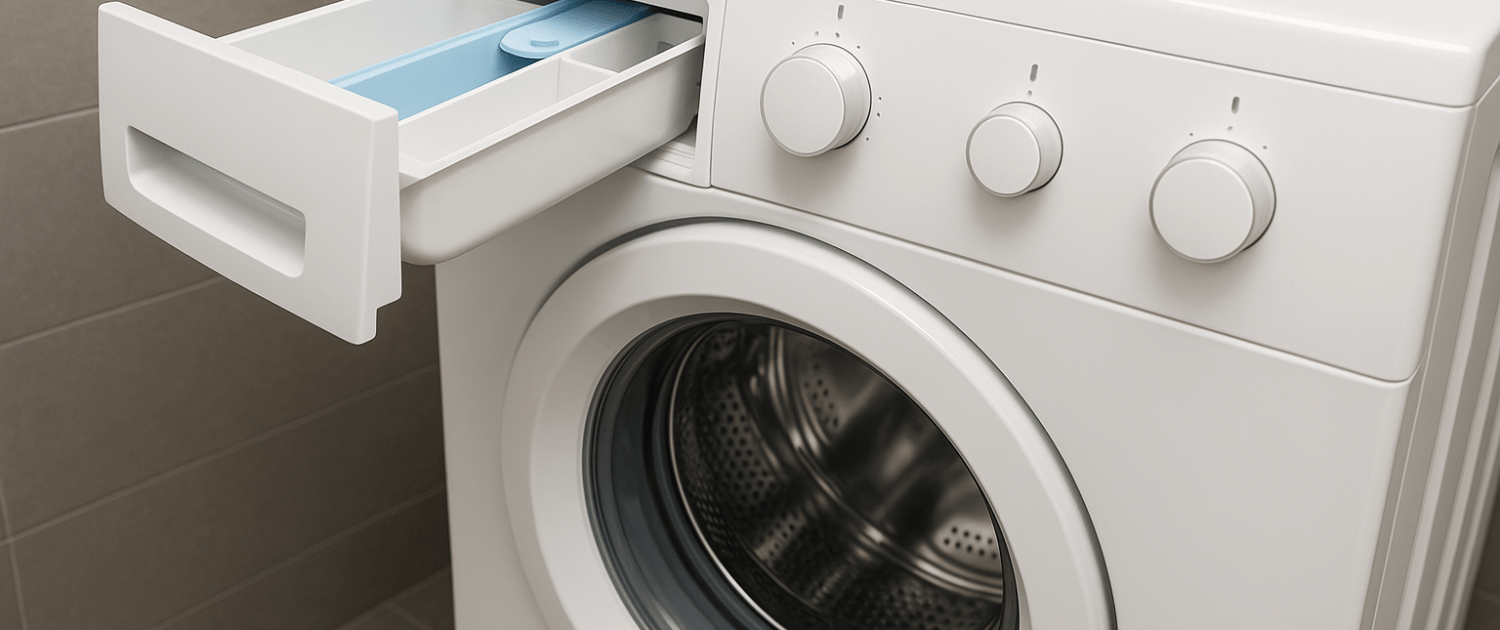
- Pull the dispenser out.
- Push down the tab.
- Slide the dispenser assembly completely out.
Step 2. Test the dispenser assembly
- Remove all inserts from the dispenser.
- Examine the dispenser for mold growth and soap buildup.
- Check if any mold or soap buildup is blocking the holes and causing overflow.
Step 3. Clean the dispenser assembly
- Soak the dispenser in white vinegar.
- Use a sponge to clean it in hot water.
- Remove all residue before reinserting.
Step 4. Replace the dispenser assembly
- Place the inserts back inside the dispenser.
- Slide the dispenser back into the washer.
We’re here to help
Thanks for reading! We hope this guide helped you test and swap out the dispenser assembly in your LG washer. If you still need a replacement part, just grab your model number and head to AppliancePartsPros.com, where we have over two million parts ready to ship. Most orders arrive in just two business days! For help tracking down the right part, give us a call at 1 (877) 477-7278. While you’re waiting, check out our DIY blog and explore our video tutorials on YouTube. Don’t forget to follow us on Facebook, X and Instagram for all the latest tips and repair guides!
With nearly a decade of experience in providing top-notch customer service regarding appliance parts and repair, Steven enjoys sharing practical advice, troubleshooting tips, and interesting information to help readers stay informed.


