Oven Door Won’t Close: 4 Reasons & Fixes (With Video!)
APP Expert / Friday June 17, 2022
Is your oven door refusing to close properly, sabotaging your cooking plans and wasting energy? Don’t sweat it—AppliancePartsPros.com is here to help you tackle this common household issue with ease. Dive into our comprehensive guide and accompanying video below to learn how you can fix your stubborn oven door in just a half-hour, using simple tools you already have at home!
Need a replacement part for your oven? Search below using your specific oven model number to identify the exact part needed:
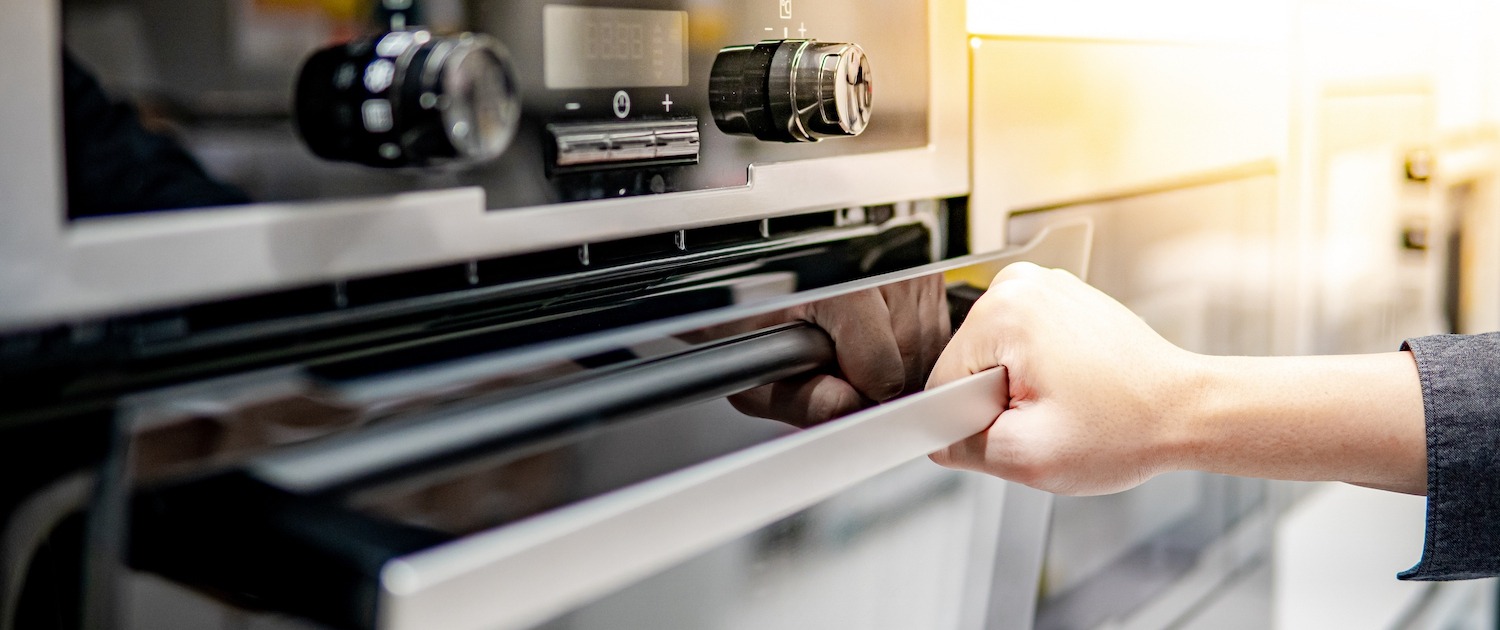
Oven door stuck open or just not closing all the way? That’s a big problem – one that’s ruining the efficiency of your oven if it isn’t stopping you from baking entirely. If you’ve got a stuck oven door, don’t force it! You can diagnose and fix the problem yourself in a half an hour or so with a few common household tools, and AppliancePartsPros.com is here to walk you through it.
In this guide, we’re troubleshooting the top four most common causes of an oven door that won’t close correctly. Don’t forget to check out the video below for some additional tips!
Troubleshooting An Oven Door That Won’t Close
This guide covers issues found in all major appliance brands and should be able to help you out regardless of your range’s make and model.
Tools for the Job
Regardless of your oven’s make or model, there are a few tools you’ll likely need to check and fix any damaged components:
- A Phillips screwdriver or nut driver. Check the screws that hold the panels to your oven to see which type you will need.
- A pair of pliers to bend dented components back into shape
- A flashlight
- A pair of work gloves
Before you begin…
For safety, make sure that the range is off, completely cool, and disconnected from power before doing any diagnostic or repair work. If you can’t get to the wall outlet, then flip the circuit breaker for the oven first. Never do maintenance on an appliance that is still receiving power. Even if you’re not working directly with electrical components, you could still get a nasty shock!
1. The Oven Door Gasket
That seal around your oven door is a vital component that keeps hot air in while you’re baking, roasting, and broiling things. This component can be found in one of two places: mounted on the door itself or on the inside of the oven opening, on the body of the appliance. Depending on which type of oven you have – standard or self-cleaning – you may have a rubber gasket or high temperature resistant fiber gasket installed. With age, the door gasket on any appliance will start to deteriorate. All that opening and shutting wears them out. Oven door gaskets, in particular, also have high heat exposure to contend with. If your oven door’s gasket is damaged, it could be preventing the door from closing and sealing properly.
It just takes a minute or so to inspect the gasket, and you don’t need any special tools to do it:
- Start with a visual inspection of the gasket itself.
- Even if you don’t notice any signs of damage, you should still run your hand over the gasket. Check for bunching, fraying, tears, or other issues that you might not have been able to see.
- If you find that the gasket is damaged, whether or not it’s the cause of your oven door woes, you should replace it as it can affect your oven’s efficiency.
Before you jump to the next few tests…
The next three components we’ll be checking are all found in the hinge assembly, which will be in roughly the same place regardless of the make and model of your range. To reach the hinge assembly, you’ll need a Phillips screwdriver or nut driver – whichever is necessary to remove the screws holding your oven’s panels in place. Some hinges are mounted to the oven body while others are mounted to the oven door. Here’s how to reach the hinge assembly for each type of hinge install:
If your oven door hinge is mounted to the oven body…
- To check these types of hinges, you’ll likely need to pull the range away from any nearby cabinets to better access the hinges.
- Remove the side panels. They’re likely held in place by a few screws on the back of the range.
- Remove the oven door. Open the oven door slightly and lift up on it to pull it off of the hinge arms.
If your oven door hinge is mounted on the door…
- Start by removing the oven door. Open the door, lift it up slightly, then pull it away from the oven body.
- Continue disassembling the oven door. Carefully flip the oven door over, remove any trim and the door’s outer panel until you reach the hinges themselves.
2. The Oven Door Hinge
Once you have performed the above actions, you are ready to inspect the oven door hinge. Oven doors ride on two hinges, one on either side of the door. Hinges come in a few different styles, and what they look like and how they are installed will vary depending on your appliance’s make and model.
Here are the three most common types of oven door hinge:
- A complete assembly with a spring that prompts the oven door to retract as it’s being closed. A complete hinge assembly is usually installed into the oven body, and the door sits on the arms.
- The no spring assembly looks like a complete assembly, with an arc shape, but does not have a spring.
- Two-piece assemblies include a complete assembly that is mounted on the door side and a receiver on the oven body.
Check out our video for a look at each type of hinge and how they fit onto the oven. It can give you an idea of which type of hinge you’re working with. Hinges can wear out with extended use or could potentially be damaged by high heat exposure if an oven’s self-cleaning feature is run for too long. The spring or roller may fail, or the hinge itself may be bent in a way that’s preventing the door from closing.
Next up, we’ll walk you through how to check each type of door hinge for damage. For both methods, in addition to the screwdriver or nut driver needed to access the part, you may potentially need a pair of pliers.
If your oven door hinge is mounted to the oven body…
- Gain access to the hinge assembly as described above. You’ll need to remove the side panels and door.
- Inspect the roller. This small plastic piece can be found on the oven body side, and should spin easily if you move it by hand.
- Check the hinge for signs of corrosion or damage. If it’s bent, you may be able to straighten it out with a pair of pliers or a hammer, but if the bending is significant, the assembly may need to be replaced.
If your oven door hinge is mounted on the door…
- Start by removing the oven door. Open the door, lift it up slightly, then pull it away from the oven body.
- Check the hinge arms for damage. If they’re bent, you may be able to straighten them out with a pair of pliers.
- Disassemble the door as described above to reach the hinges.
- Check the spring and body for damage. If there are any signs of damage, the hinge will need to be replaced.
If you’ve discovered that one of your hinges has failed, you should replace both to ensure the components wear evenly.
3. The Oven Door Spring
As mentioned, some range hinges come with a set of two springs that allow the oven door to retract more quickly when closed while also preventing the door from falling when opened. They are usually helical springs with a hook on each end, one securing to the body of the oven and the other to the hinge. With age, an oven door spring can stretch out of shape or potentially corrode and snap. A damaged spring could be preventing your oven door from shutting correctly. If this is the case, be sure to check that the spring you need is sold individually – some brands require that the entire hinge assembly be replaced if the spring is damaged.
To check the spring for damage, the side panels and door will need to be removed from the range as described in the section above. Once the side panel is off, a visual inspection should be enough to tell you whether or not the spring is your issue!
4. The Oven Door Hinge Receiver
The receivers are a pair of metal brackets with pins in them. The door hinge arm rests and rides on these brackets, allowing the door to open and close. Hinge receivers are usually mounted to the frame of the range behind the side panels. If the hinge receivers are bent or otherwise damaged, then your oven door won’t close.
To check this part for damage, you’ll need a flashlight or other focused light source like a cell phone and a screwdriver. Here’s how to test this part:
- Start by removing the oven door. Open the door, lift it slightly, and pull it away from the range.
- Use a flashlight to check on the interior of the brackets. Look for the pin. If it is missing or damaged, the bracket will need to be replaced.
- Next, remove the side panels on your range. As mentioned above, the side panels are likely held in place by a few screws on the back of your appliance.
- Check the brackets. Are they dented? Are there any screws loose? You may be able to tighten the screws down to fix your issue, but if the brackets are bent, they’ll need to be replaced.
Finding The Right Replacement Part
If you weren’t able to fix your problem by bending a piece back into place or tightening down a loose screw, it’s likely time to replace a damaged component. Don’t worry – simply by checking on the part, you’ve already done half the work you’d need to replace it! The hardest part, really, is tracking down a compatible replacement part, and even that is easy with AppliancePartsPros.com on your side.
To get a compatible OEM part, you’ll need your appliance’s model number. You can find that on a label somewhere on the appliance. Check the following places:
- Open the oven door and check around the frame.
- Open the broiler or range drawer and check along the sides or on the inside of the door, itself.
- Lift the cooktop and check beneath that.
- Check the exterior of the stove, it could be on the sides or back, behind the main control panel.
Once you have the model number, use the search box below for AppliancePartsPros.com and type it in. You’ll be presented with a list of genuine OEM replacement parts compatible with your appliance, and you can have the one you need shipped to you in just a few days!
Wrapping Up
By following our guide you should be well on your way to diagnosing those oven door issues, but our help doesn’t stop there! If you need assistance with swapping out your oven parts – or parts for any major appliance – keep AppliancePartsPros.com in mind. Our friendly staff is on hand to answer your questions, and our site and YouTube channel are chock full of tips and tutorials for all your DIY appliance repair needs!
If you need any replacement parts for your appliances, you can enter your model number at AppliancePartsPros.com to locate and order them quickly. Most orders arrive in just two business days, and we have tons of great information in our repair help section and YouTube videos to help you troubleshoot.
Stay connected with the latest DIY tips, tutorial videos, and repair guides by following us on Facebook, Instagram, and Twitter. We love hearing about your repair stories and successes. If you need more help or want personalized guidance, feel free to contact or call us at 877-477-7278. We’re ready to help you take on your next project with confidence!
Since 1999, AppliancePartsPros.com has helped millions of people repair their broken appliances by providing high-quality original parts at well below retail prices, free support and troubleshooting, and award-winning customer service from an expert, friendly, US-based customer support team!
Hi! I’m Matt H., and I’m thrilled to be your guide through the world of appliance repair with over 25 years of invaluable experience in the industry.
From the early days of my career, I have been deeply passionate about appliances and their inner workings. Over the years, I’ve seen it all – from vintage models to the latest cutting-edge technology – and I’ve dedicated myself to mastering the art of repair. With a toolbox in one hand and a wealth of knowledge in the other, I’ve tackled every challenge that has come my way, learning and growing with each repair.
Join me as we dive into the intricacies of appliance repair. From step-by-step repair guides to explanations of common problems and their solutions, I’ll be here to simplify the repair process and empower you with the knowledge you need to keep your appliances running smoothly.
Feel free to explore our blog, ask questions, and leave comments – this platform is a space for learning, sharing, and growing together. Let’s work together to ensure that your appliances continue to serve you for years to come.
Thank you for joining me on this journey, and I look forward to being your go-to resource for all things related to appliance repair!


