Painting the Inside of a Microwave: Transforming from Drab to Fab
APP Expert / Thursday March 9, 2023
Why You Should Consider Painting Your Old Microwave
Painting your old microwave is a great way to bring new life to the appliance without breaking the bank. It’s a cost-effective, DIY alternative to buying a new one, offering the perfect solution for covering up wear and tear or cosmetic damage. With the right supplies and safety precautions, you can give your kitchen an upgrade in no time!
Is Painting the Interior of Your Microwave Right for You? Consider These Factors
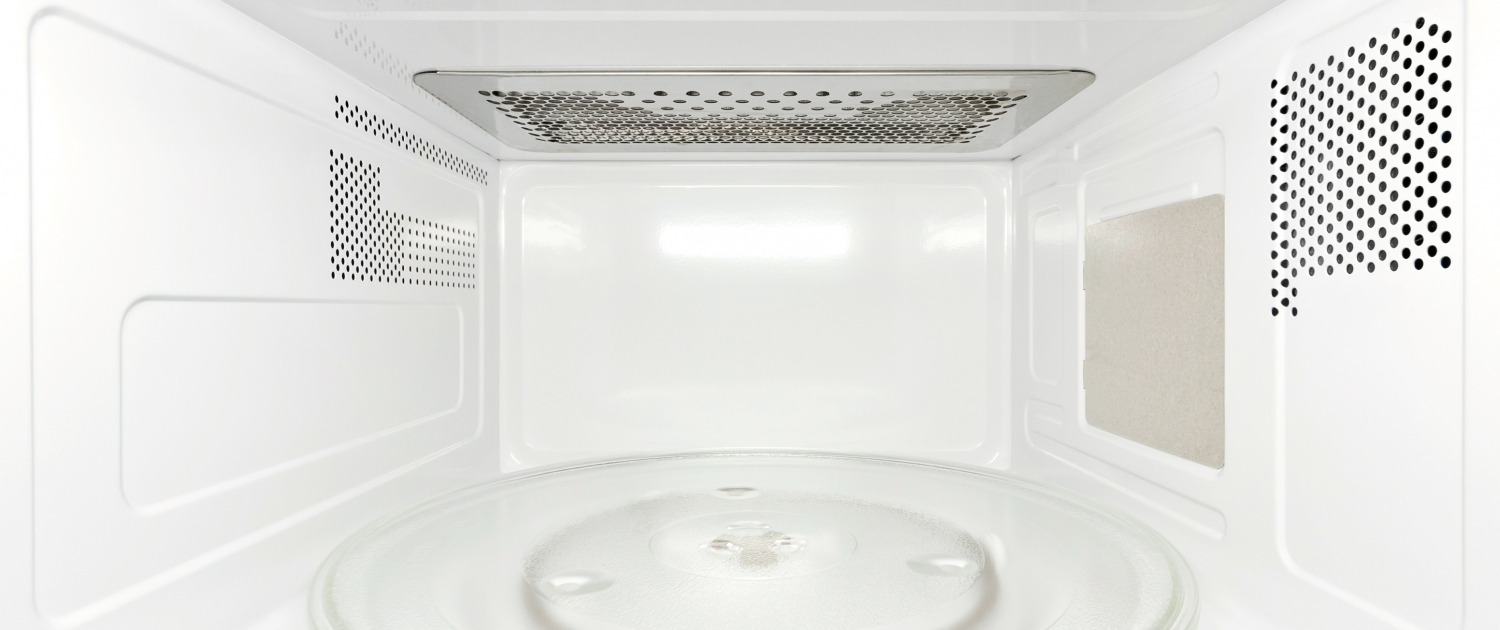
Painting the interior of a microwave can be rewarding, but it may not be for everyone. Before diving in, consider a few key factors to determine if it’s the right choice for you. Firstly, consider the age and condition of your microwave. If it’s too old or in poor condition, painting it may not be worth the effort, and it may be better to invest in a new appliance. Secondly, determine your painting skills and comfort level with DIY projects. While painting a microwave is not overly complex, it requires patience and attention to detail. Lastly, decide if you’re ready to take the needed safety measures while handling paint and working near electrical parts. By considering these factors, you can determine if painting your microwave is the right choice for you.
Preparing Your Microwave for Painting: Tips for a Smooth and Safe Process
Before painting the inside of a microwave, some preparation is necessary. Firstly, unplug the appliance and remove all removable parts such as the turntable, rollers, and trays. Then, thoroughly clean the interior of the microwave with a mixture of warm water and mild soap to remove any grease, dirt, or debris. After cleaning, wipe the interior and allow it to dry completely before beginning the painting process.
It’s crucial to take the appropriate safety precautions during this stage. Wear gloves, protective eyewear, and a mask to avoid inhaling any fumes or getting any chemicals on your skin. By properly preparing the microwave for painting, you can ensure a safe and smooth process, resulting in a beautiful finished product.
Choosing the Right Type of Paint
When painting the inside of a microwave, it’s important to select the right type of paint to ensure that it will adhere well and be safe for use. Look for a paint that is labeled microwave-safe and safe for use in high-heat environments.
Taking the time to choose the right kind of paint is essential when it comes to painting the inside of a microwave. Making sure you select a paint specifically designed for microwaves will ensure that your makeover is successful, safe, and long-lasting.
Recommended tools for painting
To ensure a smooth and even paint job when painting the inside of your microwave, it’s important to have the right tools on hand. Here are some recommended tools for the job:
- Small paintbrush: A small, high-quality paintbrush is essential for getting into tight corners.
- Foam roller: A foam roller can be helpful for achieving a smooth, even finish over larger areas of the microwave interior.
- Sandpaper: Sandpaper can help to smooth out any rough or uneven surfaces on the interior of the microwave before painting.
- Masking tape or painter’s tape: Tape can be used to cover any areas of the microwave that you don’t want to paint and to create clean, straight edges and lines.
- Heat-resistant paint: It’s important to choose a paint that can withstand the high temperatures of the microwave.
- Protective gear: Be sure to wear gloves, safety glasses, and a mask to protect yourself from paint fumes and chemicals.
Having these tools on hand will help to ensure a successful and safe painting project, resulting in a like-new microwave interior!
Tips For Painting
After selecting the right type of paint and gathering the necessary tools, it’s time to begin painting the inside of your microwave:
- Test a small area first: Allow the paint to dry completely before running the microwave containing a cup of water on HIGH for about a minute. If the painted area is not any warmer to the touch than the rest of the oven after you remove the water, you can be sure that it will be safe to use. It is also important to let the microwave dry for at least 24 hours in a ventilated area before use.
- Apply the paint: Apply a thin, even coat to the interior, using a small paintbrush or foam roller. Be sure to work quickly and carefully to avoid drips or brush strokes.
- Allow the paint to dry: Let the first coat of paint dry completely for at least 24 hours before applying a second coat, if necessary.
- Apply a second coat: Apply a second coat of paint, if needed, using the same techniques as the first coat. Allow the paint to dry completely.
- Reassemble the microwave: Once the paint has dried, reassemble the microwave, including the turntable and any other removable parts.
Finishing Touches: Tips for Maintaining the Paint Inside Your Microwave
Maintaining the paint inside your microwave can help extend its lifespan and keep it looking new for longer. To keep the paint in good condition, avoid using abrasive sponges or harsh chemicals when cleaning the interior of your microwave. Instead, use a soft cloth or sponge and a gentle cleaning solution. Avoid spraying the cleaning solution directly onto the painted surface, as this can cause it to become damaged or discolored. Additionally, it’s important to avoid scraping or scratching the paint while cleaning, which can lead to peeling or chipping. To ensure the paint inside your microwave stays in good condition, it’s best to address any problems promptly. These simple tips can help you maintain the painted surface, ensuring your microwave looks like new for years to come!
Wrapping up
Have more questions about microwaves or appliance paint? Browse our blog and YouTube channel for tons of how-tos for your household appliances. If you need answers beyond what’s available there, why not ask one of the friendly experts on our main site? Whether you need answers or genuine OEM parts, AppliancePartsPros.com is happy to help.
Hi! I’m Matt H., and I’m thrilled to be your guide through the world of appliance repair with over 25 years of invaluable experience in the industry.
From the early days of my career, I have been deeply passionate about appliances and their inner workings. Over the years, I’ve seen it all – from vintage models to the latest cutting-edge technology – and I’ve dedicated myself to mastering the art of repair. With a toolbox in one hand and a wealth of knowledge in the other, I’ve tackled every challenge that has come my way, learning and growing with each repair.
Join me as we dive into the intricacies of appliance repair. From step-by-step repair guides to explanations of common problems and their solutions, I’ll be here to simplify the repair process and empower you with the knowledge you need to keep your appliances running smoothly.
Feel free to explore our blog, ask questions, and leave comments – this platform is a space for learning, sharing, and growing together. Let’s work together to ensure that your appliances continue to serve you for years to come.
Thank you for joining me on this journey, and I look forward to being your go-to resource for all things related to appliance repair!


