Range Burner Receptacle Replacement: A Step-by-Step Guide
APP Expert / Monday February 20, 2023
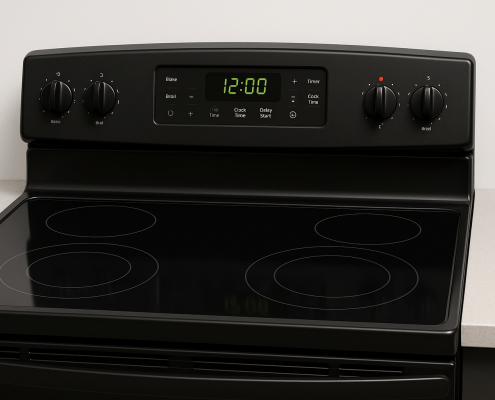
Is one of your electric range burners refusing to fire up or just not staying in place? The culprit could be a faulty burner receptacle block, but don’t worry—it’s a problem you can easily tackle yourself! Dive into our detailed guide below and watch the accompanying how-to video, and you’ll have everything you need to bring your cooktop back to life in no time.
Electric range on the fritz? If just one of the burners on your cooktop isn’t working right, it’s probably either the heating element itself or the receptacle block that supplies power to it.
Replacing a heating element is easy enough, but what about that terminal block beneath the stove? Luckily, it’s a quick job, too! It’s one you can do yourself with a few basic tools and a good guide, which we’re supplying today. Join us as we walk you through replacing a burned out burner receptacle on an electric range.
Signs that your range’s burner receptacle is failing
The burner receptacle block is an assembly consisting of a (usually plastic) terminal block, a metal bracket, and two terminals. Your electric range will have as many burner receptacle blocks as it has individual calrod heating elements on the cooktop. Each heating element plugs into one of these blocks, which hold the element in place while supplying it with power.
There are two pretty obvious tells that there’s something wrong with one of the burner receptacles:
- The element isn’t heating up. This could be a constant or intermittent problem. You may also notice that a calrod element is heating, but struggling to maintain heat or never reaching the desired heat.
- The element won’t stay in place; it’s loose, sagging, or doesn’t even connect to the receptacle. This is a bit rarer, but if there is considerable damage to a terminal block, it may no longer be able to properly connect to its corresponding heating element.
Most often, range burner receptacles fail because the terminals in the receptacle have burnt out. You may notice a burning plastic smell when trying to use the stove (and if you do, stop using it immediately). If you do a visual inspection, you may find signs of scorching, as well.
Finding the right replacement burner receptacle
Electric range burner receptacles are generally sold as part of a kit that may include the outer plastic block, interior contacts, wiring, and some other accessories like wire nuts. though there are plenty of universal receptacle block kits out there, if it’s available to you, you should always opt for a genuine OEM replacement part – that way, you’re guaranteed both quality and compatibility.
But, how do you find a compatible kit? Start with your range’s model number. You’ll find the full number on a sticker somewhere on the body of the appliance. Check the following places:
- On the oven interior, around the frame
- Along the sides or inside of the bottom drawer
- Beneath the cooktop – you’ll need to lift it up
- On the sides or back of the oven
If the sticker is missing or illegible, you still have a few options. We cover them in our full guide to appliance model numbers on our blog. Whatever your methods for getting it, once you’ve got that model number handy, type it into the search bar on our website. You’ll get a list of parts that are compatible with your range, so you can shop easily knowing you only need to buy once.
How to replace an electric range burner receptacle
The video guide accompanying this article provides a demonstration of replacing the range burner receptacle on a Whirlpool electric range. Although the burner receptacle assembly is generally similar across many electric ranges, the steps for disassembling the cooktop to access the receptacle may vary from those outlined in this article.
If you run into any differences between our guide and your range, check out our YouTube channel for additional range repair guides. Failing that, consult your appliance manual. It should have diagrams that will illustrate how to reach interior components like the burner receptacle.
Keep in mind, this tutorial is for electric ranges only. Issues with gas-powered ranges and induction cooktops will require different instructions and parts for repair. If you’re having an issue with a gas-powered or induction cooktop, you may be able to find a solution in one of the many helpful tutorials on our YouTube channel linked above!
Tools for the job
Gather these items before you begin to avoid interruptions!
- A compatible replacement burner receptacle or element receptacle kit (have a look at the many options available on our site)
- Phillips screwdriver
- Wire cutter/stripper
- Lighter
- Work gloves
Before you begin
For your safety, ensure that your range is off and disconnected from its power source before beginning any repairs. That means you should either unplug it from the wall outlet completely or flip the circuit breaker for it off while you’re working. You should never perform repairs on an appliance that is receiving power, especially when working on its electrical components!
How to replace a range burner receptacle block
Set aside about fifteen minutes – thirty if you’re not an experienced DIYer – to complete this task. We’ll probably have you on your way faster than that, but it’s better to be safe than sorry.
First Step: Remove the heating element
To complete this job, you should only need to remove the heating elements for the receptacle blocks you’ll be replacing. Some ranges may require that you remove all heating elements to proceed, but you can try just removing one.
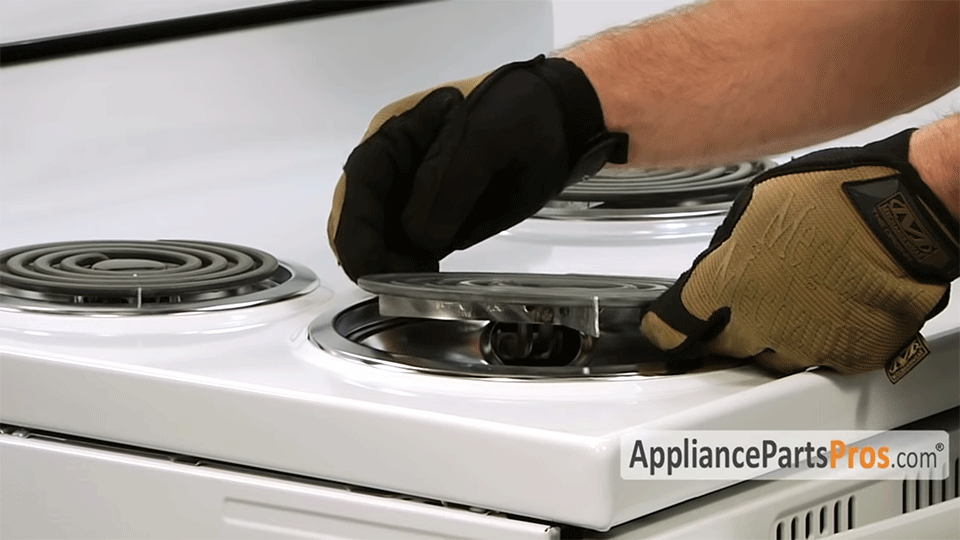
With your range disconnected from power and completely cool, grip the calrod heating element and gently lift up and out. It should disconnect from the receptacle block easily. Once removed, give it a look over. Check for signs of scorching or bubbling on the coil itself and its terminals. If damaged, the heating element should also be replaced.
Second Step: Remove the drip pan
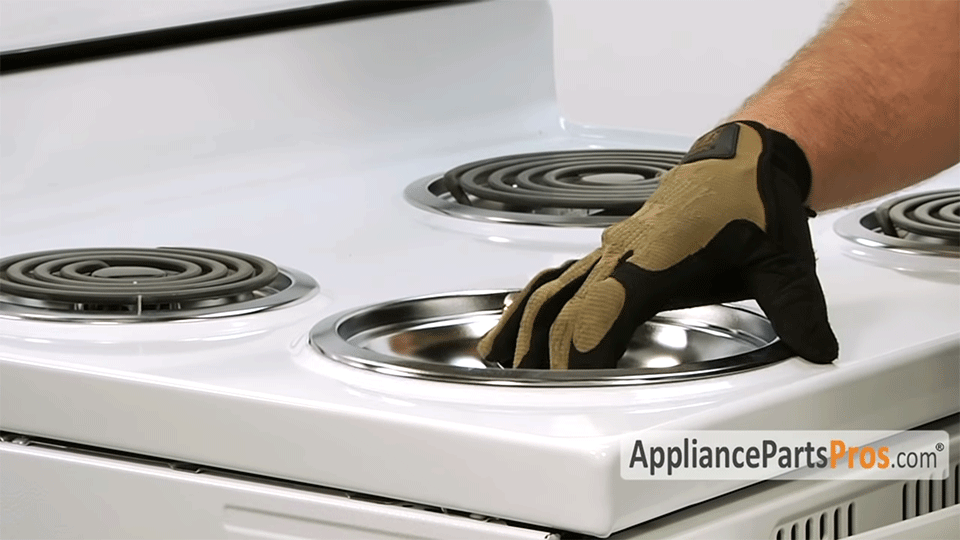
With the heating element out of the way, you can remove the drip pan. On some models, the drip pan may be held in place by a screw, but this usually isn’t the case. Simply lift the drip pan out and set it aside – or take this time to give it a thorough cleaning!
Third Step: Lift the top of the range
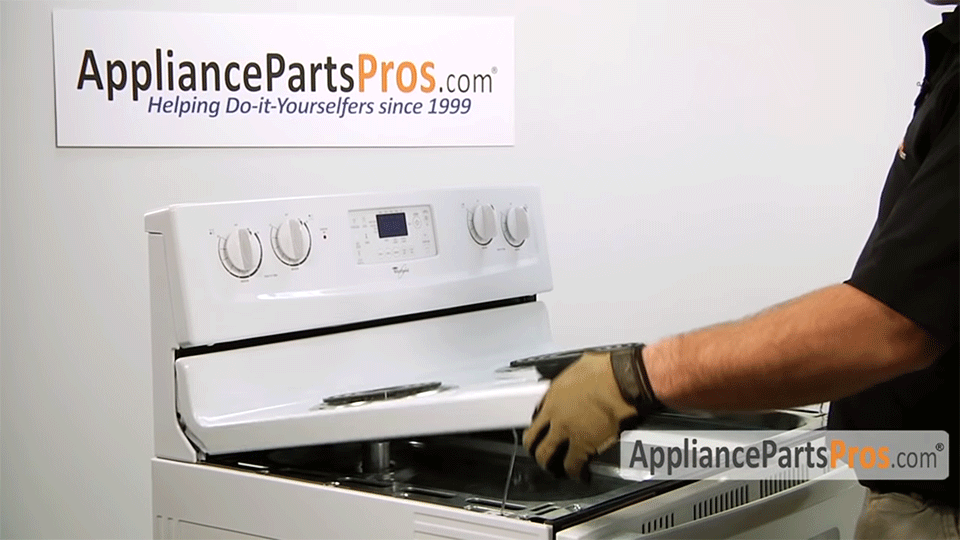
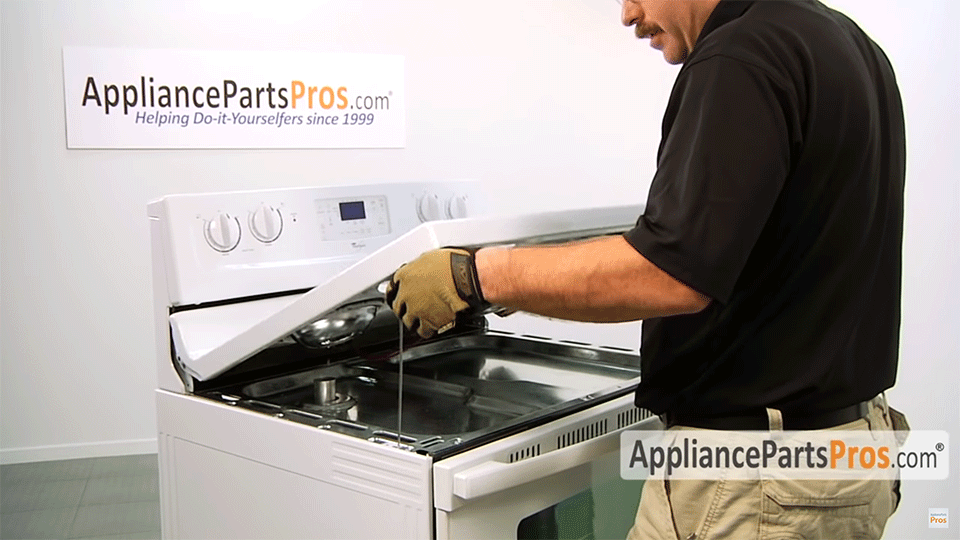
Did you know, most range tops lift up the way a car hood does? It’s an easy way to clean any crumbs or spills that have gotten past the drip pans, and to repair and replace components like faulty burner receptacles.
To open the top, grip it on either side and lift it up. If your range is the type that has metal rods to stabilize it and keep it open, pull it up high enough that those lock into place.
Fourth Step: Remove the receptacle block from the stovetop
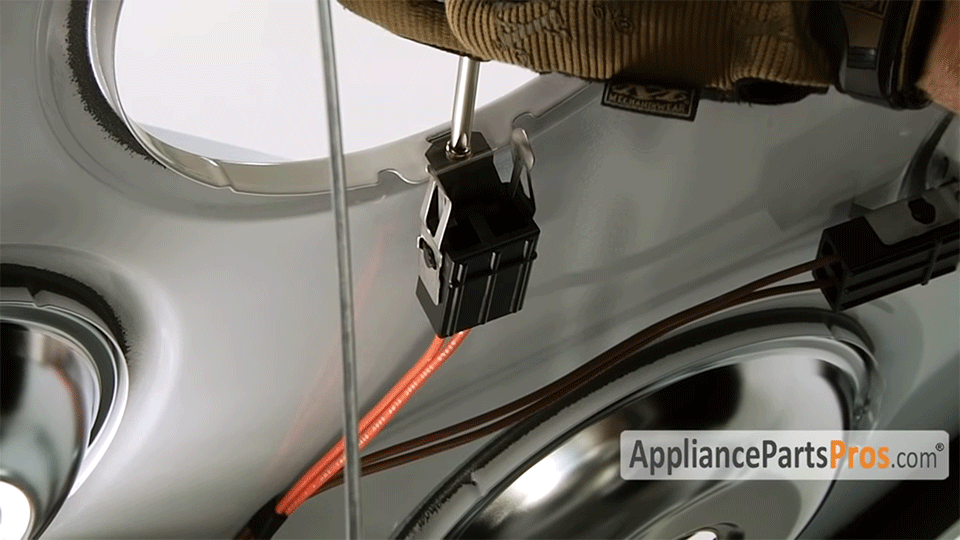
The receptacle block is going to be held in place by a single screw. Grab your Phillips screwdriver to remove it, and hang onto the screw in case you need it when installing the new block.
Fifth Step: Cut the old receptacle block out
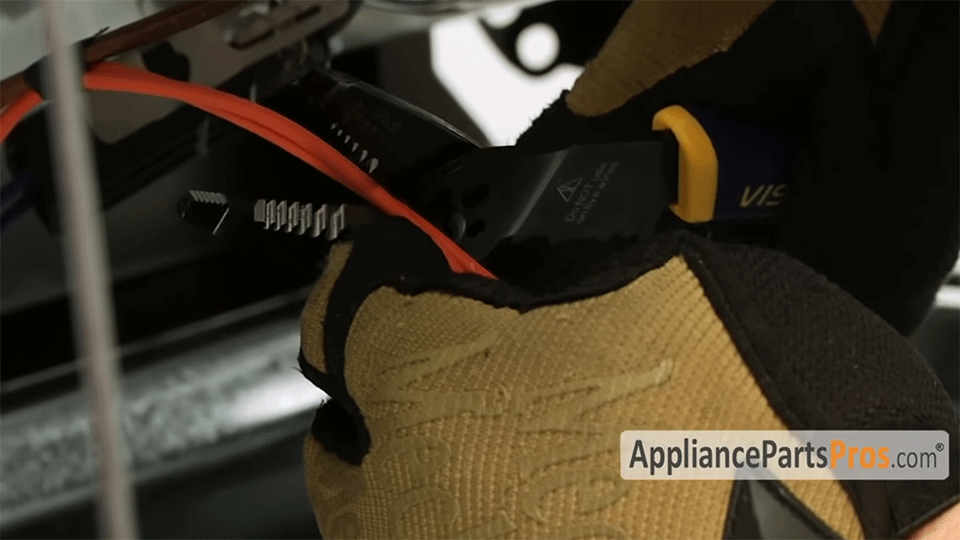
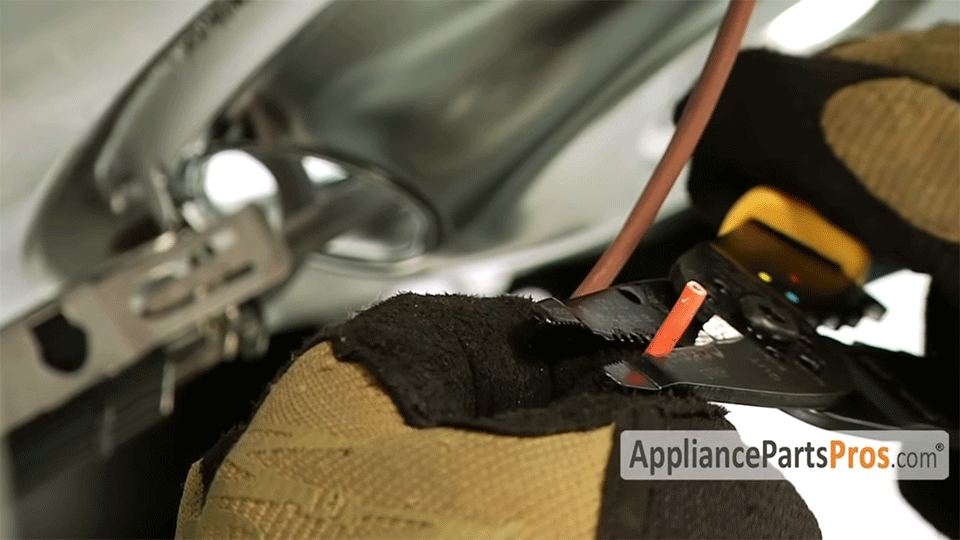
Be absolutely sure your range is not receiving power before completing this step! Once the old receptacle is detached from the underside of the cooktop, cut it free from the wiring system with your wire cutters/strippers.
With that done, you can use the strippers to strip the ends of the wires still attached to the range. You’ll want to strip away about a half an inch of wire insulation.
Sixth Step: Assemble the new terminal block
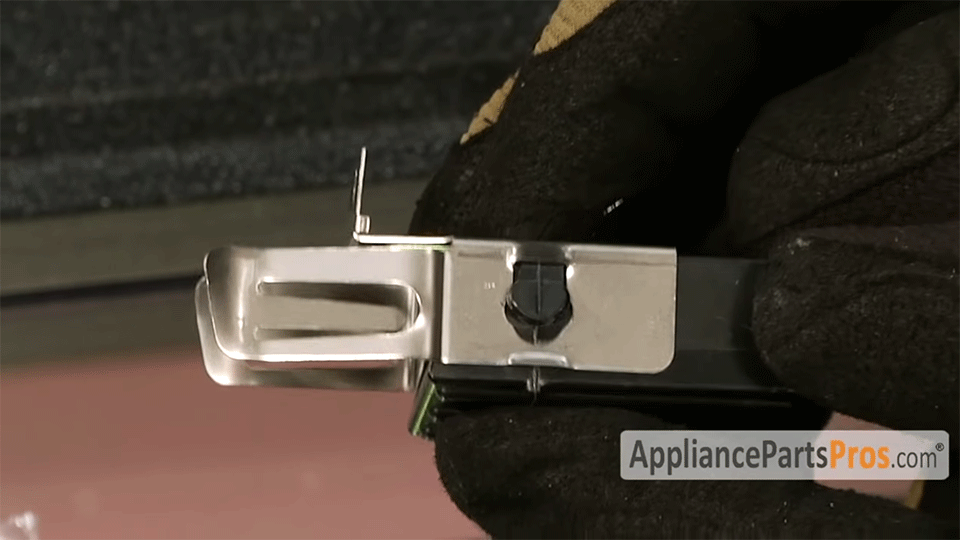
If your receptacle block came disassembled, now’s the time to put it together. The kit in our video came with two different brackets, and to proceed we selected the metal bracket that matched our old receptacle.
To assemble, slide the bracket onto the plastic terminal block. It’ll snap into place. Then, push the wire terminals into the plastic block. These should lock in place, so once you’ve pushed them in as far as they’ll go, give each one a tug to make sure they don’t come back out. If they’re not staying secure, turn them around and try again.
Seventh Step: Attach the new terminal block to the range’s wiring
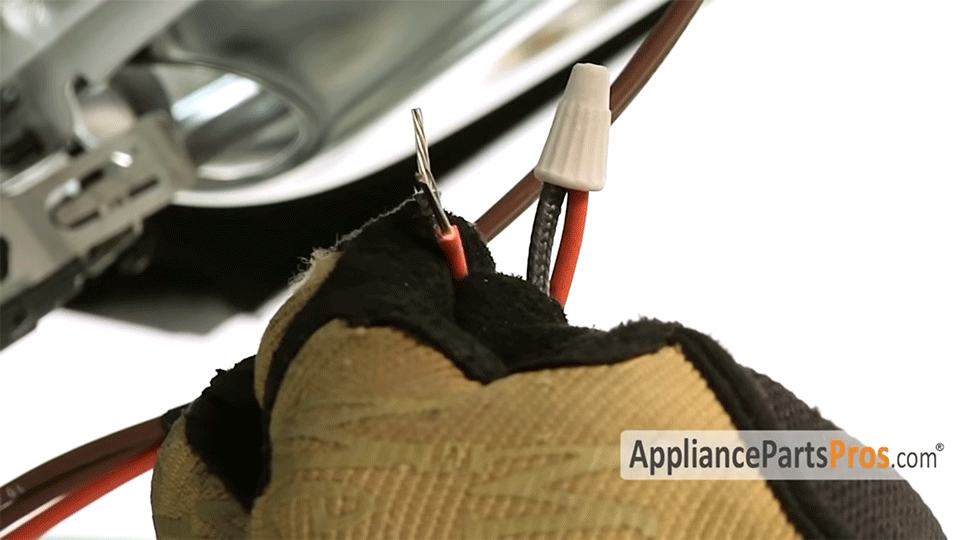
Start by sliding one heat shrink tube over each of the oven-side wires. Then pair each of the new receptacle’s wires to one of the oven-side wires and secure them with wire nuts. It doesn’t matter which goes where.
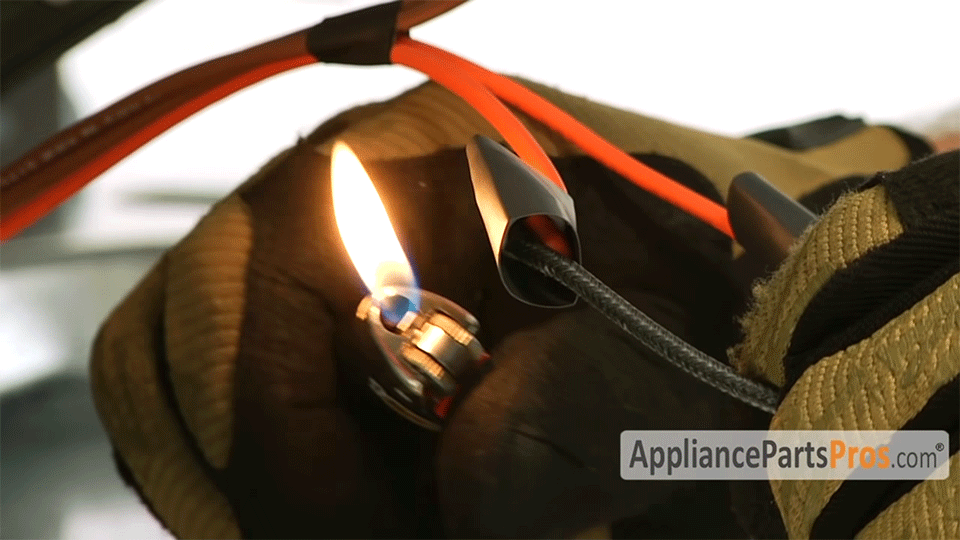
With the wire nuts on, bend the nuts over the wires and slide the heat shrink over everything. You can then heat up the heat shrink with a lighter to melt it down and secure it. Take care with this step!
Eighth Step: Secure the new range burner receptacle to the cooktop
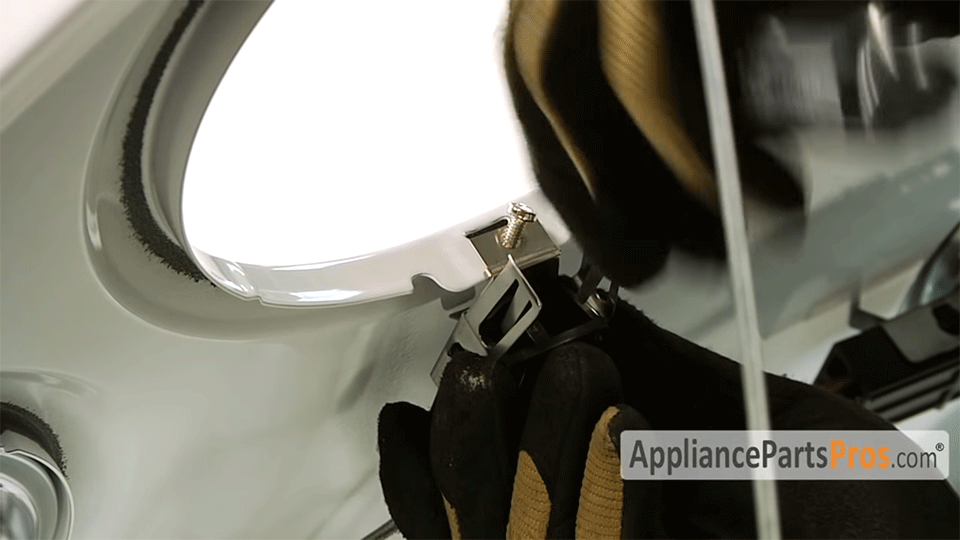
Steady the receptacle in place with one hand while replacing and screwing down the mounting hardware.
Nineth Step: Put the drip pan and heating element back in place
Release the supports and push the range top back down. Next, set the drip pan into place. Make sure it’s properly aligned so that the hole in the drip pan leaves the receptacle block open. Once that’s in place, you can push the heating element back into place.
Final Step: Time for a test run
Plug your range electrical cord back in and turn on the burner you just repaired. Make sure that it heats up properly and doesn’t get overly hot or otherwise malfunction. If it all checks out, your cooktop is back in working order!
Wrapping Up
Congratulations on the successful repair of your range burner receptacle! Don’t forget to check out our tutorial video for a detailed look at each step we took, and if you have any questions not answered by our guide, why not head over to our main site and ask one of our experts? AppliancePartsPros.com’s friendly staff is always on hand to help you with your DIY appliance repair needs!
Hi! I’m Matt H., and I’m thrilled to be your guide through the world of appliance repair with over 25 years of invaluable experience in the industry.
From the early days of my career, I have been deeply passionate about appliances and their inner workings. Over the years, I’ve seen it all – from vintage models to the latest cutting-edge technology – and I’ve dedicated myself to mastering the art of repair. With a toolbox in one hand and a wealth of knowledge in the other, I’ve tackled every challenge that has come my way, learning and growing with each repair.
Join me as we dive into the intricacies of appliance repair. From step-by-step repair guides to explanations of common problems and their solutions, I’ll be here to simplify the repair process and empower you with the knowledge you need to keep your appliances running smoothly.
Feel free to explore our blog, ask questions, and leave comments – this platform is a space for learning, sharing, and growing together. Let’s work together to ensure that your appliances continue to serve you for years to come.
Thank you for joining me on this journey, and I look forward to being your go-to resource for all things related to appliance repair!


