Replacing Broan Bath Fan Motor and Blower Wheel S97017062
Steven E / Monday June 2, 2025
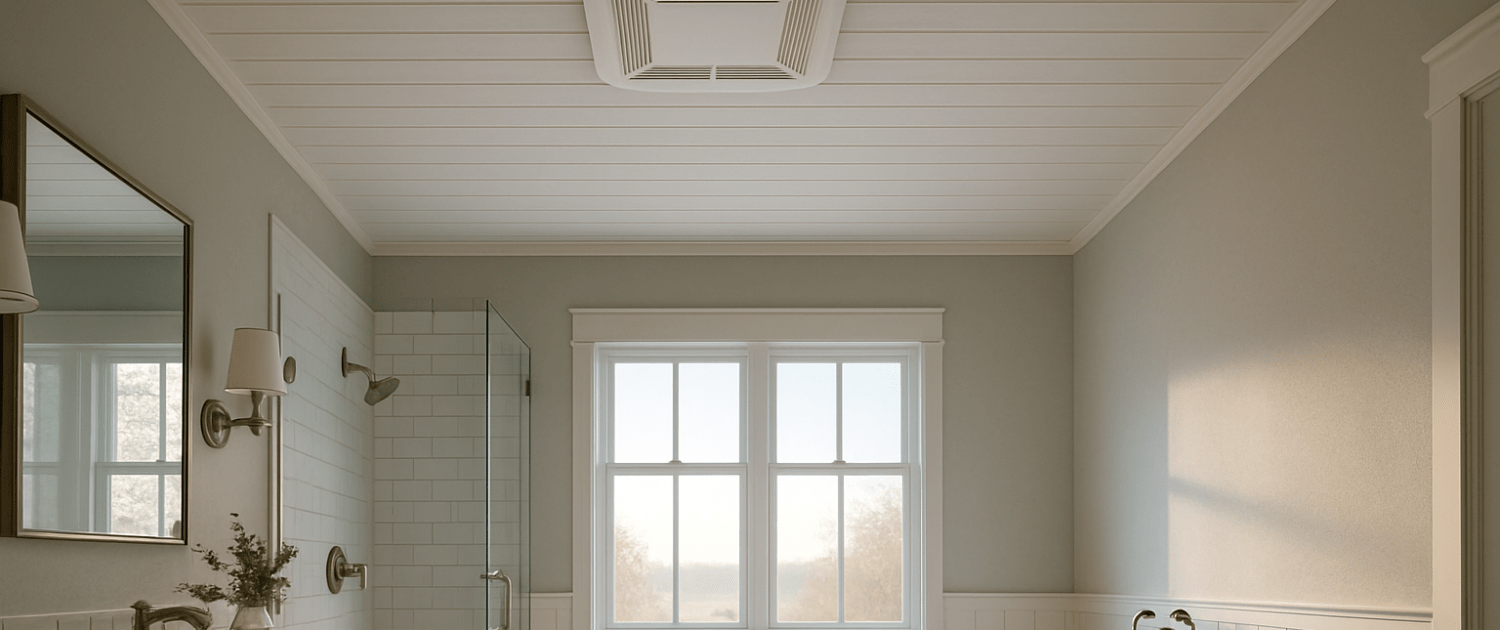
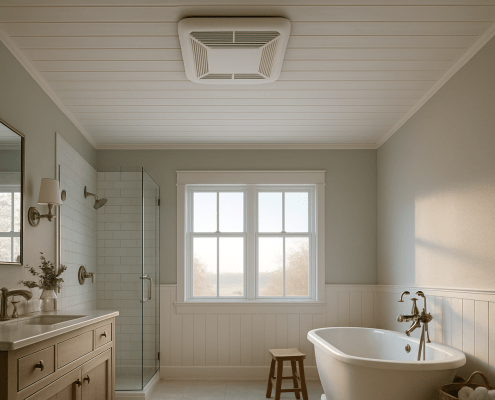
If your Broan bath fan is getting loud or not moving air like it used to, the motor or blower wheel could be the culprit. Swapping in a new S97017062 motor and wheel assembly is a straightforward fix that’ll have your fan running smooth and quiet again—no need to replace the whole unit.
The information in this article may not apply to your specific appliance model. We recommend consulting your manufacturer’s documentation or contact us with any questions.
Tools Needed
- Flat head screwdriver. to compress tabs and pry components
- 1/4 inch nut driver. to remove heater cover screws
- 1/8 inch Allen wrench. for blower wheel set screw
- 5/16 inch nut driver. to remove blower motor nuts
- Phillips head screwdriver. to remove housing screws
- Needle nose pliers. for better handling of receptacle wiring
- 3/8 inch nut driver. for several disassembly steps
- Genuine part S97017062. Includes replacement blower motor and wheel assembly (Take your model number to AppliancePartsPros.com to locate the correct part for your model)
Safety First
Safety comes first when working on any appliance. Here are some practical tips to help keep you safe:
- Always turn off the power by unplugging the appliance or switching off the circuit breaker before starting. This protects you from the risk of electric shock.
- Wear insulated gloves to protect your hands from sharp edges, pinching hazards, or debris.
- Take your time and work at a steady pace to avoid accidents or injuries.
- Make sure your workspace is well-lit so you can clearly see and access the parts you’re working on.
- Keep your area organized and free of clutter, and ensure children and pets are kept away from the workspace.
- Never handle internal parts with wet hands. Make sure both your hands and the work area are completely dry.
- Check your appliance’s user manual for specific instructions or safety guidelines related to your repair.
- Handle parts gently to prevent damaging the appliance or injuring yourself by using too much force.
- Wear safety glasses if you’re dealing with chemicals, dust, or large debris to protect your eyes.
- If the appliance was recently used, give it time to cool down before working on any heated components.
- Take photos or notes of wiring connections before disconnecting anything. This makes reassembly much easier.
- Avoid touching exposed wires or terminals. If you need to handle wires, use non-conductive tools or wear insulated gloves to reduce the risk of electrical shock.
Removal and Disassembly Steps
Make sure the power is off before beginning any repairs.

- Remove lens cover. Using a flathead screwdriver, compress the locking tab located on the side to release the lens cover from the fan grille assembly and set it aside.
- Unscrew light bulb. With one hand securing the grille and reflector assembly, unscrew the light bulb from its socket and set it aside.
- Remove nut with 3/8 inch nut driver. Locate and loosen the nut and washer securing the reflector assembly’s mounting screw. Remove the nut and set it aside.
- Disconnect reflector wiring. Carefully unplug the reflector assembly’s electrical wiring connector from its receptacle mounted to the fan housing.
- Disconnect blower/heater wiring. Also unplug the blower and heater receptacle wiring connector.
- Remove heater scroll housing screws. Through two small access holes on the side of the fan housing, use a Phillips head screwdriver to loosen the pan head screws securing the heater scroll housing to the bath fan housing.
- Release and remove heater scroll housing. Insert a flat head screwdriver between the housing and the tabs to gently pry them loose. Carefully remove the housing from the bath fan assembly and set it aside.
- Remove heater cover. Use the 1/4 inch nut driver to remove the four Phillips head screws holding the protective heater cover in place. Remove the cover.
- Disconnect and remove heating element. Using the 3/8 inch nut driver, remove the two nuts securing the heating element’s terminal ends. Take note of which side was connected to the red and black wires, take pictures if necessary. Unwind the element from the ceramic hooks and set it aside.
- Remove thermal fuse. Also remove the nut and thermal fuse connected to the blower motor wiring terminals so it can be reused. Set it aside.
- Disconnect wire terminals. Carefully remove all three terminal bolt assemblies, using a flathead screwdriver to hold the bolts while loosening with the 3/8 inch nut driver.
- Loosen blower wheel set screw. Use the 1/8 inch Allen wrench to loosen the set screw securing the blower wheel to the motor shaft so it can slide off.
- Remove blower motor mounting nuts. With access clear to the blower motor, use the 5/16 inch nut driver to remove the hex nuts holding the motor to the housing. Set them aside.
- Lift out motor and housing. With the blower assembly loose, carefully lift it out of the heather housing and prepare to install the new replacement.
Installation and Reassembly Steps
- Set motor with shaft facing up. Take the new blower motor and wheel out of the packaging and place the motor securely on your work surface with the shaft facing upwards.
- Mount heater housing onto motor. Align the scroll heater housing over the motor shaft and studs. Set it down onto the motor and hold securely.
- Install blower wheel on shaft. Slide the new blower wheel onto the motor’s shaft. Be sure to center it properly within the heater scroll housing so it can rotate without interference.
- Tighten set screw. Insert the 1/8 inch Allen wrench into the set screw and tighten it against the flat portion of the shaft to secure the blower wheel. Check for any wobble.
- Secure motor mounting nuts. Using the 5/16 inch nut driver, thread the nuts you set aside earlier onto the mounting studs and tighten the motor securely.
- Replace wiring terminals. Reconnect all the wiring to the proper terminals, including the thermal fuse, reversing the steps from when you disconnected them.
- Reinstall heating element. Carefully wind the heating element through the ceramic hooks in the scroll housing as originally installed and reconnect the wiring terminals with the 3/8 inch nut driver.
- Replace heater cover. Set the protective heater cover back in place on top of the scroll housing and replace all four screws securely with the 1/4 inch nut driver.
- Remount heater scroll housing. With the wiring detached, carefully insert the heater scroll housing back into the bath fan assembly, aligning the pegs and groove. Apply pressure until it clicks into place securely.
- Replace mount screws. Reach through the access holes with the Philips head screwdriver to tighten the two housing screws you removed previously.
- Reconnect wiring. Plug the blower and heater receptacle connectors back into place. Also reinsert reflector wiring.
- Reinstall reflector. Feed the reflector assembly through the grille opening and center it correctly. Replace the acorn nut underneath and tighten down with the 3/8 inch nut driver.
- Replace bulb and lens. Reinstall bulb in the reflector socket. Carefully bend the lens cover tabs back into the slots on the grille assembly to finish.
- Restore electrical power. Turn the fan’s circuit back on at the breaker box or switch.
- Test blower motor. Turn on the fan and listen closely for any abnormal noises coming from the blower assembly. It should run smooth and quiet.
- Check ventilation. Hold a tissue or paper under the louvered grille to feel the air being drawn out, checking for normal ventilation airflow.
More Information
Thanks for reading! We hope this article helped you replace the motor and blower wheel in your Broan bathroom exhaust fan.
If you still need some replacement parts, grab your model number and head over to AppliancePartsPros.com. We offer over two million parts and most orders arrive in two business days. If you need some help with finding the right part or placing an order, you can contact our team at 1 (877) 477-7278.
While you’re waiting for your new part to arrive, you can explore our DIY blog and watch thousands of video tutorials on our YouTube channel.
Be sure to follow us on Facebook, Twitter and Instagram to see our latest repair guides!
 https://www.appliancepartspros.com/b/wp-content/uploads/2025/06/20250602_0949_Farmhouse-Bathroom-Fan_simple_compose_01jwredw40ez2rwepk8ybry7e4.png
1024
1536
Steven E
https://www.appliancepartspros.com/b/wp-content/uploads/2020/11/app-logo-std.png
Steven E2025-06-02 06:56:132025-06-02 06:56:27Replacing Broan Bath Fan Motor and Blower Wheel S97017062
https://www.appliancepartspros.com/b/wp-content/uploads/2025/06/20250602_0949_Farmhouse-Bathroom-Fan_simple_compose_01jwredw40ez2rwepk8ybry7e4.png
1024
1536
Steven E
https://www.appliancepartspros.com/b/wp-content/uploads/2020/11/app-logo-std.png
Steven E2025-06-02 06:56:132025-06-02 06:56:27Replacing Broan Bath Fan Motor and Blower Wheel S97017062With nearly a decade of experience in providing top-notch customer service regarding appliance parts and repair, Steven enjoys sharing practical advice, troubleshooting tips, and interesting information to help readers stay informed.