Replacing Samsung Washer Dispenser to Tub Hose DC67-00467A
Steven E / Tuesday May 27, 2025
Is your Samsung washer leaving puddles of detergent or failing to get your laundry clean? You might have a pesky hose issue on your hands! Don’t worry—this guide, complete with a step-by-step how-to video just below, will show you everything you need to easily replace a faulty dispenser-to-tub hose in no time.
Looking for the right part? Enter your appliance model number below to find the exact match and get your appliance running like new again!
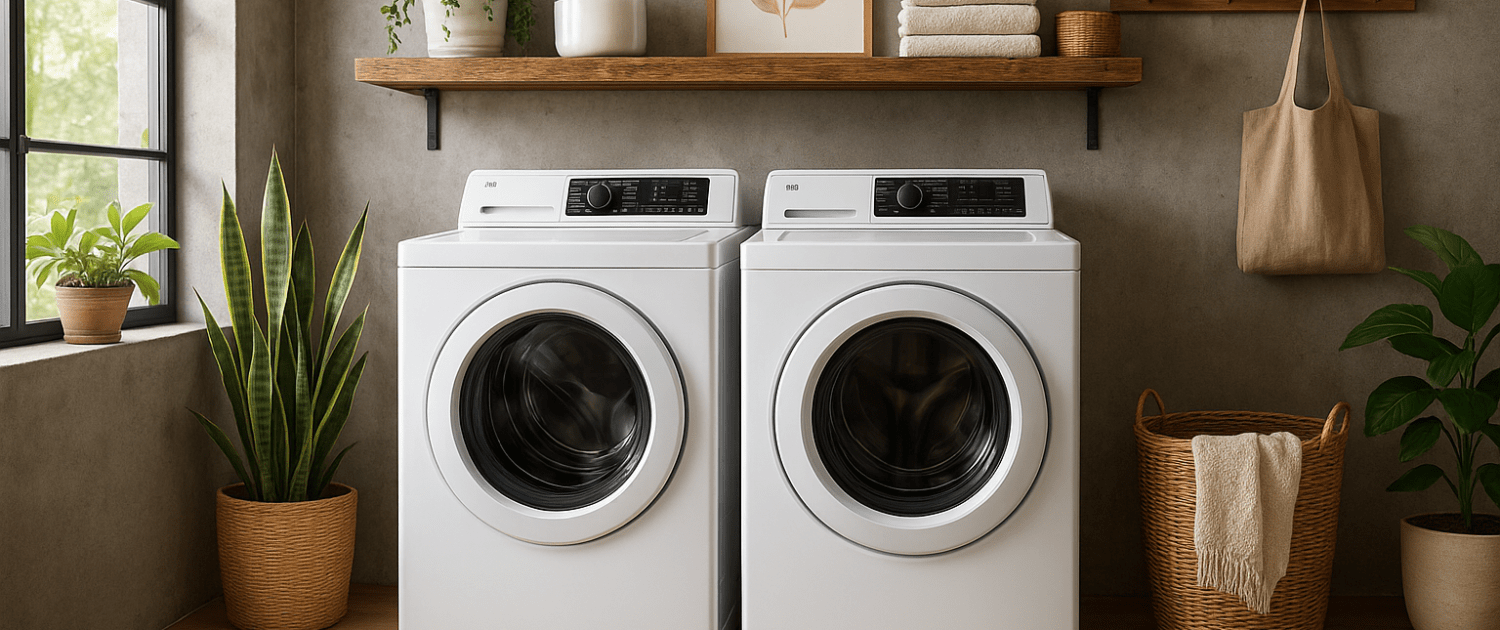
Noticing detergent leaking inside your Samsung washer? Or maybe your soap isn’t making it to the drum? You might be dealing with a clogged, kinked, or cracked dispenser-to-tub hose, part #DC67-00467A. This hose delivers detergent and softener from the dispenser drawer to the drum during each wash cycle. If it’s damaged, you’ll see water buildup, poor rinsing, or leakage. The good news? Replacing it is quick and simple with a few basic tools. I’ll break down everything you need to know.

Watch: How to install washer dispenser hose
The information in this article may not apply to your specific appliance model. We recommend consulting your manufacturer’s documentation or contact us with any questions.
Gather the Necessary Tools and Parts
Before you can start this repair, make sure you have everything you need on hand. Attempting the job without the right tools or parts will only lead to frustration. Here’s what you’ll need:
- Phillips head screwdriver
- New Samsung dispenser hose- Locate your model number and find the correct part for your unit. Using the wrong hose can lead to leaks.
- Hose clamps
- Flashlight
- Gloves
Safety precautions
Safety should always be a priority when working on any appliance. Here are a few practical tips to help you stay safe:
- Turn off the power to the appliance by unplugging it or switching off the circuit breaker before starting any maintenance or repairs. This protects you from the risk of electric shock.
- Wear insulated gloves to shield your hands from sharp edges, pinching hazards, or debris.
- Work at a steady pace and take your time to avoid accidents or injuries.
- Make sure your workspace is well-lit so you can clearly see and access the parts you’re working on.
- Keep the area clear of clutter, and ensure children and pets stay out of the workspace.
- Never handle internal parts with wet hands. Check that both your hands and the work area are completely dry.
- Refer to your appliance’s user manual for any specific instructions or safety guidelines related to the part or repair.
- Handle parts gently to avoid damage to the appliance or potential injuries from applying too much force.
- Use safety glasses when dealing with chemicals, dust, or large debris to protect your eyes from harm.
- If the appliance was recently used, give it enough time to cool down before working on any heated components.
- Take photos or notes of wiring connections and terminals before disconnecting anything to make reassembly easier.
- Avoid touching exposed wires or terminals. If you must handle wires, use non-conductive tools or wear insulated gloves to minimize the risk of electrical shock.
Removal Steps
- Unplug the washer. Unplug the power cord from the outlet or shut off the breaker supplying power to the washer.
- Turn off hot and cold supply valves. There are shut off valves behind the washer that control water flow. Turn them clockwise all the way to stop the water.
- Locate the two screws securing the back side of the top panel. They are along the back edge near the control panel.
- Use your Phillips head screwdriver to unscrew them. Be careful not to strip the screw heads.
- With the screws out, tilt the top panel up and lift it straight up and off the cabinet. Set it aside.
- Use your flashlight to illuminate the interior of the washer. You should now have clear access to the dispenser housing.
- Locate the dispenser housing in the top left corner of the interior. This is where the dispenser hose connects.
- Also, locate the connection point on the outer tub toward the back.
- Find the spring clamp securing each end of the existing hose. There will be one clamp at the dispenser housing, and another where it connects to the outer tub.
- Use a flat head screwdriver to compress each spring clamp and release them from the fittings.
- With both ends of the hose free, you can fully remove it from the washer. Inspect it for cracks or holes responsible for the leak.
Install the New Dispenser Hose
- Examine the new hose. Note that one end has a larger diameter fitting than the other. This matches up with the different-sized fittings on the dispenser housing and outer tub.
- Slide the spring clamps that came with the new hose onto each end of the hose. Position the larger clamp on the end with the larger diameter.
- Apply some liquid soap or lubricant to the inside of each end of the hose. This helps them slide onto the connection points easier.
- Start by lining up the larger end of the hose with the outlet on the dispenser housing. Push it on fully and tighten the clamp.
- Now line up the smaller end with the fitting on the outer tub. Push it on completely and tighten the smaller clamp.
- Make sure both ends are securely attached by giving them a gentle tug. They should not pull off.
- Set the top panel back in place on the washer cabinet. Push it back and down so it sits flush.
- Insert the two screws along the back edge and tighten them with your Phillips screwdriver to secure the panel.
- Restore power to the washer by plugging it back in or switching the breaker back on.
- Turn the hot and cold water valves at the wall on again.
- Run a test cycle and verify the new hose does not leak any water. Also, check that the washer fills properly.
- If there are no leaks or issues, the repair is complete! You’ve successfully replaced the dispenser hose.
Replacing this common part is one of the easier DIY repairs on a Samsung washer. Following these instructions and taking your time should result in a professional looking job. Nice work!
More Information
Thanks for reading! We hope this article helped you replace the dispenser hose in your Samsung washer.
If you still need some replacement parts, grab your model number and head over to AppliancePartsPros.com. We offer over 2 million parts and most orders arrive in 2-3 business days. If you need some help with finding the right part or placing an order, you can contact our team at 1 (877) 477-7278.
While you’re waiting for your new part to arrive, you can explore our DIY blog and watch thousands of video tutorials on our YouTube channel.
Be sure to follow us on Facebook, Twitter and Instagram to see our latest repair guides!
 https://www.appliancepartspros.com/b/wp-content/uploads/2022/05/shutterstock_2033181065-1.jpg
791
1500
APP Expert
https://www.appliancepartspros.com/b/wp-content/uploads/2020/11/app-logo-std.png
APP Expert2022-05-13 12:14:072025-07-18 12:22:29Washing Machine is Leaking: Top 6 Reasons and Fixes
https://www.appliancepartspros.com/b/wp-content/uploads/2022/05/shutterstock_2033181065-1.jpg
791
1500
APP Expert
https://www.appliancepartspros.com/b/wp-content/uploads/2020/11/app-logo-std.png
APP Expert2022-05-13 12:14:072025-07-18 12:22:29Washing Machine is Leaking: Top 6 Reasons and Fixes https://www.appliancepartspros.com/b/wp-content/uploads/2022/04/shutterstock_2019667025-1.jpg
1057
1500
APP Expert
https://www.appliancepartspros.com/b/wp-content/uploads/2020/11/app-logo-std.png
APP Expert2022-04-13 10:37:152025-07-18 10:54:59How To Replace A Washer Timer Knob (With Video!)
https://www.appliancepartspros.com/b/wp-content/uploads/2022/04/shutterstock_2019667025-1.jpg
1057
1500
APP Expert
https://www.appliancepartspros.com/b/wp-content/uploads/2020/11/app-logo-std.png
APP Expert2022-04-13 10:37:152025-07-18 10:54:59How To Replace A Washer Timer Knob (With Video!) https://www.appliancepartspros.com/b/wp-content/uploads/2022/04/shutterstock_132733679-1.jpg
1000
1500
APP Expert
https://www.appliancepartspros.com/b/wp-content/uploads/2020/11/app-logo-std.png
APP Expert2022-04-06 17:01:592025-07-18 10:37:16How To Replace A Washing Machine Water Level Switch (With Video!)
https://www.appliancepartspros.com/b/wp-content/uploads/2022/04/shutterstock_132733679-1.jpg
1000
1500
APP Expert
https://www.appliancepartspros.com/b/wp-content/uploads/2020/11/app-logo-std.png
APP Expert2022-04-06 17:01:592025-07-18 10:37:16How To Replace A Washing Machine Water Level Switch (With Video!)With nearly a decade of experience in providing top-notch customer service regarding appliance parts and repair, Steven enjoys sharing practical advice, troubleshooting tips, and interesting information to help readers stay informed.