Roller Bearing WP9871602 Replacement on a Whirlpool Trash Compactor
Steven E / Wednesday May 14, 2025
Is your Whirlpool trash compactor drawer giving you grief by dragging or refusing to glide smoothly? Don’t let a worn-out container roller bearing disrupt your daily routine! Discover how you can effortlessly replace this pesky component and restore your trash compactor to like-new condition with our easy-to-follow steps and detailed how-to video just below.
Looking for the right part? Enter your appliance model number below to find the exact match and get your appliance running like new again!
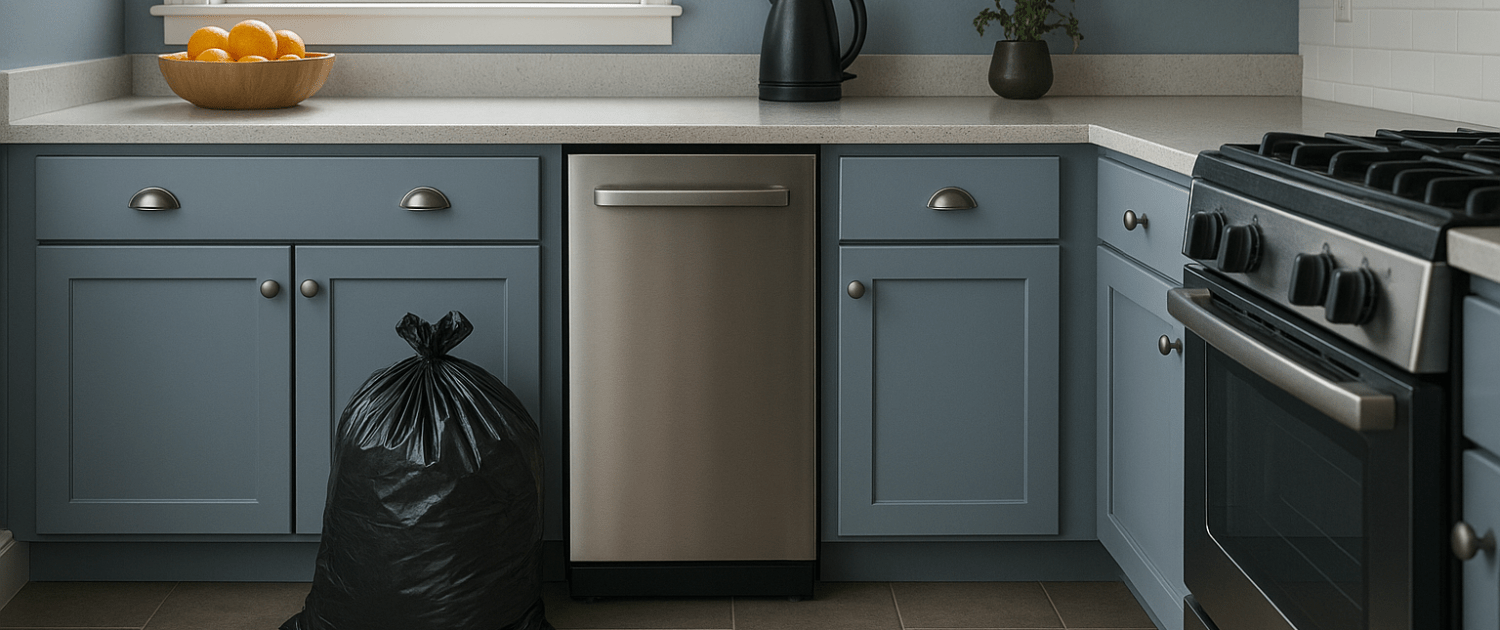
Is your Whirlpool trash compactor drawer dragging or refusing to slide out smoothly? Chances are, the container roller bearing (part WP9871602) has worn out. The good news is, replacing it is a quick and easy fix that’ll make your compactor feel like new again. Grab a wrench, maybe a flathead screwdriver, and let’s roll through the steps together.

The information in this article may not apply to your specific appliance model. We recommend consulting your manufacturer’s documentation or contact us with any questions.
Watch: How to replace a Container Roller Bearing
Why Does the Container Roller Bearing Need Replacement?
Trash compactors like the Whirlpool, KitchenAid, and Maytag models have a roller system on the bottom of the container that allows it to glide in and out of the cabinet easily. The container roller bearing fits into the frame rail and works in conjunction with the front rollers to enable smooth movement.
Over time, this bearing wears out from frequent use. The grease inside the bearing dries up, causing increased friction. Hard objects packed into the trash can damage the bearing, deforming its shape. Either way, the result is the same: the container starts sticking when you try to pull it out to empty it.
Replacing the container roller bearing restores free movement and eliminates the grinding, and scraping noise that accompanies a worn bearing. This part takes just a few minutes to swap out.
Safety precautions
Safety comes first when working on any appliance. Here are some practical tips to help keep you safe:
- Always turn off the power by unplugging the appliance or switching off the circuit breaker before starting. This protects you from the risk of electric shock.
- Wear insulated gloves to protect your hands from sharp edges, pinching hazards, or debris.
- Take your time and work at a steady pace to avoid accidents or injuries.
- Make sure your workspace is well-lit so you can clearly see and access the parts you’re working on.
- Keep your area organized and free of clutter, and ensure children and pets are kept away from the workspace.
- Never handle internal parts with wet hands. Make sure both your hands and the work area are completely dry.
- Check your appliance’s user manual for specific instructions or safety guidelines related to your repair.
- Handle parts gently to prevent damaging the appliance or injuring yourself by using too much force.
- Wear safety glasses if you’re dealing with chemicals, dust, or large debris to protect your eyes.
- If the appliance was recently used, give it time to cool down before working on any heated components.
- Take photos or notes of wiring connections before disconnecting anything. This makes reassembly much easier.
- Avoid touching exposed wires or terminals. If you need to handle wires, use non-conductive tools or wear insulated gloves to reduce the risk of electrical shock.
Replacing the Container Roller Bearing
Fixing a sticking trash compactor drawer is well within the DIY abilities of most homeowners. Here are the step-by-step instructions for this repair project:
Supplies Needed
- Container roller bearing (part #WP9871602 for Whirlpool/KitchenAid/Maytag)
- Flat blade screwdriver
- 9/16 inch socket wrench
Removing the Container
- Push down the foot pedal to release the container and open the drawer. If your pedal is stiff, use your body weight to fully depress it.
- Pull the container completely out so it extends past the cabinet frame. Make sure to pull it straight out without angling it.
- Lift up the front of the container to disengage the rear rollers from the tracks. Tilt it back toward you.
- Set the container on the floor with the front side facing down. This will fully expose the roller bearing.
Removing the Old Bearing
- Insert a flat-blade screwdriver into one side of the hex screw holding the old bearing. This will keep it from turning while you loosen the nut.
- Fit a 9/16″ socket wrench onto the nut on the opposite side. Place it so you can turn it counter-clockwise to unscrew it.
- Turn the nut counterclockwise while holding the screwdriver steady. Unscrew it completely to detach the old bearing.
- Remove the old bearing from the frame and set it aside. Inspect the new replacement bearing and verify it matches the old one.
Installing the New Bearing
- Start the new bearing into the empty hole where you removed the old one. The hex portion should fit into the slot in the frame.
- Hand tighten the nut clockwise a few turns until the bearing seats securely in the opening.
- Use the socket wrench to fully tighten the nut while holding the bearing still with the screwdriver. Do not over-tighten.
Reinstalling the Container
- Set the rear rollers back into the tracks. Make sure the wheels fit properly into the rail guides.
- Push the container completely back into the cabinet. You may need to lift it slightly to engage the rollers.
- Close the container drawer fully to lock it into place before compacting waste again.
Testing and Verifying the Repair
Once the new container roller bearing is installed, test it out to make sure the container glides easily once again.
- Push the pedal down and slowly open the container like normal. It should roll out smoothly without hesitation or sticking.
- Visually inspect that the rear wheels turn freely on the track.
- Close the drawer and reopen it a few times to verify consistent operation.
- Listen for grinding sounds, vibration, or other indications the bearing may be defective.
Restoring Power to the Trash Compactor
With the repair complete, you can plug the compactor back in and turn on the power.
If you shut off power at the circuit breaker or unplugged the cord during this maintenance, make sure to restore it now. The unit will not operate or compact trash until power is resumed.
Press the power button if your model has one. Your compactor should turn on and resume normal operation. Feel free to begin compacting waste again.
Where To Find Us
If you need any replacement parts for your appliances, you can enter your model number at AppliancePartsPros.com to locate and order them quickly. Most orders arrive in just two business days, and we have tons of great information in our repair help section and YouTube videos to help you troubleshoot.
Stay connected with the latest DIY tips, tutorial videos, and repair guides by following us on Facebook, Instagram, and Twitter. We love hearing about your repair stories and successes. If you need more help or want personalized guidance, feel free to reach out. We’re ready to help you take on your next project with confidence!
 https://www.appliancepartspros.com/b/wp-content/uploads/2024/07/Copy-of-Copy-of-Copy-of-Copy-of-Copy-of-Copy-of-Copy-of-Copy-of-Copy-of-Copy-of-Copy-of-app-blog-square-9.jpg
1080
1080
Steven E
https://www.appliancepartspros.com/b/wp-content/uploads/2020/11/app-logo-std.png
Steven E2024-07-16 09:08:572024-07-16 09:09:055 reasons a trash compactor shocks when it’s touched & how to fix it
https://www.appliancepartspros.com/b/wp-content/uploads/2024/07/Copy-of-Copy-of-Copy-of-Copy-of-Copy-of-Copy-of-Copy-of-Copy-of-Copy-of-Copy-of-Copy-of-app-blog-square-9.jpg
1080
1080
Steven E
https://www.appliancepartspros.com/b/wp-content/uploads/2020/11/app-logo-std.png
Steven E2024-07-16 09:08:572024-07-16 09:09:055 reasons a trash compactor shocks when it’s touched & how to fix it https://www.appliancepartspros.com/b/wp-content/uploads/2024/07/Copy-of-Copy-of-Copy-of-Copy-of-Copy-of-Copy-of-Copy-of-Copy-of-Copy-of-Copy-of-Copy-of-app-blog-square-8.jpg
1080
1080
Steven E
https://www.appliancepartspros.com/b/wp-content/uploads/2020/11/app-logo-std.png
Steven E2024-07-16 08:55:502024-07-16 08:55:59How to troubleshoot a trash compactor that smells bad
https://www.appliancepartspros.com/b/wp-content/uploads/2024/07/Copy-of-Copy-of-Copy-of-Copy-of-Copy-of-Copy-of-Copy-of-Copy-of-Copy-of-Copy-of-Copy-of-app-blog-square-8.jpg
1080
1080
Steven E
https://www.appliancepartspros.com/b/wp-content/uploads/2020/11/app-logo-std.png
Steven E2024-07-16 08:55:502024-07-16 08:55:59How to troubleshoot a trash compactor that smells bad https://www.appliancepartspros.com/b/wp-content/uploads/2024/07/Copy-of-Copy-of-Copy-of-Copy-of-Copy-of-Copy-of-Copy-of-Copy-of-Copy-of-Copy-of-Copy-of-app-blog-square-7.jpg
1080
1080
Steven E
https://www.appliancepartspros.com/b/wp-content/uploads/2020/11/app-logo-std.png
Steven E2024-07-16 08:42:252024-07-16 08:42:32Trash compactor leaves a mess: A DIY troubleshooting guide
https://www.appliancepartspros.com/b/wp-content/uploads/2024/07/Copy-of-Copy-of-Copy-of-Copy-of-Copy-of-Copy-of-Copy-of-Copy-of-Copy-of-Copy-of-Copy-of-app-blog-square-7.jpg
1080
1080
Steven E
https://www.appliancepartspros.com/b/wp-content/uploads/2020/11/app-logo-std.png
Steven E2024-07-16 08:42:252024-07-16 08:42:32Trash compactor leaves a mess: A DIY troubleshooting guideWith nearly a decade of experience in providing top-notch customer service regarding appliance parts and repair, Steven enjoys sharing practical advice, troubleshooting tips, and interesting information to help readers stay informed.