Troubleshooting an Oven Fan That Won’t Turn Off
Steven E / Monday May 12, 2025
The soothing sound of a cooling oven fan clicking off means your latest culinary masterpiece is ready to enjoy. But when that oven fan won’t stop humming long after the cooking is done, frustration can boil over. Why does my oven fan stay on even when the oven is cold?
If your gas oven’s fan remains constantly running despite the controls being turned off and the oven interior itself being stone cold, the cause is likely an electrical malfunction in one of two key components. In this comprehensive guide, we’ll explore the common reasons an oven fan won’t stop running and detail the straightforward repair process to get things working right.
With a bit of easy troubleshooting and replacement of inexpensive parts like the thermostat or control board as needed, you can stop your oven fan from endlessly spinning when not in use. Let’s pinpoint the cause and get cooking without the annoyance of a fan that just won’t quit!
The information in this article may not apply to your specific appliance model. We recommend consulting your manufacturer’s documentation or contact us with any questions.

Why Your Oven Fan Is Still Running
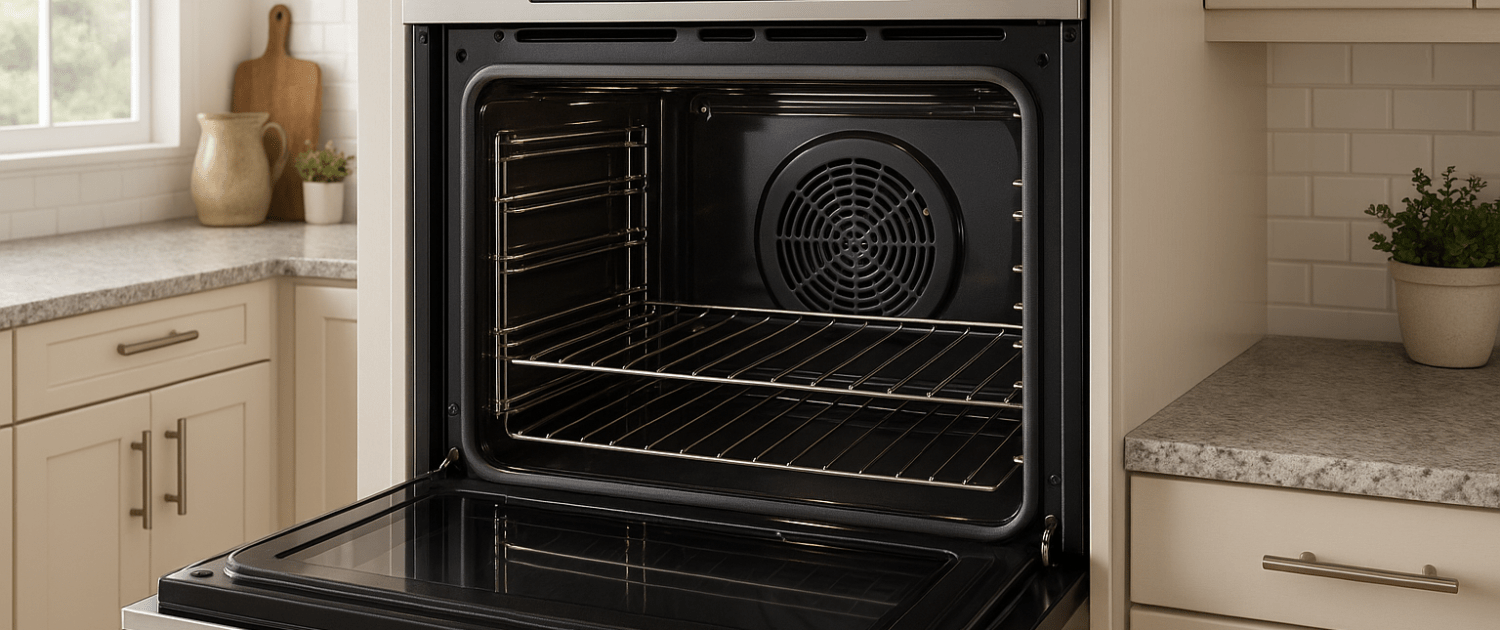
Most gas ovens have a fan and a thermostat to control the fan. The fan’s main job is to spread the hot air around so the oven cooks evenly.
When the oven gets really hot inside, the thermostat sends a signal to the fan, kind of like an electric message. This tells the fan to start blowing the hot air around. As the oven cools down, the thermostat sends another message to the fan to stop.
If the oven fan won’t stop running even when the oven is cool and the door is open, it’s usually because of one of two things:
- The thermostat is stuck and keeps sending messages to the fan, telling it to run all the time.
- The control board, like the brain of the oven, has a problem. It might be sending constant messages to the fan because something is wrong with it.
Before you try to take apart the oven and fix things, it’s a good idea to understand the basics of how the oven fan works. This will help you figure out what’s wrong in a step-by-step way.
Testing the Oven Thermostat
To test your oven’s thermostat, follow these steps:
Begin by locating and accessing the thermostat. In most oven models, you can find the thermostat attached to the back wall of the oven cavity or occasionally beneath the control panel.
To make the thermostat accessible, remove the oven racks and clear out any debris from inside the oven.
In some ovens, there might be a removable panel on the rear wall that lets you reach the thermostat mounting screws.
For precise details on where to locate the thermostat and any specific instructions for accessing it, refer to your oven’s service manual.
Once the oven is completely cool, use a multimeter to examine the thermostat’s continuity.
Set the multimeter to test for continuity and touch the probe leads to the two terminal contacts of the thermostat.
Under normal circumstances, there should be no continuity when the thermostat contacts are open at room temperature.
If there is continuity, it suggests that the thermostat contacts are stuck in a closed position, allowing electricity to flow continuously and keeping the fan powered on.
If the thermostat exhibits continuity even when the oven is cold, it indicates a defect, and you will need to replace it. A thermostat that remains stuck in a closed state as it cools down is often the cause of the frustrating issue where the oven fan doesn’t stop running.
Replacing a Faulty Oven Thermostat
To replace a faulty oven thermostat, you’ll need to remove the old one, install the new replacement part, and reconnect any wires or fasteners. Here’s an overview of the complete process for replacing the thermostat:
Begin by ensuring you have the correct replacement thermostat for your oven. Find the specific model number on the appliance tag or in the owner’s manual. Use this model number to identify the suitable replacement thermostat kit designed for your oven model. You can find that at AppliancePartsPros.com.
Before you start working, turn off the electrical power to the oven. Locate the oven circuit breaker or fuse and switch it to the Off position to ensure your safety during the replacement process. Additionally, disconnect any electrical connections attached to the thermostat terminals before attempting to remove it.
Carefully remove the old thermostat from its position. This might involve taking out any mounting screws or brackets that hold it in place. Also, detach the wiring connectors connected to the thermostat’s electrical terminals. Take note of the wire colors and their placements so you can reconnect them correctly later on.
Now, position the new thermostat replacement where the old one was situated. Secure it using any brackets or screws that were removed earlier. Make sure not to overtighten the screws.
Reconnect the wire leads to the appropriate terminals on the new thermostat, ensuring you match the wire positions as noted before.
Once everything is in place, restore power to the oven by turning the circuit breaker or fuse back to the On position.
Use a multimeter to verify the thermostat’s continuity while the oven is still cold. The test should show that the thermostat is open.
Turn on the oven and observe whether the fan cycles on and off as expected when the oven heats up and cools down.
With the malfunctioning thermostat replaced, your oven’s fan should now turn off correctly as the oven cools down. If this issue persists, there might be another problem with the oven’s control board that needs attention.
When the Control Board Is at Fault
If you’ve determined that the oven thermostat is working properly yet the fan continues to run constantly, the problem might stem from a relay that has shorted on the oven’s control board.
Here’s how you can diagnose and resolve a control board issue:
Firstly, narrow down the problem. Is the oven fan consistently running alongside the interior light and heating elements? If so, this points towards a problem with the control board. On the other hand, if the thermostat is functioning correctly—opening and closing as it should—then it’s not the source of the issue.
Next, examine the control board itself. The oven control board acts like the “brain” that manages all the oven’s functions. You’ll typically find it located behind the control panel.
To get a closer look, remove the control panel and carefully inspect the control board. Look for any signs of burnt areas or physical damage that could indicate a relay on the board has shorted.
Using a multimeter, test for shorts while the oven is disconnected from power. Check for continuity between individual relay terminals. If you find any relays or circuits that display unintended continuity, it’s a clear sign of a shorted control board, which will need to be replaced.
If you determine that the control board is indeed faulty, purchase the correct replacement control board designed specifically for your oven model. Install the new control board and ensure you thoroughly test the oven’s operation after reconnecting all the wiring.
While not as frequent as a malfunctioning thermostat, a problematic control board can also result in the frustrating situation of an oven fan that persists in running even after the oven has been turned off. Precise troubleshooting is vital to pinpoint the component that requires replacement.
Where To Get More Help
If you need any replacement parts for your appliances, you can enter your model number at AppliancePartsPros.com to locate and order them quickly. Most orders arrive in just two business days, and we have tons of great information in our repair help section and YouTube videos to help you troubleshoot.
Stay connected with the latest DIY tips, tutorial videos, and repair guides by following us on Facebook, Instagram, and Twitter. We love hearing about your repair stories and successes. If you need more help or want personalized guidance, feel free to reach out. We’re ready to help you take on your next project with confidence!
 https://www.appliancepartspros.com/b/wp-content/uploads/2025/03/APP-blog-square-1-10.jpg
1080
1080
Steven E
https://www.appliancepartspros.com/b/wp-content/uploads/2020/11/app-logo-std.png
Steven E2025-04-01 06:22:592025-04-01 06:23:07Troubleshooting GE Monogram wall oven error code F0
https://www.appliancepartspros.com/b/wp-content/uploads/2025/03/APP-blog-square-1-10.jpg
1080
1080
Steven E
https://www.appliancepartspros.com/b/wp-content/uploads/2020/11/app-logo-std.png
Steven E2025-04-01 06:22:592025-04-01 06:23:07Troubleshooting GE Monogram wall oven error code F0 https://www.appliancepartspros.com/b/wp-content/uploads/2025/04/APP-blog-square-19.jpg
1080
1080
Steven E
https://www.appliancepartspros.com/b/wp-content/uploads/2020/11/app-logo-std.png
Steven E2025-04-01 06:18:242025-04-01 06:18:31Troubleshooting GE Monogram wall oven error code F3
https://www.appliancepartspros.com/b/wp-content/uploads/2025/04/APP-blog-square-19.jpg
1080
1080
Steven E
https://www.appliancepartspros.com/b/wp-content/uploads/2020/11/app-logo-std.png
Steven E2025-04-01 06:18:242025-04-01 06:18:31Troubleshooting GE Monogram wall oven error code F3 https://www.appliancepartspros.com/b/wp-content/uploads/2025/03/APP-blog-square-1-5.jpg
1080
1080
Steven E
https://www.appliancepartspros.com/b/wp-content/uploads/2020/11/app-logo-std.png
Steven E2025-03-27 06:12:282025-03-27 06:12:36How to use the steam clean feature on a GE oven
https://www.appliancepartspros.com/b/wp-content/uploads/2025/03/APP-blog-square-1-5.jpg
1080
1080
Steven E
https://www.appliancepartspros.com/b/wp-content/uploads/2020/11/app-logo-std.png
Steven E2025-03-27 06:12:282025-03-27 06:12:36How to use the steam clean feature on a GE ovenWith nearly a decade of experience in providing top-notch customer service regarding appliance parts and repair, Steven enjoys sharing practical advice, troubleshooting tips, and interesting information to help readers stay informed.