Troubleshooting Error Codes F111 and F113 On a Bosch Oven
Steven E / Tuesday May 13, 2025
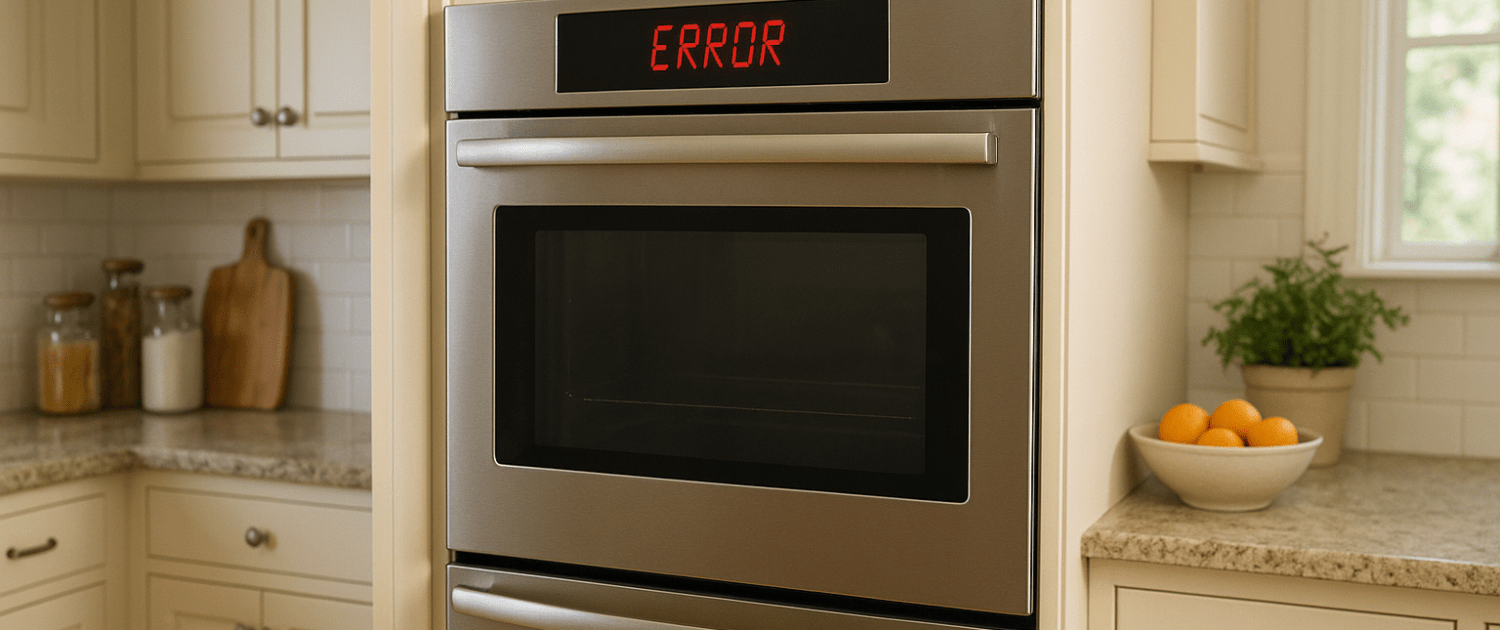
Seeing an F111 or F113 error code appear on your Bosch oven? These fault codes indicate a runaway oven temperature, meaning the internal cavity has exceeded safe thresholds during cooking or self-cleaning. Left unchecked, runaway oven temps can pose a serious fire hazard. This is why Bosch ovens alert you with F111 or F113 errors triggering automatic shutdown. In this guide, we’ll explain the causes of F111 and F113 Bosch oven error codes and walk through steps to troubleshoot each one.
If you find out that you need any replacement parts for your appliance while you’re troubleshooting, you can enter your model number at AppliancePartsPros.com to order them. Most orders arrive in just two business days, and we have thousands of free guides to show you how to install your new parts.
The information in this article may not apply to your specific appliance model. We recommend consulting your manufacturer’s documentation or contact us with any questions.
What is a runaway oven temperature?
Bosch ovens have a temperature sensor inside the oven cavity to monitor internal heat levels. The sensor connects to the electronic control board.

During all cooking and cleaning modes, the control maintains proper oven temp by regulating power to the heating elements or gas burners.
But if a failure occurs in a component like the sensor, thermostat, or heating elements, the oven can overheat above normal safe temps.
Once the oven interior hits certain excessive temperatures, the control board triggers an F111 or F113 error and shuts down power to prevent a fire.
What temperatures cause F111 and F113 codes?
The F111 error code indicates the oven cavity has surpassed 585°F when not expected. This typically only occurs during normal cooking modes.
Whereas the F113 code means the oven interior has exceeded 950°F, which is most common during self-cleaning operation.
Once the control board senses these excessive runaway temperatures via the sensor, it immediately shuts off power and displays the error.
Troubleshooting F111 error code
An F111 code means your oven has exceeded the 585°F maximum while in a normal cooking mode. Here’s how to troubleshoot:
Step 1: Test the thermostat
- The oven thermostat is typically mounted behind the control panel or on the back of the range. Consult your unit schematic.
- Shut off power at the breaker or unplug the oven. Double check power is off for safety.
- Remove the mounting screws or bracket to detach the thermostat wiring. Make note of wire positions.
- Carefully install a new replacement thermostat known to be working properly. Reconnect wires to proper terminals.
- Restore power and initiate a bake mode. Monitor oven temp and operation closely.
- If the F111 code does not reappear during testing, you’ve confirmed the original thermostat was defective.
Step 2: Check thermostat wiring
- Unplug the oven again and remove thermostat wires from the control terminals.
- Inspect every inch of wiring for damage. Look for burning, nicks, loose terminals, or bare spots in insulation.
- Pay close attention to sections that contact hot oven surfaces or pass near heating elements.
- Repair any damaged spots with heat resistant tape or replace the entire wire if badly damaged.
- Reconnect wiring to the thermostat tightly and restore power for testing.
Step 3: Test heating elements
- To access heating elements, remove racks and interior paneling as needed per your model.
- Inspect the bake and broil elements visually first. Look for signs of cracks, separated coils, or heavy discoloration.
- Use a multimeter to check the resistance of each element. Refer to resistance value ranges in the oven tech sheet.
- If resistance is way out of spec or elements show physical damage, order and install new Bosch elements.
Step 4: Verify temperature sensor
- Activate the oven’s self-diagnostic mode to view internal temperature sensor readings.
- Use an independent oven thermometer placed inside the cavity to compare actual temp versus sensor.
- If sensor reading is significantly different from the thermometer, the sensor is faulty and should be replaced.
- This will restore accurate temp monitoring to prevent overheating issues.
Troubleshooting F113 error code
An F113 code signifies your oven surpassed 950°F during self-cleaning mode. Here is how to troubleshoot:
Step 1: Check the thermostat
- Shut off power to the oven at the breaker panel before any disassembly or testing.
- Remove mounting screws or brackets to detach existing thermostat wiring from terminals.
- Carefully install a replacement thermostat designed for your Bosch model. Secure wires to proper terminals.
- Restore power and activate a self-cleaning cycle. Monitor operation closely.
- If the F113 error returns, it points to a defective original thermostat that requires replacement.
Step 2: Inspect thermostat wiring
- Unplug the oven power supply at the wall outlet or shut off the breaker.
- Remove thermostat wires and inspect every inch for damage like nicks, burning, loose lugs, or compromised insulation.
- Repair any damaged sections with high-temp wiring tape or replace the entire wire bundle if necessary.
- Reattach wiring to thermostat terminals tightly before restoring power.
Step 3: Test heating elements
- Consult your model’s service diagram to identify bake and broil element locations. Remove oven interior parts to access.
- Inspect elements for visible damage like separated coils, cracks, or heavy discoloration indicating failure.
- Use a multimeter to measure element resistance. Compare the specs in your oven tech sheet.
- If resistance is out of spec or elements show exterior damage, replace them with new Bosch heating elements.
Step 4: Verify oven sensor
- Activate the built-in oven diagnostics mode and check the cavity temperature sensor reading on the display.
- Compare the temp shown versus an independent oven thermometer placed inside for accuracy.
- If the sensor reading differs significantly, replace the oven temp sensor to maintain proper temperature monitoring.
Step 5: Replace heating elements
If your testing and diagnosis reveals that a bake or broil heating element has failed, replacing it is straightforward:
- Locate your oven model number sticker to order the correct Bosch replacement part.
- Shut off electrical power to the oven at the main breaker.
- Remove mounting screws and detach wiring from terminals on the bad element.
- Reverse steps with new elements, securing wires and screws.
- Restore power and test oven operation.
Additional information
Thank you for reading! We hope you found this information useful to get your oven working again.
If you have any other appliance repair needs or projects, don’t hesitate to explore our thousands of free videos and troubleshooting guides available. If you need replacement parts or some extra help, grab your model number and head over to AppliancePartsPros.com, where you can chat with a pro, order parts, read our DIY blog, and more.
Be sure to subscribe to us on YouTube and follow us on Facebook, Twitter, and Instagram!
 https://www.appliancepartspros.com/b/wp-content/uploads/2025/05/20250509_1034_Laundry-Room-Error_simple_compose_01jttqcqktep1990rmgbyqvds0.png
1024
1536
Steven E
https://www.appliancepartspros.com/b/wp-content/uploads/2020/11/app-logo-std.png
Steven E2025-05-13 06:01:062025-05-13 06:01:15What Error Codes E05 and E06 Mean on Your Bosch Washer
https://www.appliancepartspros.com/b/wp-content/uploads/2025/05/20250509_1034_Laundry-Room-Error_simple_compose_01jttqcqktep1990rmgbyqvds0.png
1024
1536
Steven E
https://www.appliancepartspros.com/b/wp-content/uploads/2020/11/app-logo-std.png
Steven E2025-05-13 06:01:062025-05-13 06:01:15What Error Codes E05 and E06 Mean on Your Bosch Washer https://www.appliancepartspros.com/b/wp-content/uploads/2025/05/20250509_1034_Laundry-Room-Error_simple_compose_01jttqcqksft9rag83pzm849gx.png
1024
1536
Steven E
https://www.appliancepartspros.com/b/wp-content/uploads/2020/11/app-logo-std.png
Steven E2025-05-13 05:57:022025-05-13 05:57:11E02 and E03 Bosch Washer Error Codes: A Troubleshooting Guide
https://www.appliancepartspros.com/b/wp-content/uploads/2025/05/20250509_1034_Laundry-Room-Error_simple_compose_01jttqcqksft9rag83pzm849gx.png
1024
1536
Steven E
https://www.appliancepartspros.com/b/wp-content/uploads/2020/11/app-logo-std.png
Steven E2025-05-13 05:57:022025-05-13 05:57:11E02 and E03 Bosch Washer Error Codes: A Troubleshooting Guide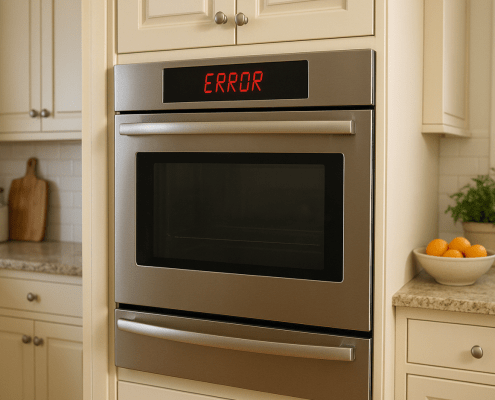 https://www.appliancepartspros.com/b/wp-content/uploads/2025/05/20250509_0957_Error-Display-on-Oven_simple_compose_01jttn9dfgeabbsx5cem5zce21.png
937
1536
Steven E
https://www.appliancepartspros.com/b/wp-content/uploads/2020/11/app-logo-std.png
Steven E2025-05-13 05:53:562025-05-13 05:54:04Troubleshooting Error Codes F111 and F113 On a Bosch Oven
https://www.appliancepartspros.com/b/wp-content/uploads/2025/05/20250509_0957_Error-Display-on-Oven_simple_compose_01jttn9dfgeabbsx5cem5zce21.png
937
1536
Steven E
https://www.appliancepartspros.com/b/wp-content/uploads/2020/11/app-logo-std.png
Steven E2025-05-13 05:53:562025-05-13 05:54:04Troubleshooting Error Codes F111 and F113 On a Bosch OvenWith nearly a decade of experience in providing top-notch customer service regarding appliance parts and repair, Steven enjoys sharing practical advice, troubleshooting tips, and interesting information to help readers stay informed.